
Disclosure: As an Amazon Associate I earn from qualifying purchases. This article contains affiliate links. If you purchase through these links, we may earn a commission at no additional cost to you.
A candle warmer lamp is simple in principle — a lamp warms a jar candle from above, the wax melts, and the fragrance fills the room without a flame — but the difference between a weak, disappointing scent and a room that smells wonderful usually comes down to five minutes of setup: where the jar sits, how close the lamp is to the wax, which brightness you start on, and which timer setting matches your routine.
This guide walks through the whole process step by step, using the Quzhunoo Candle Warmer Lamp as the worked example because its settings are the ones we verified on its listing: an adjustable lamp height, three dimmer levels, and a 2/4/8-hour timer. The same steps apply to almost any top-down warmer lamp — just match the control names to your model and always follow the instructions supplied with your specific product.
In this guide: Before You Start: A 2-Minute Checklist · Step by Step: Using a Candle Warmer Lamp · Timer Settings, Explained Simply · Quick Reference: Which Setting, When · Troubleshooting: The Five Usual Problems · Safety Basics · Care That Keeps It Working · Small Habits That Get More From Every Candle · Frequently Asked Questions · The Short Version
Before You Start: A 2-Minute Checklist
- A jar candle that fits. Warmer lamps are made for jar candles. Measure your jar’s height against the lamp’s adjustable range, and check the jar is not wider than the lamp’s base area.
- A stable, heat-safe surface. A side table, nightstand or desk — level, away from the table edge, and out of the route of curtains, papers and pet tails.
- An outlet within cord reach. These lamps are corded; plan the placement around the outlet, not the other way round.
- The lid and dust cover removed. Anything between the lamp and the wax blocks the heat. Keep the lid nearby — it goes back on between sessions to keep dust off the wax.
Step by Step: Using a Candle Warmer Lamp
Step 1 — Place the jar centred under the lamp
Set the jar in the middle of the lamp’s base, directly under the bulb. Centring matters: a jar pushed to one side melts unevenly, leaving a crescent of solid wax that never joins the melt pool and never releases its fragrance.
Step 2 — Adjust the height so the lamp sits close to the wax
Lower the lamp head until it is close above the top of the jar — near enough that the heat reaches the wax surface directly, without the shade touching the jar. This distance is the single biggest factor in how fast and how evenly the candle melts. Too high, and the wax warms slowly and the scent stays weak; at the right height, the top layer starts to gloss over within minutes. This is exactly why adjustable height is the feature to look for when buying, as we explain in our comparison of candle warmer lamps with timers.
Important: Lamp height is the #1 factor in how well a warmer works. If the scent seems weak, lower the lamp head closer to the wax before you blame the candle.
Step 3 — Switch on and start at higher brightness
Turn the lamp on and begin at a higher dimmer level. On this type of lamp, brightness is heat: starting high establishes a full, even melt pool across the whole surface of the candle — and a complete melt pool is what releases the full fragrance. Starting low is the most common beginner mistake; the centre melts, the edges stay solid, and the candle smells like a smaller version of itself.
Step 4 — Set the timer for your routine
Once the lamp is running, set the timer rather than leaving the lamp on indefinitely. On the Quzhunoo, the choices are 2, 4 and 8 hours. As a guide: 2 hours suits an evening wind-down or a bath; 4 hours suits an afternoon at a desk or a long film; 8 hours is the full-day setting for a living room. The lamp switches itself off at the end of the session — that automatic shut-off is the feature that makes a warmer lamp safe to walk away from.
Step 5 — Lower the dimmer to hold the scent
When the whole surface of the wax is liquid and the room smells as strong as you want, drop the dimmer a level. The melt pool stays liquid on less heat than it took to create it, the glow softens, and you spend the candle’s fragrance more slowly instead of evaporating it at full power.
Step 6 — Switch off, cool, then move
At the end of the session — or when the timer ends it for you — let the lamp and the jar cool completely before moving anything. Melted wax is a liquid that sloshes, and the jar and shade stay warm after switch-off. Once cool, put the lid back on the jar to keep dust off the wax surface.
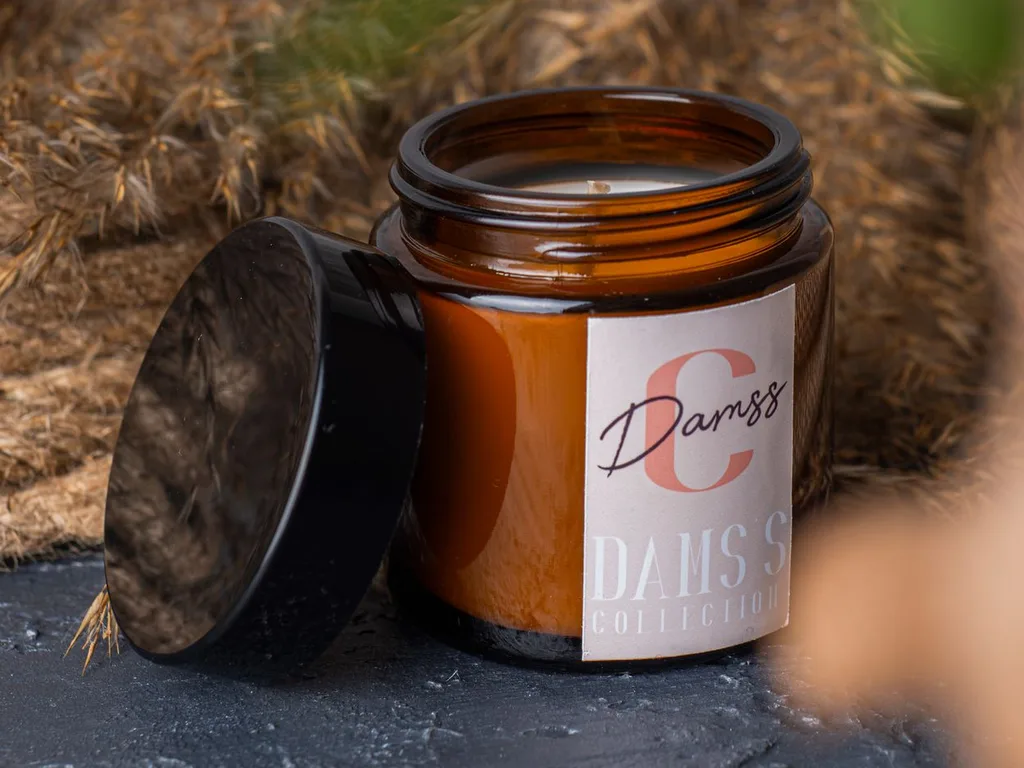
See the Quzhunoo Lamp Used in This Guide
Timer Settings, Explained Simply
The timer is not a safety extra — it is how you match the lamp to your day. Think of the three settings as three routines:
- 2 hours — the evening session. Dinner, a bath, an hour of reading before bed. Enough time to build a full melt pool and scent a bedroom or living room, short enough to become a habit you never have to think about.
- 4 hours — the afternoon session. Working from home, a slow weekend afternoon, guests coming later. The scent settles into the background rather than announcing itself.
- 8 hours — the full day. A living room or hallway that should smell welcoming whenever someone walks in. Use this on the days the house is occupied and busy, and let the shut-off end the day for you.
If your lamp offers a repeat cycle instead of countdown settings, the same logic applies in reverse: set the daily window when you most want the scent, and let the cycle handle the rest.
Quick Reference: Which Setting, When
| Setting | Best for | What to expect |
|---|---|---|
| Timer — 2 hours | Evenings, baths, bedtime routines | Full melt pool and a scented room, then automatic shut-off |
| Timer — 4 hours | Afternoons, working from home | Background scent that settles in gently |
| Timer — 8 hours | Full days in living areas | Welcoming scent all day; the lamp ends the day itself |
| Dimmer — high | The first part of a session | Builds the melt pool; the strongest scent |
| Dimmer — low / medium | The rest of the session | Holds the melt pool; slower, softer scent |
Troubleshooting: The Five Usual Problems
The scent is weak
Work through the causes in order: the lamp head is too far from the wax (lower it), the brightness is too low (raise it until the full surface is liquid), the melt pool never fully formed (give it a longer first session on high), the room is draughty or simply too large for one jar, or the candle itself is lightly scented — a warmer cannot add fragrance that is not in the wax. One cause sits in the candle, not the lamp: after many sessions the fragrance in the repeatedly melted top layers is used up, even though plenty of wax remains. Rotate to a fresh jar and retire the spent candle — no lamp setting brings that scent back.
The wax melts unevenly
Usually the jar is off-centre, or the lamp head is high on one side effect — re-centre the jar directly under the bulb. A candle that tunnelled from burning can also look uneven at first; several warmer sessions melt the surface flat again, because the lamp heats the whole top layer rather than one point around a wick.
My candle does not fit
If the jar is too tall for the lamp’s highest setting or too wide for the base, do not improvise — a jar wedged at an angle or touching the shade is not safe. Use the lamp with the jars that fit, and treat the measurement as the deciding spec when you next buy either candles or a lamp.
The lamp will not melt the surface at all
Check the basics: the lid or a dust cover left on the jar will block the heat entirely; the bulb may need replacing (confirm the bulb type in your product’s instructions); and very deep jars with the wax surface far below the rim melt slowly because the glass itself shadows the surface — a wider, shallower jar warms faster.
There is dust in the wax
Pick out what you can once the wax is fully cool and solid. Prevention is the real fix: lid back on between sessions, every time.
Safety Basics
Important: Make setting the timer part of switching the lamp on — one motion, every time. The timer only protects you on the days you actually use it.
- Always follow the manufacturer’s instructions supplied with your lamp — they override any general guide, including this one.
- Use the timer. It exists so the lamp never runs forgotten; make switching it on and setting the timer one motion.
- Keep the lamp on a stable, heat-safe surface, away from water, curtains, bedding and anything that can fall onto it.
- Let lamp and jar cool fully before moving them, and keep the cord out of walkways.
- Supervise around children and pets as you would any warm electrical appliance, and place the lamp where it cannot be knocked over.
- Never use a cracked jar, and never place loose wax melts directly under a lamp designed for jar candles.
Care That Keeps It Working
Warmers ask for very little: wipe the shade with a dry, soft cloth once it is completely cool; keep the jar’s wax surface covered between uses; check the cord occasionally for kinks at the table edge; and know your bulb type so a replacement is a five-minute job rather than a research project. Expect each candle to fade eventually — the fragrance in the repeatedly melted top layers is used up over time even though wax remains, and a candle that stops scenting the room has simply finished its work.
Small Habits That Get More From Every Candle
Rotate two or three candles.Your nose adapts to a constant fragrance within days and the candle seems to “stop working” when it has not. Swapping between a couple of scents across the week makes each one smell fresh again, and spreads the wear across jars.
Scent the room people are in, not the whole house.One lamp in the occupied room beats a stronger lamp fighting an open-plan space. Move the lamp with the evening — living room on weeknights, bedroom an hour before bed on the timer — rather than buying scent power you do not need.
Retire candles honestly.When a jar has been melted many times, the fragrance in the wax fades even though the candle looks half full. That is normal chemistry, not a lamp fault. Note the scents that lasted longest and buy those again; keep the finished jars for storage once fully cool and clean.
Keep a warmer corner.A small, permanent spot — lamp, two or three lidded jars, outlet within reach — removes the setup friction entirely. The routine that survives is the one with nothing to assemble.
Frequently Asked Questions
Do I need to trim the wick when using a candle warmer lamp?
No. The wick is never lit, so wick trimming — a burning-candle chore — is irrelevant under a warmer lamp. Just remove the lid, centre the jar, and let the lamp melt the surface.
How long does a candle warmer lamp take to melt a candle?
The surface begins to gloss within minutes at the right lamp height; a full, even melt pool across a standard jar typically forms over the first part of a session. Deep jars and low brightness take longer. Starting on a higher brightness, as in Step 3, is the reliable way to get there.
Can I leave a candle warmer lamp on overnight?
Use the timer instead. These lamps are designed around sessions with automatic shut-off — set 2 or 4 hours for the evening and let the lamp end the session itself rather than running unattended all night.
Will a candle warmer lamp work with a candle that has already tunnelled?
Usually yes, and it is one of the warmer’s quiet advantages: because the heat comes from above across the whole surface, repeated sessions melt the raised edges down and level the candle out again.
What size candle works best in a warmer lamp?
Standard jar candles that fit under the lamp head with the wax surface close to the bulb. Very tall three-wick jars need a lamp with a generous height range, and very deep jars melt slowly. Measure before you buy — our full review of the Quzhunoo lamp lists the five checks that matter.
The Short Version
Centre the jar, lower the lamp close to the wax, start bright to build the melt pool, set the timer for your routine, then dim to hold the scent — and let everything cool before you move it. Five habits, and a candle warmer lamp goes from a gadget to the easiest fragrance routine in the house. If you are still choosing a lamp, the settings used throughout this guide belong to the Quzhunoo, whose listing we checked in full.
Disclosure: As an Amazon Associate I earn from qualifying purchases.


Pingback: Candle Warmer Lamp Review: Quzhunoo Timer Lamp, Checked
Pingback: Best Candle Warmer Lamps With Timer: Countdown vs Repeat