
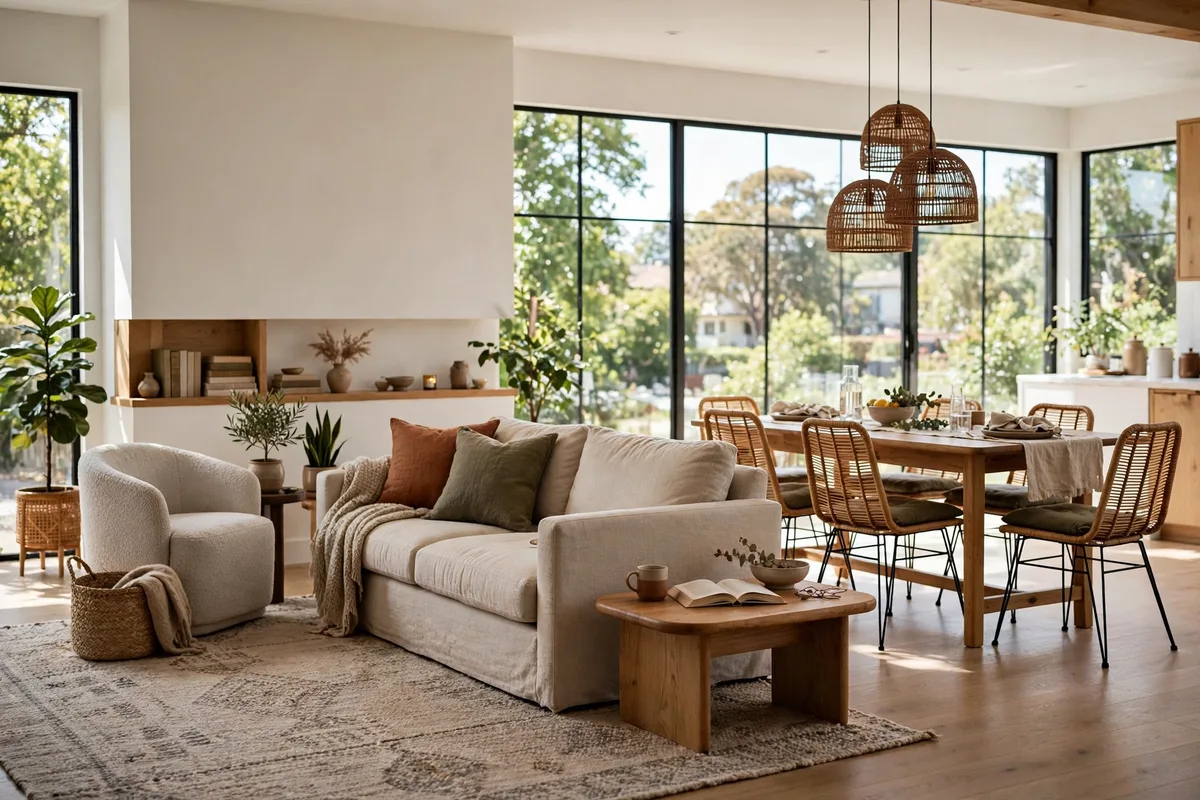
An open-plan room sounds simple in theory: one generous space that holds your kitchen, dining, and living areas together, with light flowing from end to end. In practice many open-plan homes feel like one long, echoing hall where nothing quite belongs anywhere. The difference between the two is zoning. When each activity has a clearly defined area, marked by rugs, furniture placement, colour, and light, the same room suddenly feels calm, generous, and easy to live in.
This guide shows you how to plan and style each zone so the room works as a whole. You will learn how to draw a zone map, anchor the living area, set up dining and work zones, define any entry, and tie everything together with one colour story and layered lighting. Browse these open plan living zone ideas alongside it for extra starting points.
1. Draw a Zone Map Before You Move Any Furniture
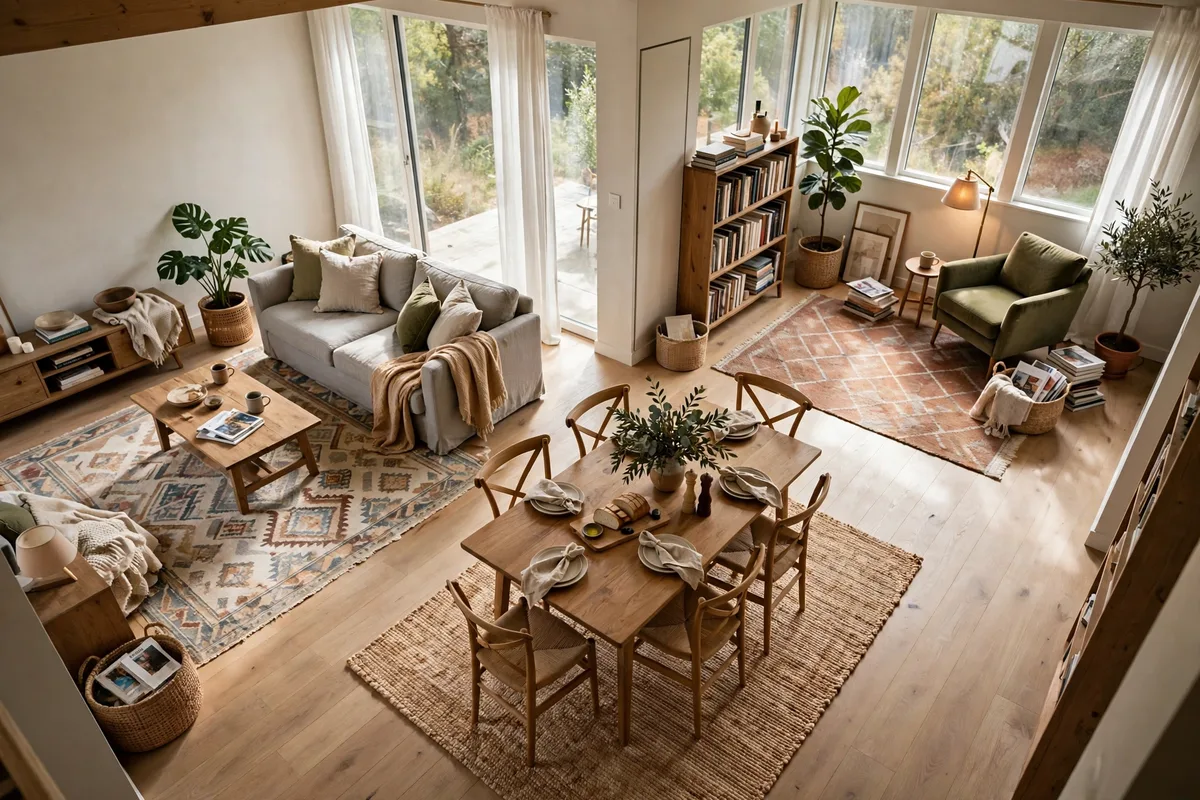
Every successful open-plan room starts on paper, not with a sofa dragged across the floor. Sketch the room to rough scale, mark doors, windows, radiators, and sockets, then divide the space by activity rather than by habit. Most homes need three core zones: living, dining, and kitchen work space. Many also benefit from a small work or reading zone and a defined entry moment, even if the front door opens straight into the room.
Working out your zones
- Give the largest zone to the activity your household uses most, which is usually the living area.
- Keep dining beside the kitchen for obvious serving routes, and keep walkways between zones at least a comfortable stride wide.
- Place quieter zones, such as reading or desk space, furthest from the television and kitchen noise.
- Check the plan against real traffic: the path from the front door to the kitchen should not cut through the middle of the seating.
Lay the plan out on the floor with painter’s tape before moving anything heavy. Live with the tape outlines for a day. You will quickly feel whether a zone is cramped, whether a walkway pinches, or whether the dining table blocks the light. Adjusting tape costs nothing; adjusting furniture ten times costs a weekend.
2. Anchor the Living Zone With a Rug and a Floating Sofa
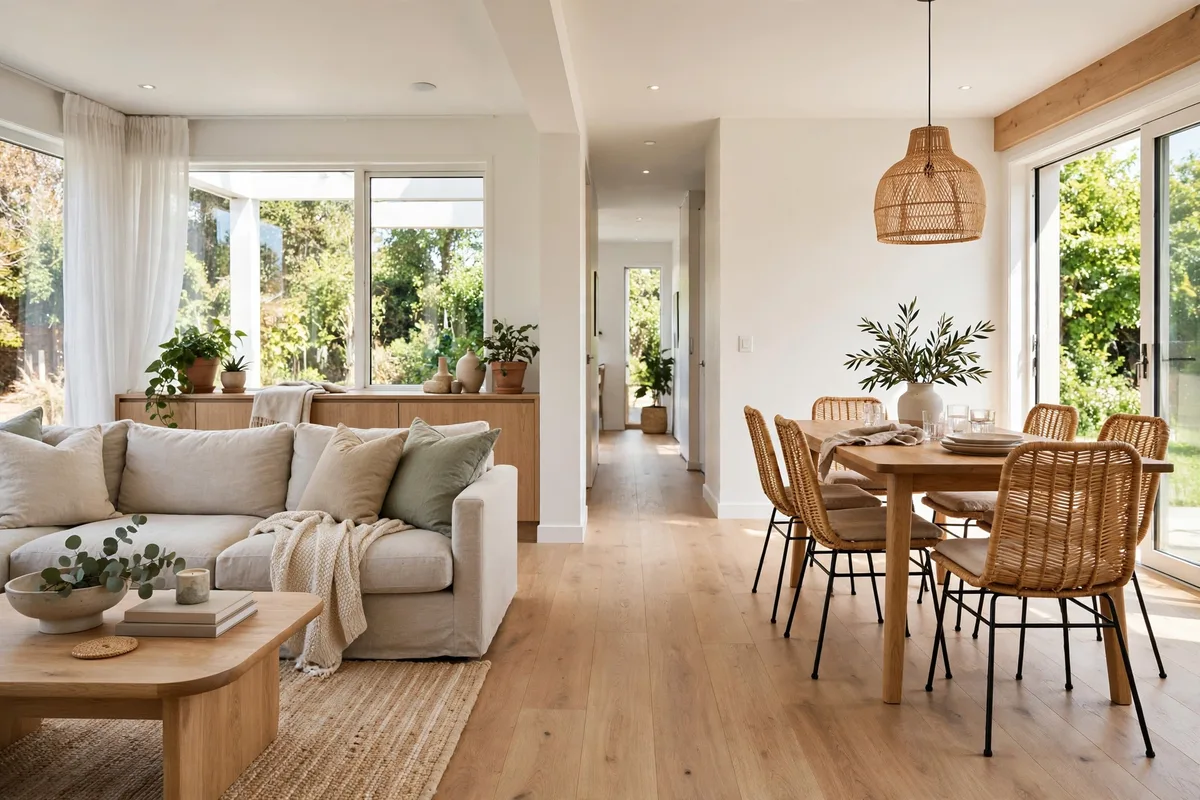
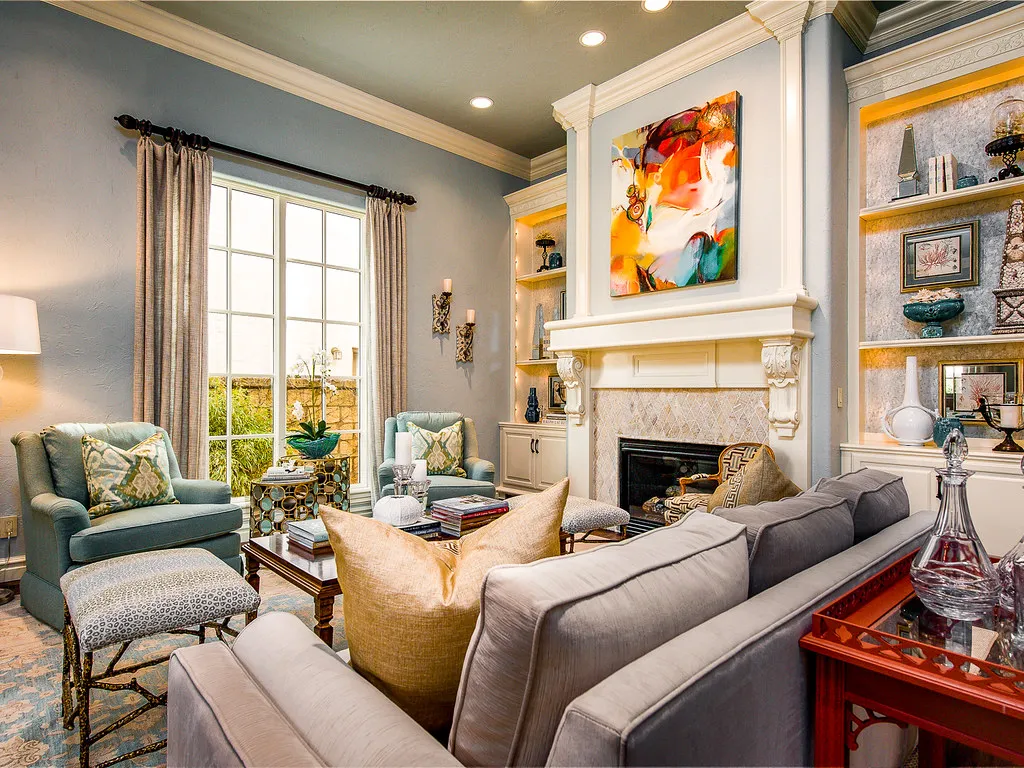
The living zone is usually the largest and the hardest to make feel settled, because it often sits in the middle of the room with no wall behind the sofa. The answer is to build it as an island. A large rug defines its floor territory, and a sofa floated on that rug, with its back to the dining or kitchen zone, gives the group a clear front and back. Add a console table behind the sofa if the walkway allows, and the island feels furnished from every angle.
Building the living island
- Choose the rug first and size it generously: all front feet of the seating on it at minimum, ideally the whole group.
- Float the sofa with enough space behind it for a walkway, not pushed against it.
- Face chairs inward to complete the conversation circle rather than lining everything against walls.
- Use a low bookcase or console as a soft back wall for the sofa when the zone behind needs definition too.
Treat this zone’s lighting separately as well. A floor lamp and a table lamp inside the island mark it as its own room after dark, even while the kitchen stays brightly lit for cooking. That separation is what makes open-plan living feel comfortable rather than exposed.
3. Use Rugs to Outline Each Zone Without Walls
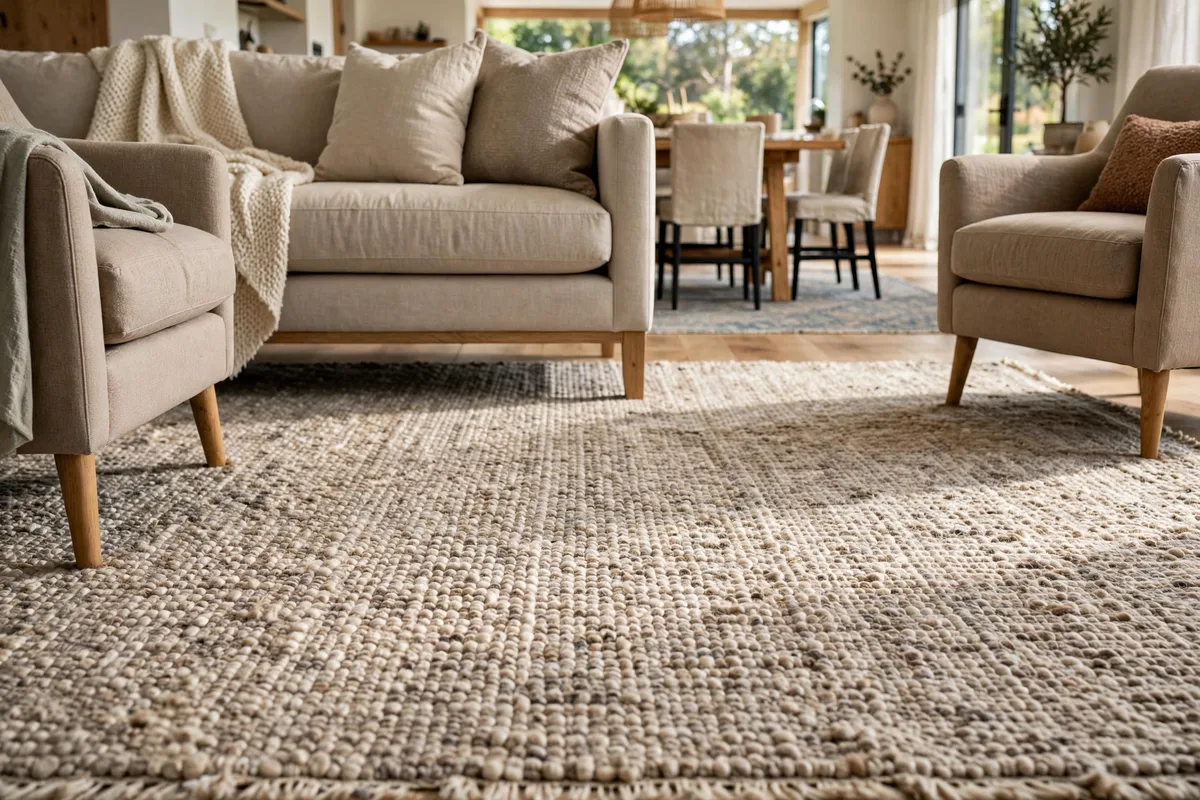
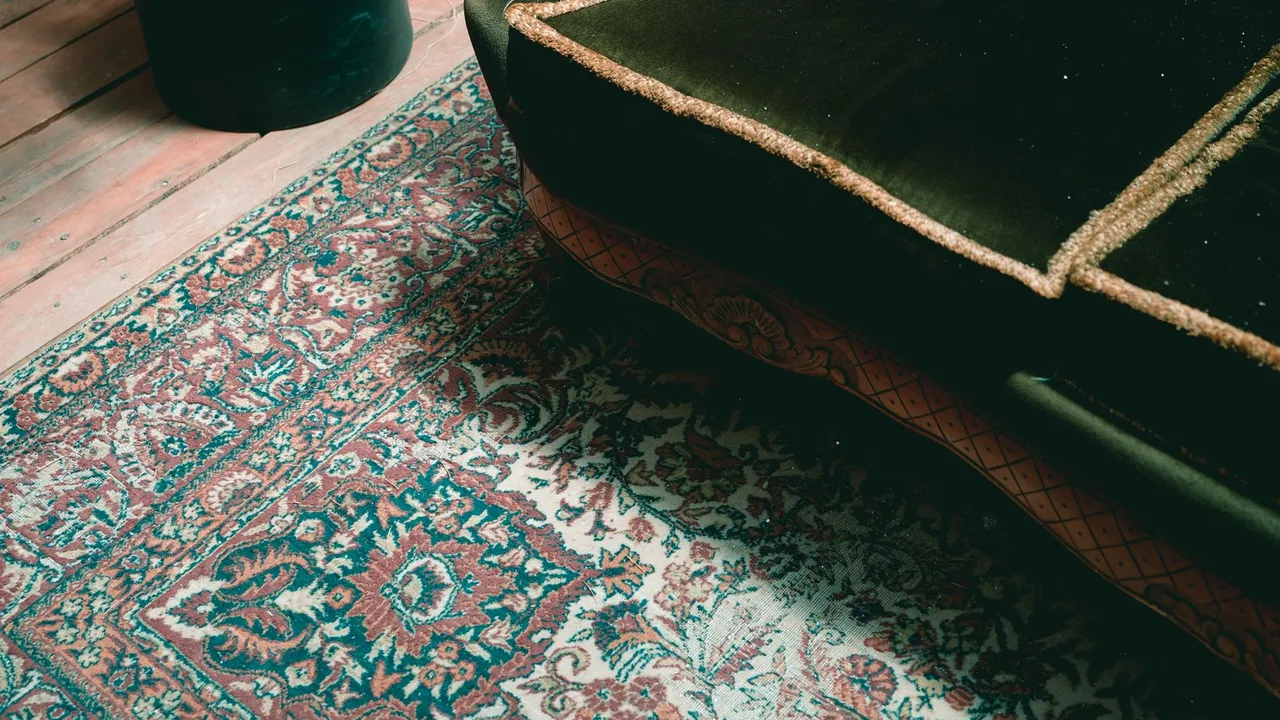
In an open-plan space, a rug is the closest thing you have to a wall on the floor. It tells everyone, without a word, where one activity ends and another begins. Use one rug per main zone, large enough to hold the key furniture of that zone, and keep a visible border of bare floor between rugs so each reads as its own territory rather than one patched carpet.
Coordinating rugs across zones
- Share a colour family across all the rugs, but vary the pattern scale: busier in the dining zone, calmer in the living zone.
- Keep pile heights similar so the room feels level and trips are unlikely at the borders.
- In the dining zone, size the rug so chairs stay on it when pulled out; a rug that is too small will annoy you daily.
- Plain flooring between rugs is a design feature, not a gap: it is the corridor that lets each zone breathe.
If two zones feel disconnected, the fix is usually colour, not more furniture. Echo one tone from the living rug inside the dining rug or its cushions, and the eye will travel happily from one island to the next.
4. Let Furniture Placement Do the Dividing
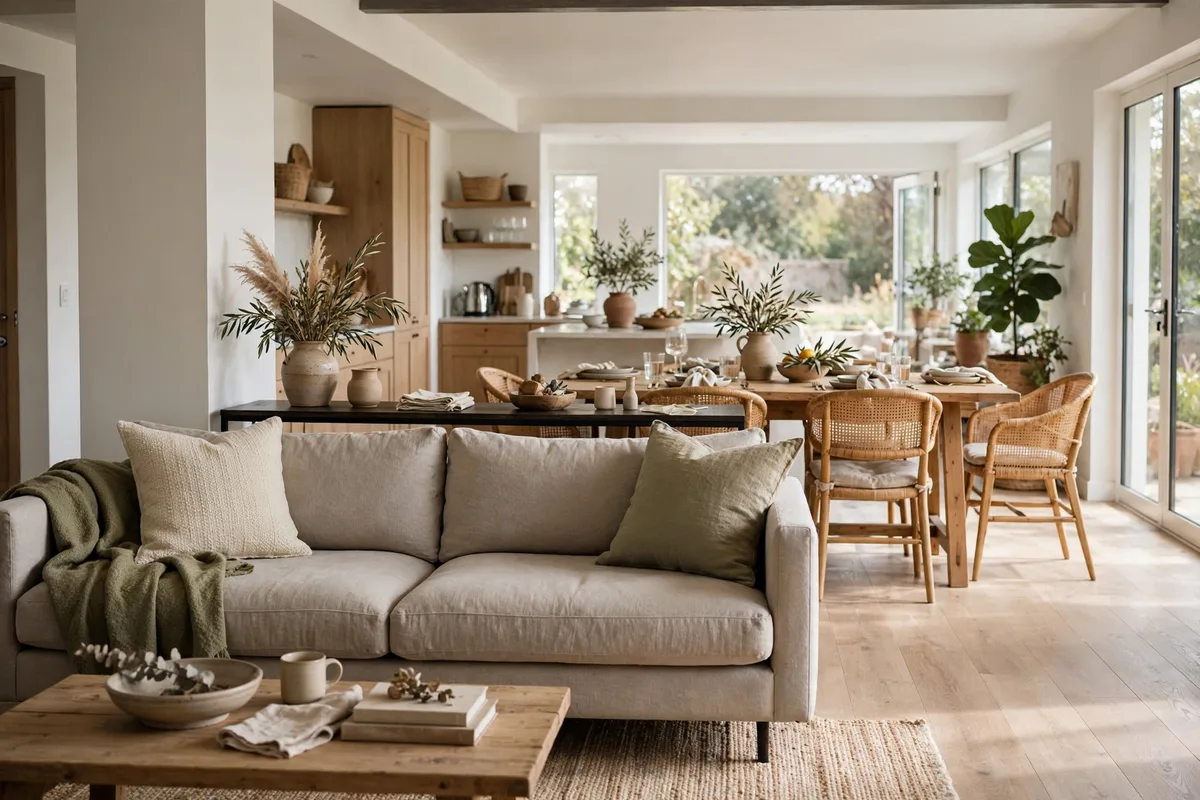
Beyond rugs, the backs and edges of furniture are your zone dividers. A sofa back closes the living zone. A dining table placed across the room’s width draws a line between kitchen and living. An open-backed bookcase can separate a work zone while letting light pass through, and a bench or a pair of stools can mark the dining edge without blocking sightlines. The rule is to use pieces you already need, positioned with intent.
Dividers that keep the openness
- Open shelving and slatted screens divide without darkening; solid tall cupboards usually feel too heavy mid-room.
- Keep dividers below eye level when seated wherever possible, so the room still reads as one space.
- Back-to-back arrangements, such as a desk behind a sofa, share one footprint for two zones and save space.
- Leave at least one completely clear route through the room; a beautiful obstacle course is still an obstacle course.
Test the arrangement by standing in each zone and looking at the others. If every zone can be seen but each still feels like a place, the furniture is doing its dividing job properly.
5. Run One Colour Story Through Every Zone
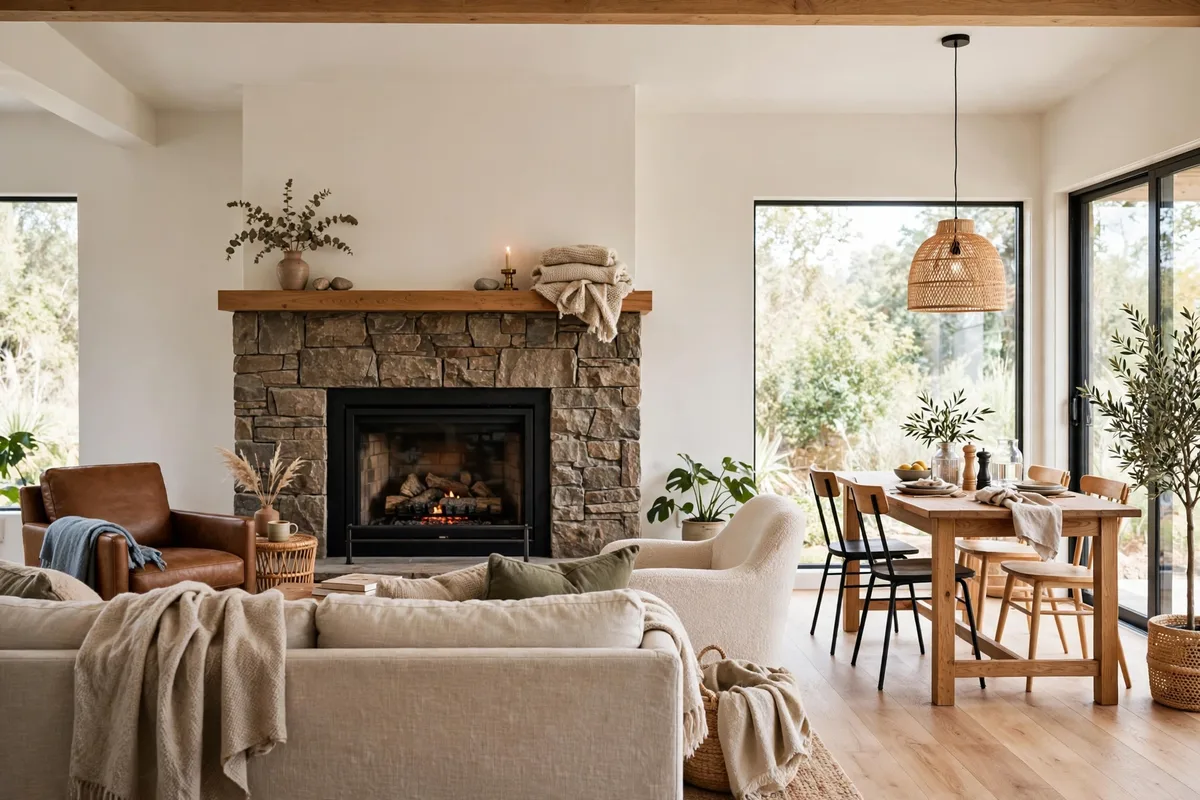
The fastest way to make open-plan feel chaotic is to decorate each zone as if it were a separate house. The fastest way to make it feel designed is one colour story told at different volumes. Choose a base neutral for the whole space, two supporting tones, and one accent. Then let each zone emphasise a different part of that story: the living zone may lean on the accent in cushions, while the dining zone repeats it quietly in a centrepiece or chair fabric.
Distributing your palette
| Palette role | Share of the room | Where it appears |
|---|---|---|
| Base neutral | About 60% | Walls, large furniture, kitchen cabinetry, main rug |
| Support tones | About 30% | Secondary furniture, curtains, additional rugs, dining chairs |
| Accent | About 10% | Cushions, art, a statement chair, plants’ pots, small decor |
Repeat each colour at least three times across the whole room, at different heights: once low, once at eye level, once high. That repetition is what convinces the eye that zones separated by ten feet still belong to one home.
6. Create a Dining Zone That Feels Like a Room
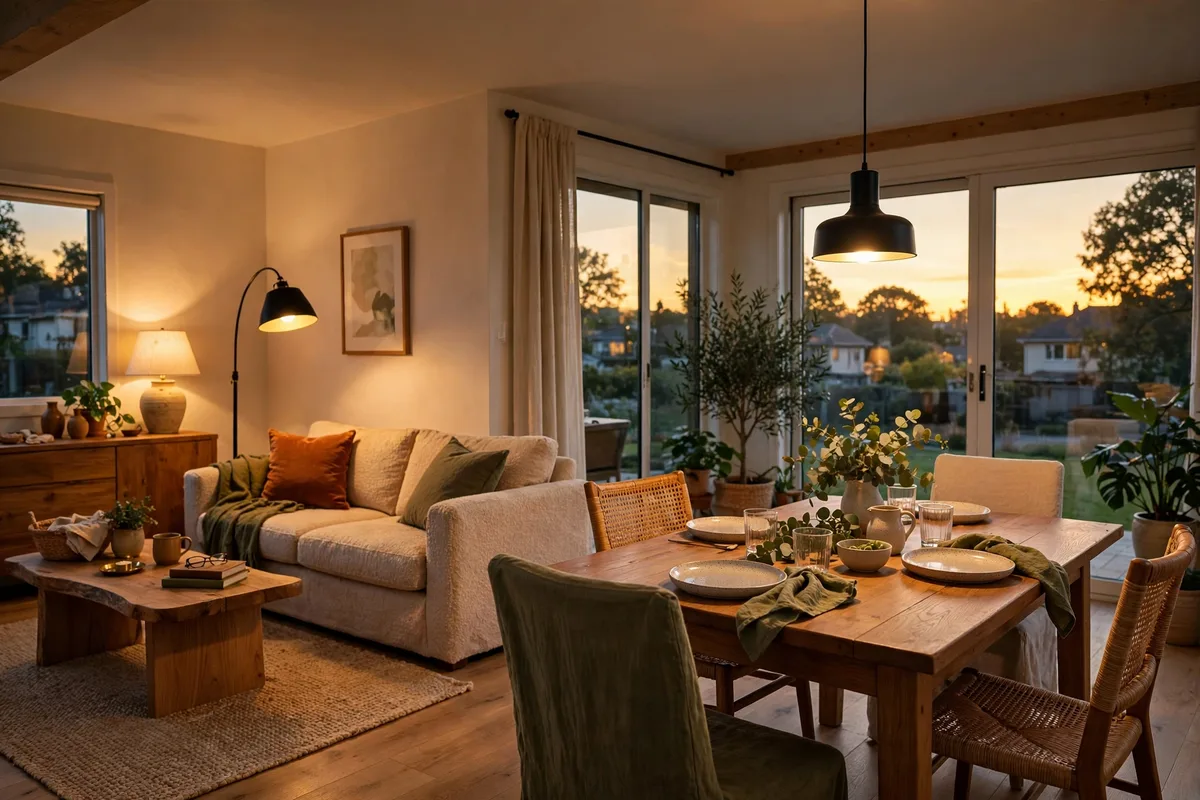
Dining areas in open-plan rooms often feel like a table parked in a corridor. Give yours the markers of a room: its own rug, a pendant light centred over the table, and a sideboard or shelf on the nearest wall for serving pieces and storage. With those three things, the dining zone gains a floor, a ceiling, and a wall, and meals feel like occasions rather than pauses between other activities.
Dining zone essentials
- Centre the pendant over the table, not the zone, and hang it low enough to pool light on the surface.
- Choose a table that suits daily numbers with leaves or extensions for guests, rather than a huge table that shrinks the room.
- Mix chair styles carefully: matching chairs read calm, while a bench on one side adds flexibility for children and guests.
- Keep a serving surface nearby so the table itself is never the storage place for post, keys, and clutter.
If your open-plan room is also your only entertaining space, keep the dining zone’s colours slightly deeper or richer than the living zone’s. The subtle shift signals evening and gathering, and photographs of family meals will look instantly warmer.
7. Add a Work or Reading Zone Without Stealing Space
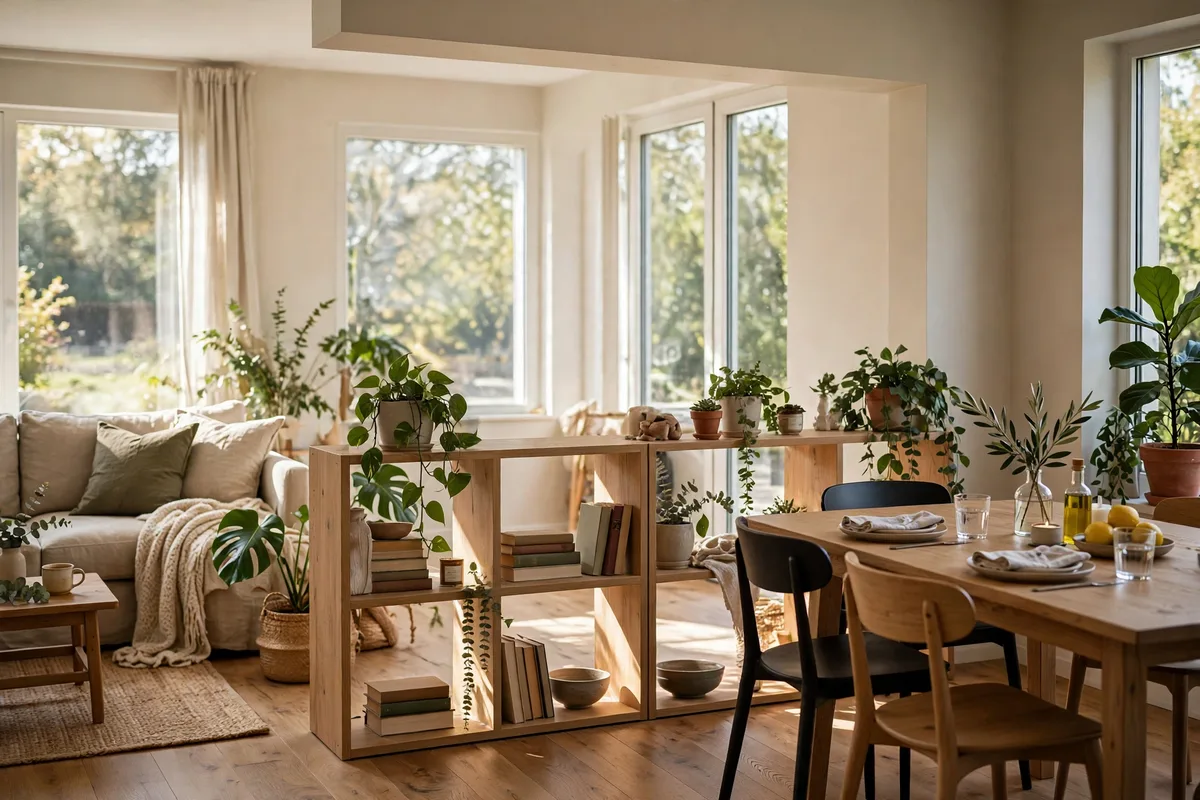
One of open-plan living’s best tricks is claiming a small, deliberate corner for work or reading. A desk against a wall, a comfortable chair with a lamp in a corner, or a window seat turns leftover space into the most fought-over seat in the house. The key is making it feel intended: give it light, a surface, and a small rug or a change of wall colour if you can.
Small zone, real comfort
- Place work zones near natural light but with the screen angled away from glare and the television out of direct sight.
- A chair and a floor lamp alone can define a reading zone in under a square metre of floor.
- Use a bookcase end or a screen to give the zone a back, which creates surprising privacy in an open room.
- Keep the zone’s kit contained: laptop, notebook, and headphones in one tray or basket when not in use.
These micro-zones are also your pressure valve. When one person cooks, one watches television, and one needs quiet, a well-made small zone is what stops open-plan from feeling like a compromise.
8. Define the Entry So the Room Starts Calmly
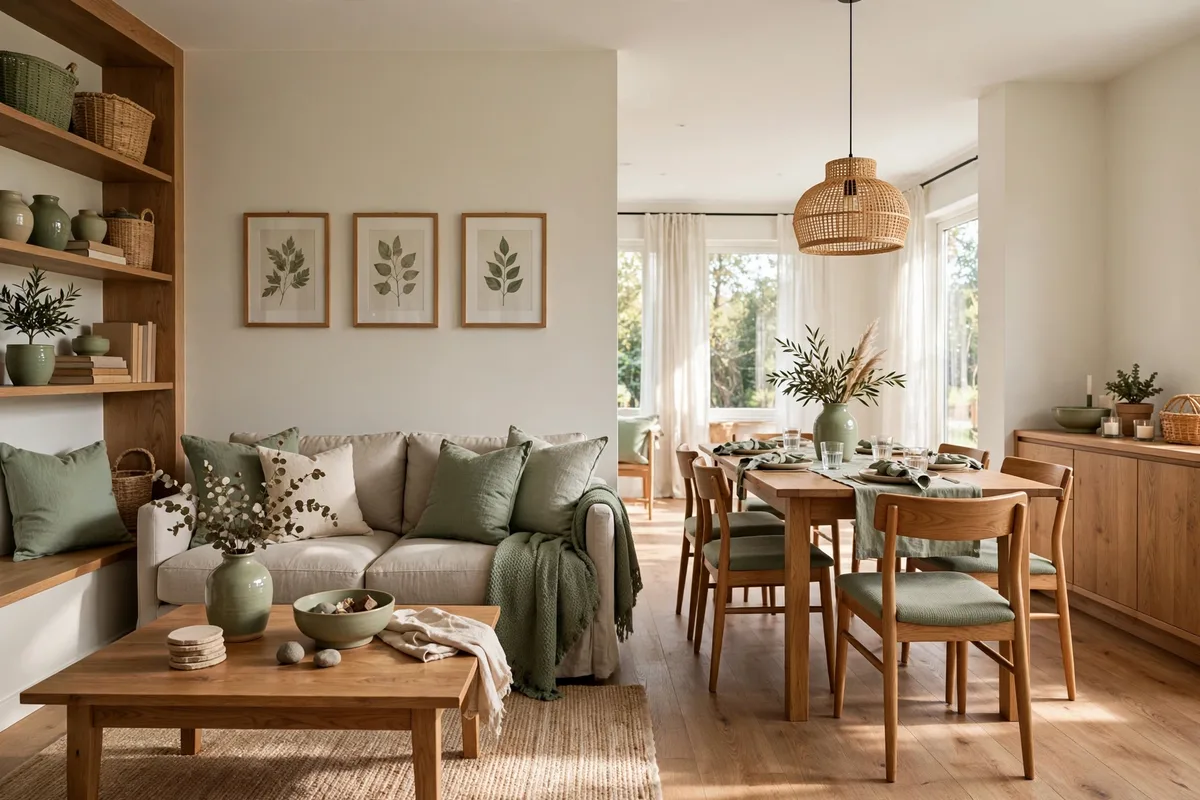
Many open-plan homes have no hall: the front door opens directly into the living space, and coats, shoes, and post scatter across the nearest surfaces. A defined entry zone solves it in about a square metre. A runner or mat, hooks or a slim cabinet, a small bench, and a mirror turn the doorway into a place with a job, and the rest of the room stays calm.
Entry essentials in a small footprint
- A washable runner or mat that can take wet shoes and sets the zone’s edge.
- Hooks at varied heights for adults and children, or a closed slim cabinet if you prefer a tidier look.
- One bench or stool for sitting to put shoes on, which doubles as a bag drop.
- A mirror for last checks and for bouncing light into the darkest part of the room.
Style the entry with the same colour story as the rest of the room. It is the first paragraph of your home; if it matches the language of the following pages, guests feel the design from the door.
9. Light Each Zone Separately
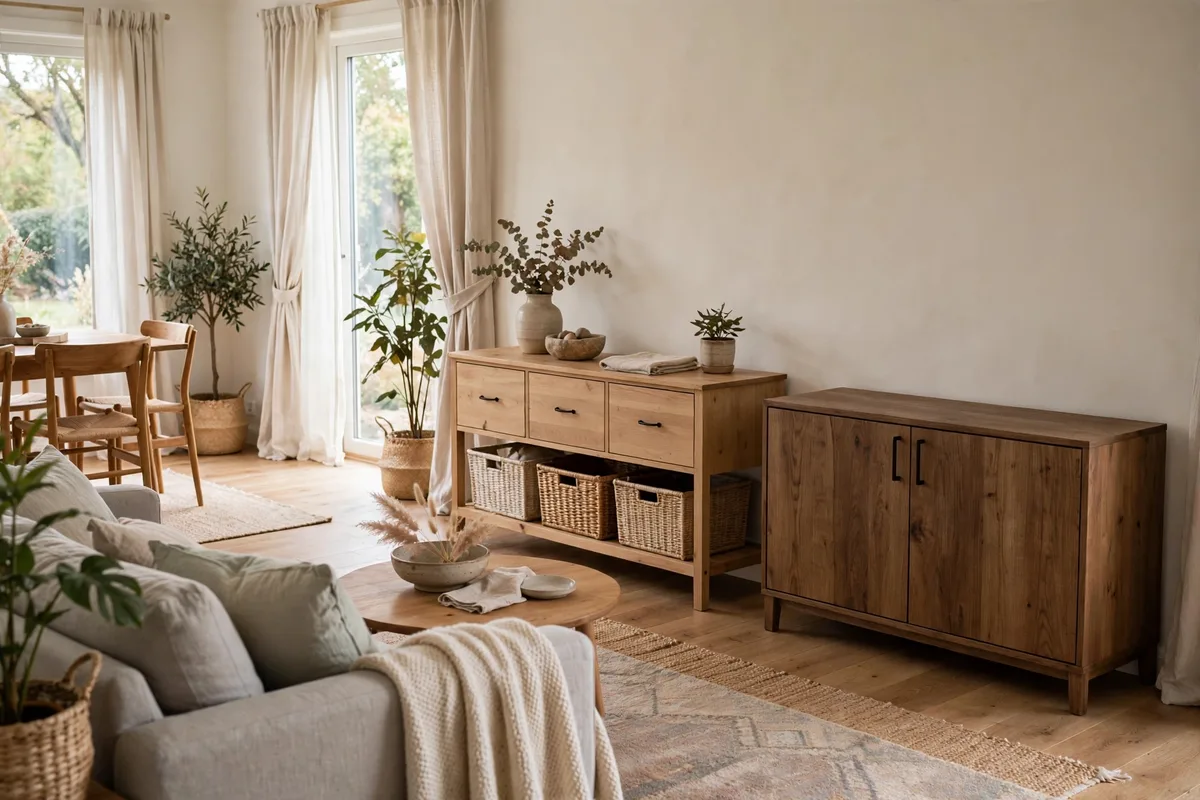
Nothing exposes a badly zoned room like a single ceiling light trying to serve the whole space. Layered, zoned lighting is what makes open-plan rooms feel like several rooms at night. Each zone needs its own pool of light at its own height: pendants over the dining table, a floor and table lamp in the living island, task light at the desk, and brighter practical light in the kitchen zone, each on separate switches or dimmers where possible.
Planning the layers
- Keep colour temperature consistent across zones so one area does not look yellow beside a blue-white neighbour.
- Put living and dining lights on dimmers; these are the mood zones and change most through the evening.
- Use the kitchen’s brighter light deliberately and switch it down or off when the meal moves to the table.
- Wall lights or a lit picture shelf above a divider can mark a zone boundary in light alone.
Stand in the doorway at night with only one zone lit at a time. Each should look like a finished room on its own. That test, passed, is the real proof that your zoning works.
10. Keep Flow, Storage and Sightlines in Balance
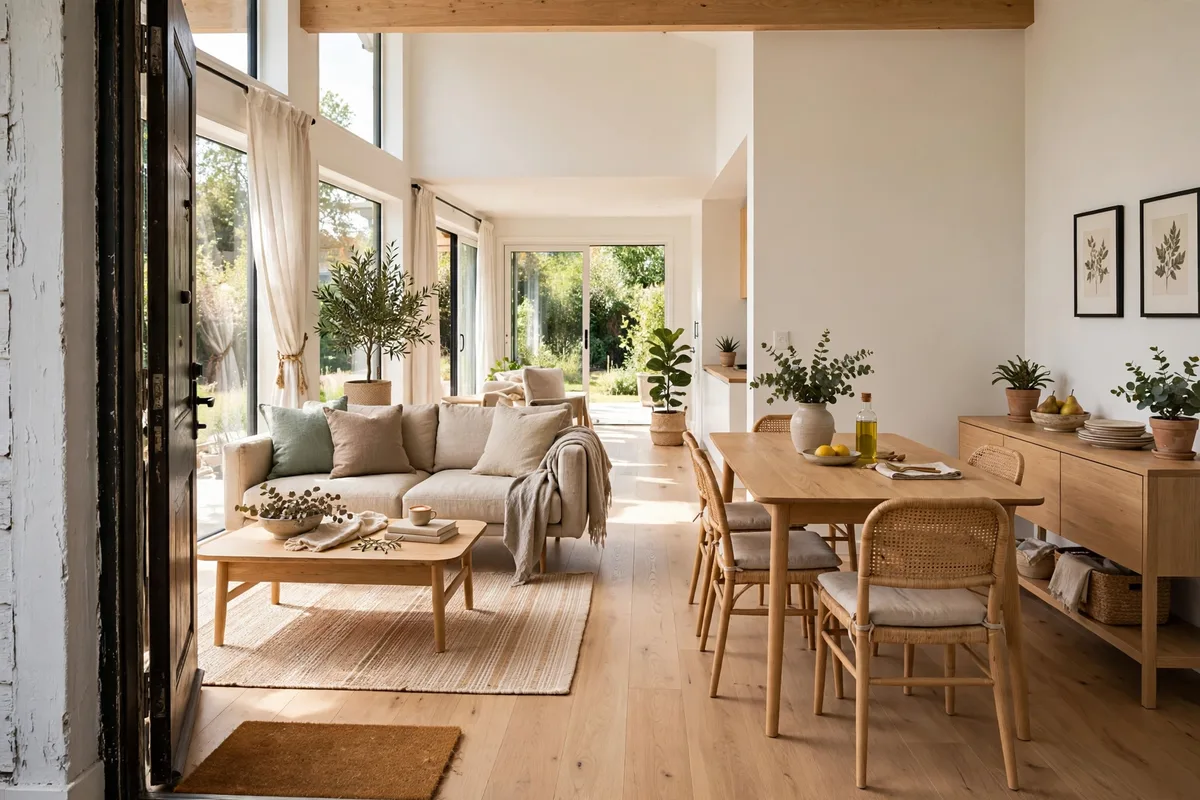
The final pass over an open-plan room is about what you remove and where things live. Storage should be distributed: a sideboard in the dining zone, baskets and a console in the living zone, a tray for work kit. When every zone holds its own belongings, nothing migrates, and the clear floors and surfaces that make open-plan feel generous survive daily life.
Final checks before you call it done
- Walk every route: door to kitchen, kitchen to table, sofa to bathroom. Any pinch point gets fixed now, not lived with.
- Check sightlines from the main sofa: you should see something pleasant in each direction, ideally a window, art, or a styled shelf.
- Confirm each zone can reset to tidy in under two minutes with its own storage.
- Photograph the room from each corner; dead areas and clutter magnets announce themselves clearly in photos.
Open-plan rooms are never truly finished; they flex as families and habits change. Keep the zone map in mind, adjust one zone at a time, and the space will keep working through every rearrangement. For even more layout-first thinking, see these small living room layout ideas, which use the same zoning logic at tighter scale.
Frequently Asked Questions About Open-Plan Living Zones
How do I divide an open-plan living room into zones?
Start with a zone map on paper, then mark each area with a rug, arrange furniture so its backs and edges draw the boundaries, run one colour story through the whole space, and light each zone separately. Those four moves together create distinct areas that still feel like one generous room rather than chopped-up fragments.
What size rug do I need for the living zone in an open-plan room?
Choose the largest rug your living zone can hold: at minimum, the front feet of all the seating should rest on it, and ideally the whole seating group sits on it. Leave a border of visible floor between this rug and the neighbouring zone’s rug so each area reads as its own territory.
How wide should walkways be between open-plan zones?
Leave roughly a comfortable stride, about ninety centimetres to a metre, on main routes such as door to kitchen. Secondary gaps behind sofas or between a rug edge and a console can be narrower, but any route used with trays, laundry, or children in arms deserves the full width.
Can I use different colours in each zone of an open-plan room?
Yes, but keep them inside one family. Use a shared base neutral everywhere, then let each zone emphasise a different supporting tone or the single accent at a different strength. Repeating each colour at least three times across the room, at different heights, keeps the zones feeling related rather than random.
How do I make a dining area feel separate in an open-plan space?
Give it the three markers of a room: its own rug sized so chairs stay on it when pulled out, a pendant light centred over the table, and a sideboard or serving surface on the nearest wall. Those floor, ceiling, and wall signals turn a parked table into a dining room within the room.
Where should the TV go in an open-plan living zone?
Place it inside the living zone, ideally against a wall or a low divider, at seated eye level, and angled away from kitchen light and window glare. Avoid making the screen visible as the main view from the dining table if you can; meals feel calmer when the television is a background presence rather than the focal point of every zone.
What furniture works best as a room divider in open-plan spaces?
Low, open pieces divide without darkening: open-backed bookcases, slatted screens, consoles behind sofas, and benches. Keep dividers below seated eye level where possible so the room still reads as one space, and always preserve at least one completely clear route through the room.
How do I stop an open-plan room from echoing?
Add soft surfaces in every zone: rugs underfoot, upholstered seating, curtains or blinds at the windows, cushions, and bookshelves with books. Echo comes from large bare parallel surfaces, so breaking them up with textiles and irregular objects in each zone calms the sound as reliably as it improves the look.
How do I add a home office in an open-plan living room?
Claim a small corner or wall run for a desk, ideally near natural light with the screen angled away from glare, give it a task light, and contain its kit in one tray or basket. A bookcase end or screen behind the chair creates surprising privacy, and keeping the zone small and tidy stops work spreading across the home.
Should kitchen and living zones share the same flooring in open-plan?
One continuous floor makes the space feel larger and more unified, and it is the simplest choice to live with. If you change flooring at the kitchen, keep the tones close and the transition flush, so the boundary reads as a design detail rather than a repair. Rugs then do the work of defining the softer zones on top of either choice.
Conclusion
An open-plan room works when every activity owns a defined place and the whole space still reads as one home. Map the zones first, anchor the living area with a rug and a floated sofa, let furniture edges and separate lighting do the quiet dividing, and tell one colour story at different volumes throughout. Define the entry, give dining its own markers of a room, and distribute storage so each zone can reset itself. Do those things, and the long echoing hall becomes what open-plan promised: a generous, calm room where cooking, eating, working, and resting each have a home, together.


Pingback: Open Plan Living Zone Ideas (No Walls Needed)