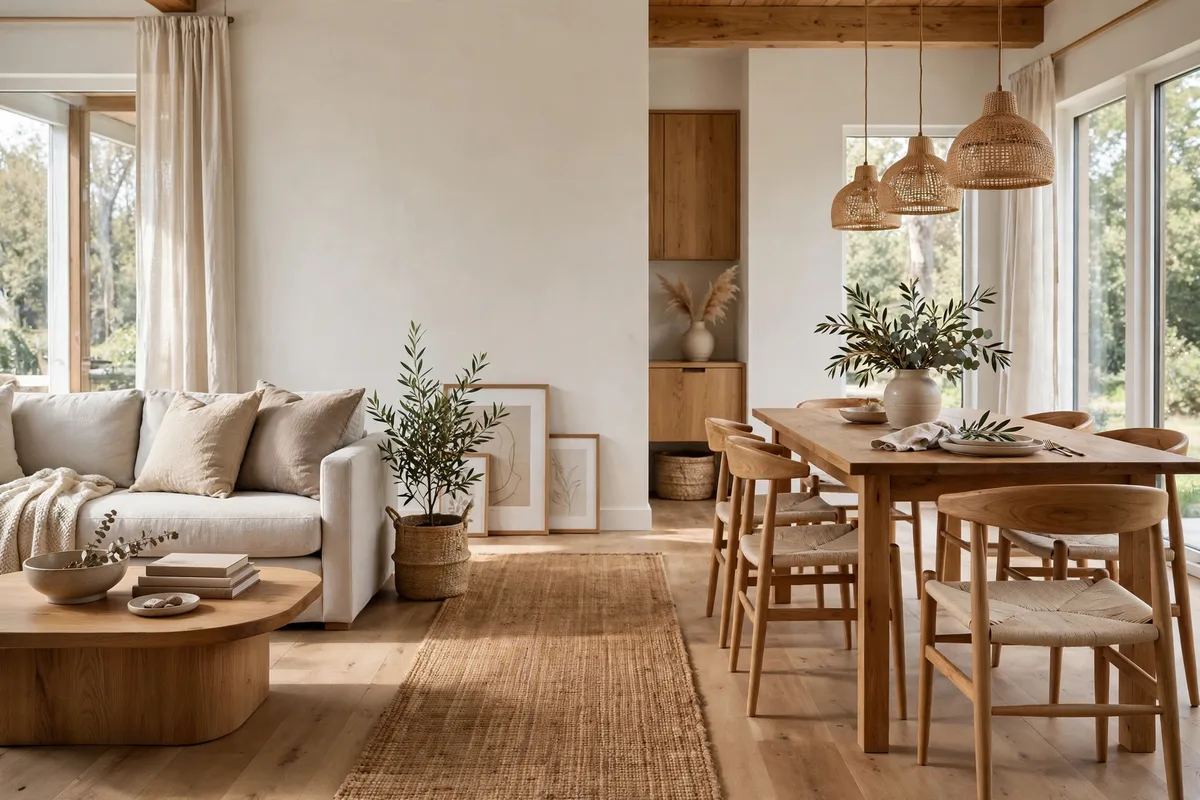
s-tipsMost open-plan rooms do not fail because the big decisions were wrong. The sofa is in a sensible place, the dining table sits near the kitchen, and there is a rug under the seating. They fail in the small gaps between zones: the accent color that appears once and never again, the keys that drift from the door to the dining table, the pendant hanging so high it lights the ceiling instead of dinner. Big features divide a room. Small moves are what make the divided room actually work, day after day.
Below are ten quick, practical, example-led tips — each a small move you can copy in an afternoon, shown with a real-room example. None needs a builder or a full replanning weekend. If you want the bigger layout system behind these moves, our step-by-step open-plan living zone decor guide walks through planning the whole space from a blank floor plan.
1. Repeat One Accent Color Three Times Across Zones
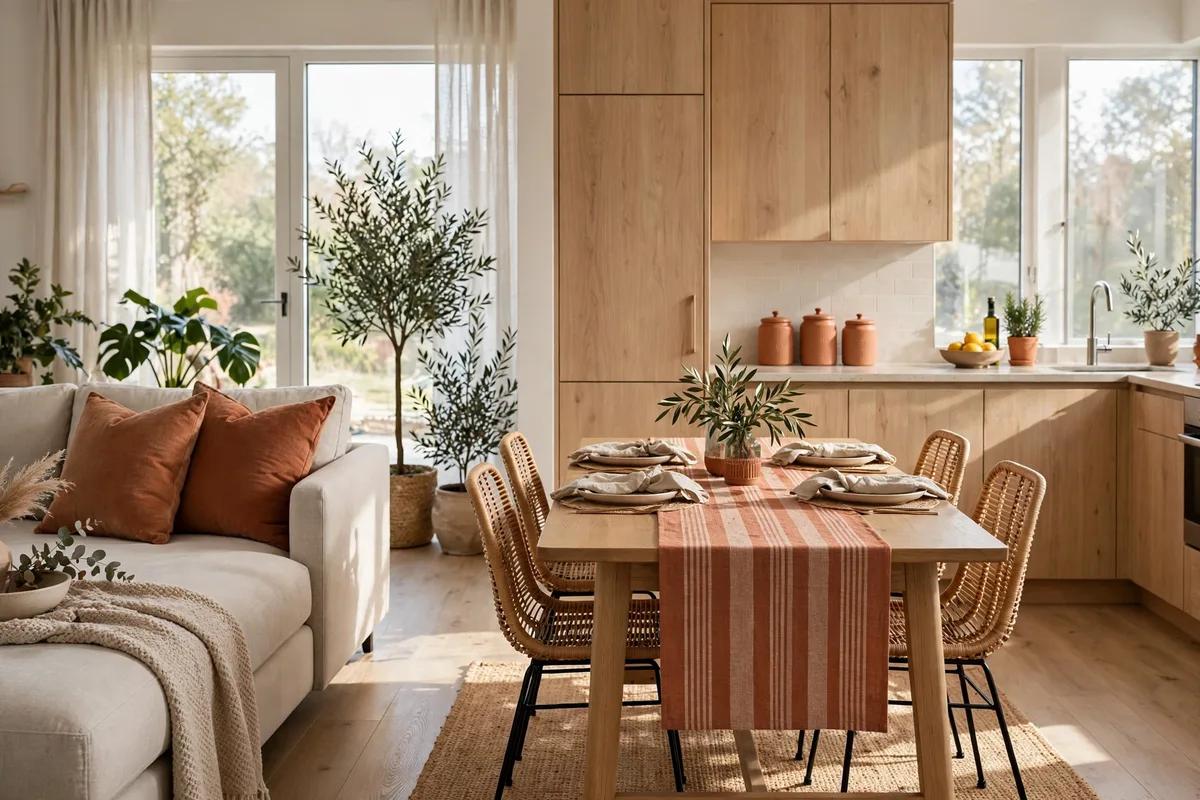
Here is the most useful counting rule in open-plan styling: pick one accent color and use it exactly three times, once in each zone you can see in a single glance. One appearance looks like an accident. Two look like a coincidence. Three look like a decision — and that decision is what makes separate zones read as one home instead of three rooms that collided.
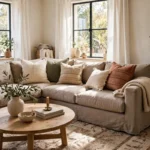
Worked example: terracotta cushions on the lounge sofa are appearance one. A terracotta stripe in the dining runner is appearance two. Terracotta canisters on the kitchen counter are appearance three. From the door, your eye picks up the same warm note three times and understands the zones belong together, even though the furniture in each is completely different.
How to apply the three-times rule
- Choose an accent you already own twice; you only need to add the third appearance.
- Vary the size: one large hit (cushions), one medium (runner or throw), one small (canisters or a vase).
- Keep the shade consistent, not just the color family — a rust cushion and a coral vase fight instead of matching.
- Retire extra accents. A second competing accent used once will undo the rule, so move it to a bedroom or bathroom.
2. Stitch Two Zones Together With a Runner
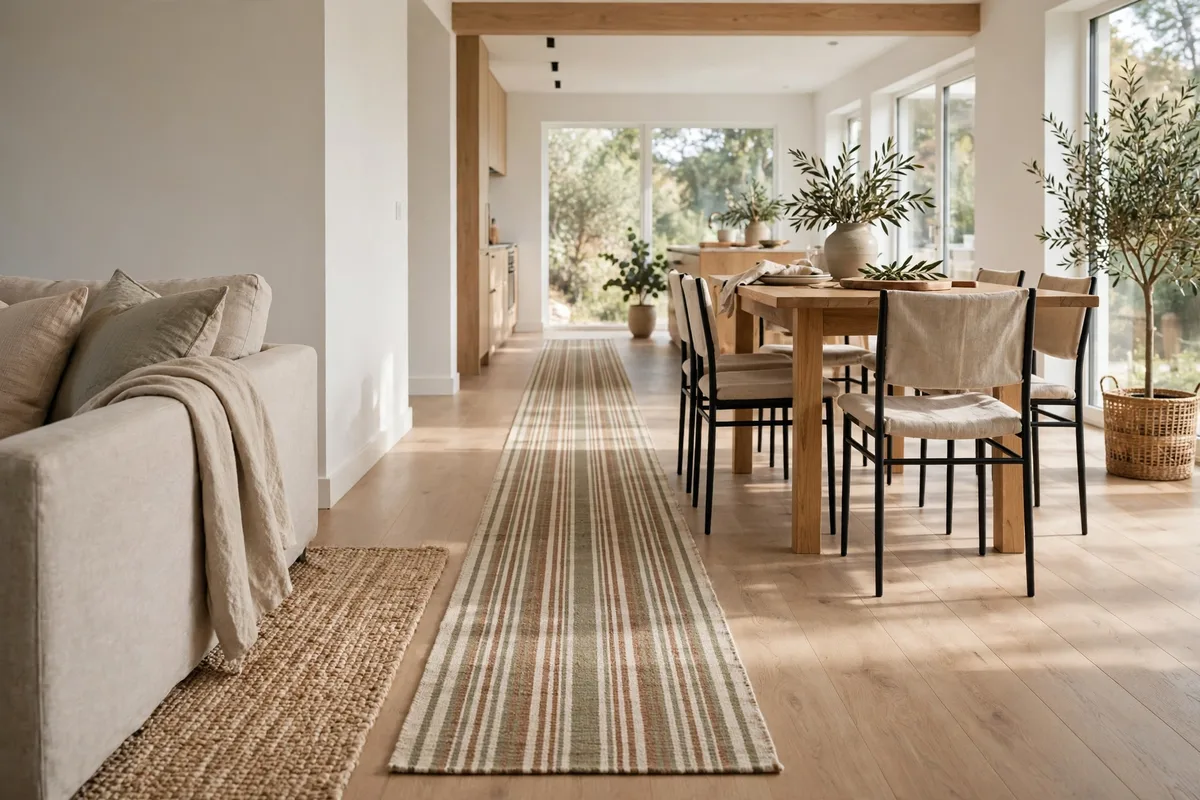
A runner is usually treated as hallway furniture, but in an open plan it has a better job: it is a stitch. Laid across the bare floor in the gap between two zones — running from the edge of the lounge rug toward the dining area, for example — a runner physically connects the two spaces and tells your feet which route to take. It softens the no-man’s-land strip of flooring that most open plans leave exposed between groupings.
Worked example: in a long living-dining room, tuck one short end of a flatweave runner just under the sofa’s front edge and point it toward the dining table, stopping a foot short of the dining rug. Guests walk along it instead of cutting through the conversation area, footsteps quieten, and the gap that looked like leftover space now looks deliberate.
Getting the runner right
- Choose a flatweave or low pile so doors swing over it and chair legs never catch on it.
- Leave a border of bare floor on both long sides — a runner wall-to-wall reads as carpet, not a stitch.
- Echo one color from each zone in the runner’s pattern; it is the bridge, so it should speak both languages.
- Add a non-slip pad underneath. A creeping runner is the fastest way to make a stitched layout look unravelled.
3. Park a Swivel Chair That Turns Between Zones
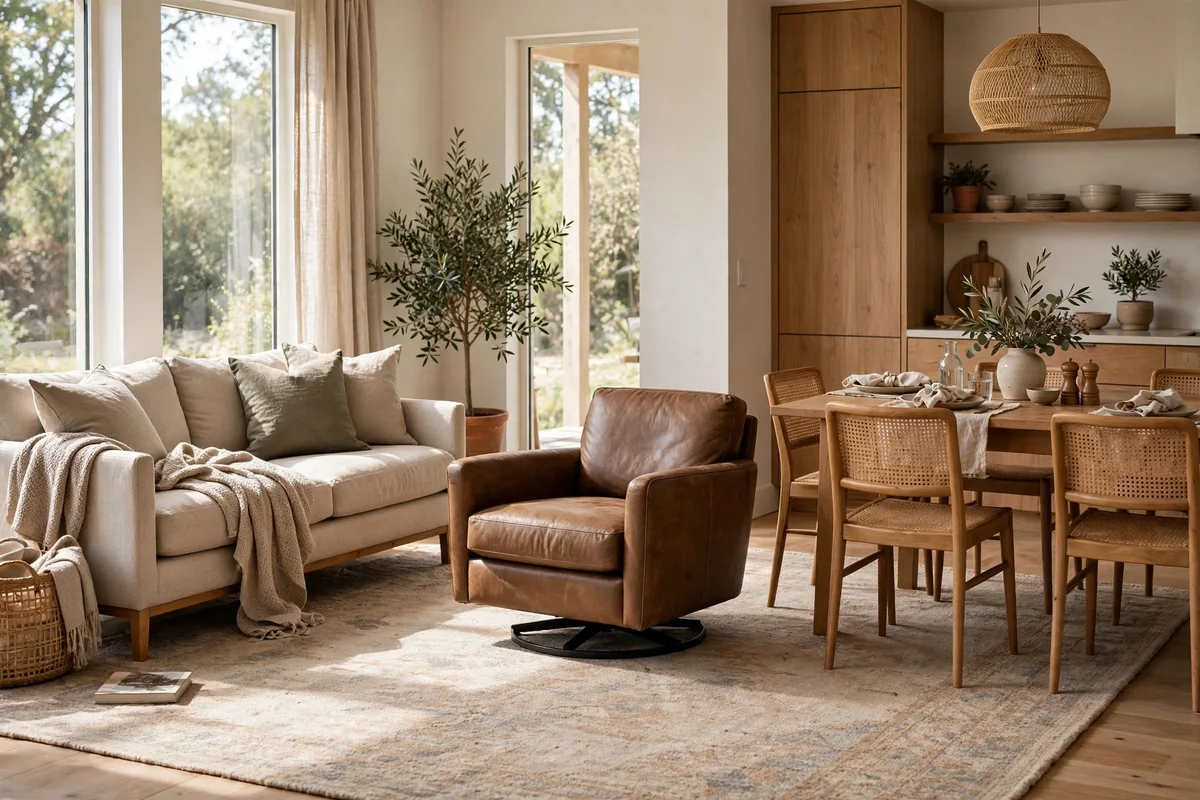
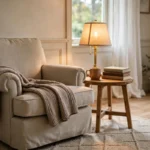
Every open plan has one seat that belongs to two zones at once: the chair at the edge of the lounge that is also the closest seat to the dining table, or the reading chair that wants to join the conversation and watch the kitchen. A fixed chair has to pick a side. A swivel chair does not — it turns, and that small mechanical kindness solves arguments about layout that no amount of furniture shuffling will fix.
Worked example: place a low swivel armchair at the open corner of the lounge rug. By day it faces inward for reading. Before dinner it swivels to join the table’s orbit for drinks. When guests gather in the kitchen, it turns to face the cook. One chair does the work of three, and the corner stops being dead space.
Placing a swivel so it earns its keep
- Put it on a zone corner, not in the middle of a grouping — corners are where two zones meet.
- Leave a clear turning circle: no side table so close that the chair clips it mid-swivel.
- Choose a low back so the chair never becomes a visual wall when it faces away.
- Test it at night: the chair should be able to turn toward the best lamp, not away from it.
4. Keep Wood Tones Within Two Shades Everywhere
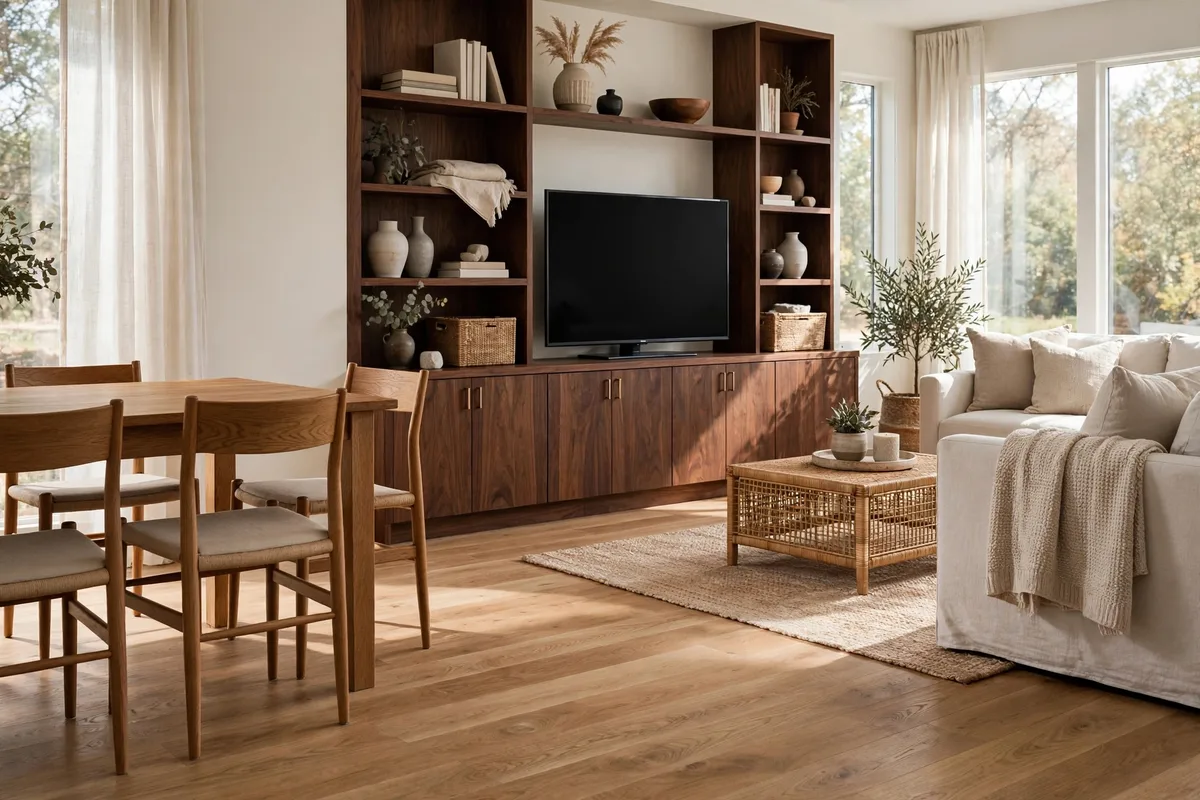
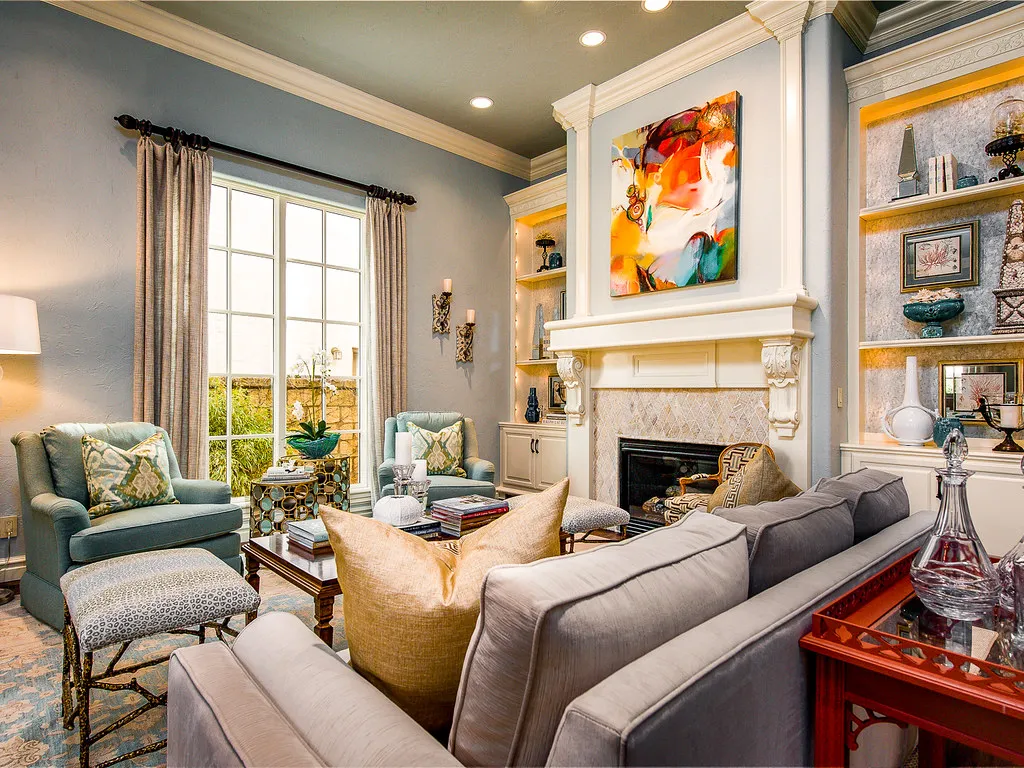
In a closed room, a mismatched side table hides behind a door. In an open plan, every wood finish in the house is visible at once — floor, dining table, media unit, shelving, kitchen stools — and when they span four or five different tones, the whole space feels restless even if each piece is lovely on its own. The fix is a simple budget: the whole open plan gets two wood shades, no more. One main tone and one supporting tone.
Worked example: your floor and dining table are warm mid-oak — shade one. Your media unit and shelving are deeper walnut — shade two. A pale pine stool and a reddish cherry side table arrive as shades three and four, and suddenly nothing matches. Move the pine stool to a bedroom, paint the cherry table, and the room calms down without a major purchase. The rule is not matching — it is counting.
Auditing your wood tones in ten minutes
- Stand at the main doorway and photograph the whole plan; tones are easier to judge in a photo.
- Name each finish you can see and group them into families: light, mid, dark, red-toned, grey-toned.
- Keep the two largest families and relocate, paint, or cover the outliers — a table runner hides a clashing tabletop.
- When buying anything new, take a photo of your two shades with you and hold the piece against it in the shop’s light.
5. Hang Dining Pendants at the Right Height Above the Table
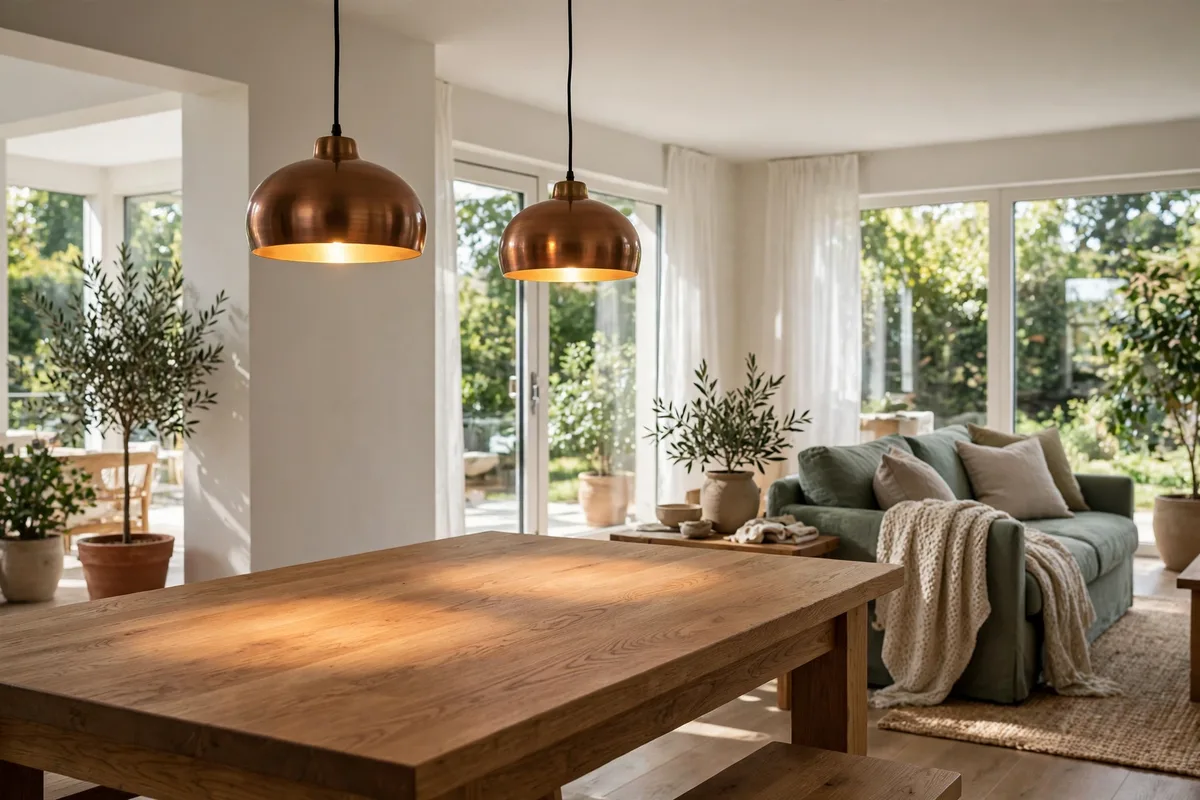
A pendant over the dining table only zones the space if it hangs where diners actually feel it: low enough to gather the table into a pool of light, high enough that nobody’s view across the table is blocked. The widely used rule of thumb is to hang the bottom of the shade roughly 30 to 36 inches above the tabletop. Higher than that, the fixture belongs to the ceiling. Lower, and it belongs in someone’s face.
Use this quick reference when you adjust yours:
| Situation | Bottom of shade above tabletop |
|---|---|
| Standard 8-foot ceiling, seated dining | About 30 to 32 inches |
| Tall ceiling, larger table | About 34 to 36 inches |
| Two or three pendants in a row | Same height for all, spaced evenly along the table’s center line |
| Pendant over a kitchen island with stools | About 30 to 36 inches above the counter, clear of standing eye level at the ends |
Worked example: a pendant 44 inches above the table looks fine in a photo and fails at dinner — light spreads everywhere and faces shadow from above. Shorten the drop to about 30 inches and the table becomes a lit stage, the lounge falls dimmer by comparison, and two zones exist where before there was one bright blur.
Fine-tuning after the hang
- Sit in every chair and check the shade never cuts across a face at eye level.
- Center the fixture over the table, not over the room — if the table moves, the pendant should be re-centered.
- Use a warm bulb and a dimmer so the dining pool of light can soften after the meal.
6. Finish the Back of a Bookcase So Both Sides Look Intentional
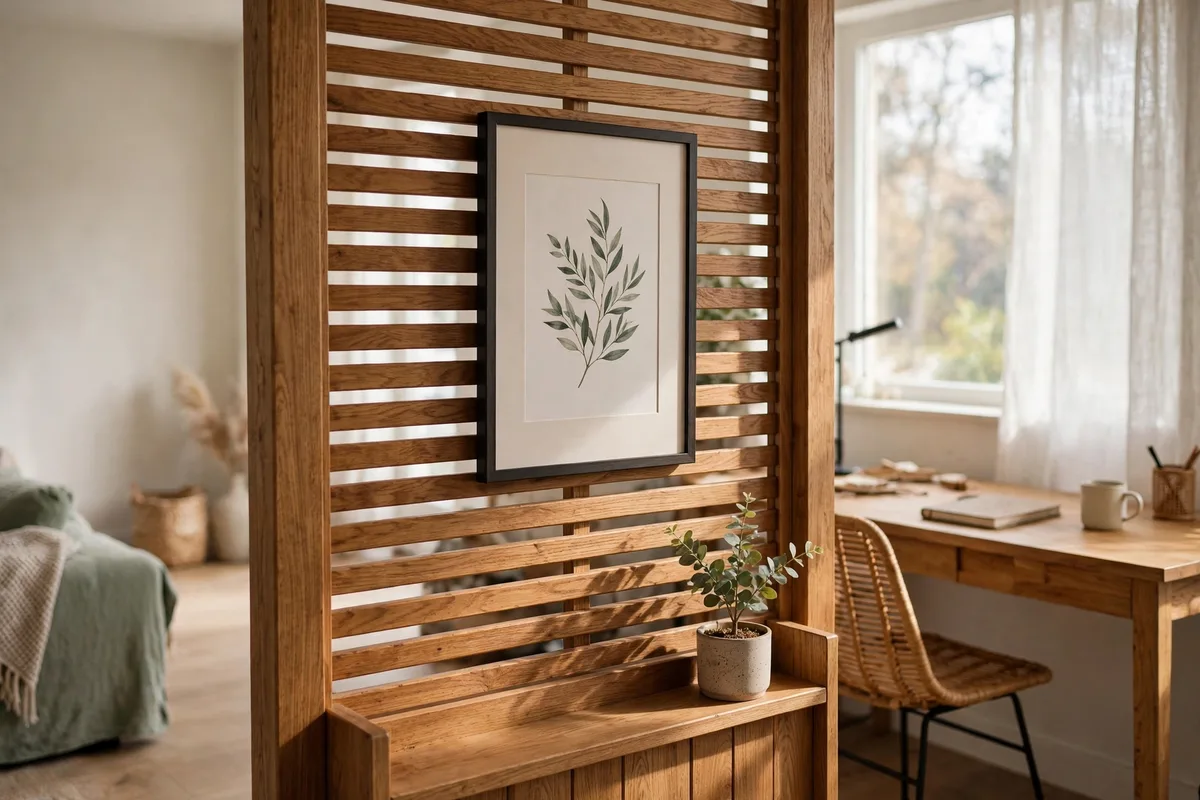
Any bookcase, shelving unit, or media stand that floats in an open plan has two fronts. Most people style the side they sit facing and leave the back — raw board, visible screws, the dusty backs of books — facing the other zone. That unfinished back is often the first thing guests see from the dining table, and it quietly tells them the divider was a compromise, not a choice.
Worked example: an open-backed bookcase stands between the lounge and a work nook. From the lounge the shelves are styled; from the desk you stare at the unit’s unfinished rear. The fix takes an hour: fit a thin panel or fabric on a tension rod to the back, add a framed print, and place one object — a plant or vase — meant to be seen from the desk side. Now both zones get a finished view, and the bookcase reads as furniture, not scaffolding.
Back-finishing options by effort
- Lowest effort: hang one large framed print or a woven wall hanging flat against the back.
- Medium effort: paint the back panel in your accent color so it becomes a deliberate color moment for the second zone.
- Most finished: line the back with beadboard, fabric, or wallpaper, then style a shallow ledge or hook rail on it.
- Whatever you choose, leave the fix removable if the unit might move — panels on clips beat glue.
For more on how the larger dividers themselves work in a layout, see our roundup of open-plan living zone ideas — this tip is about what you do once the divider is already standing.
7. Define a Drop-Zone at the Entry With a Bench and Hooks
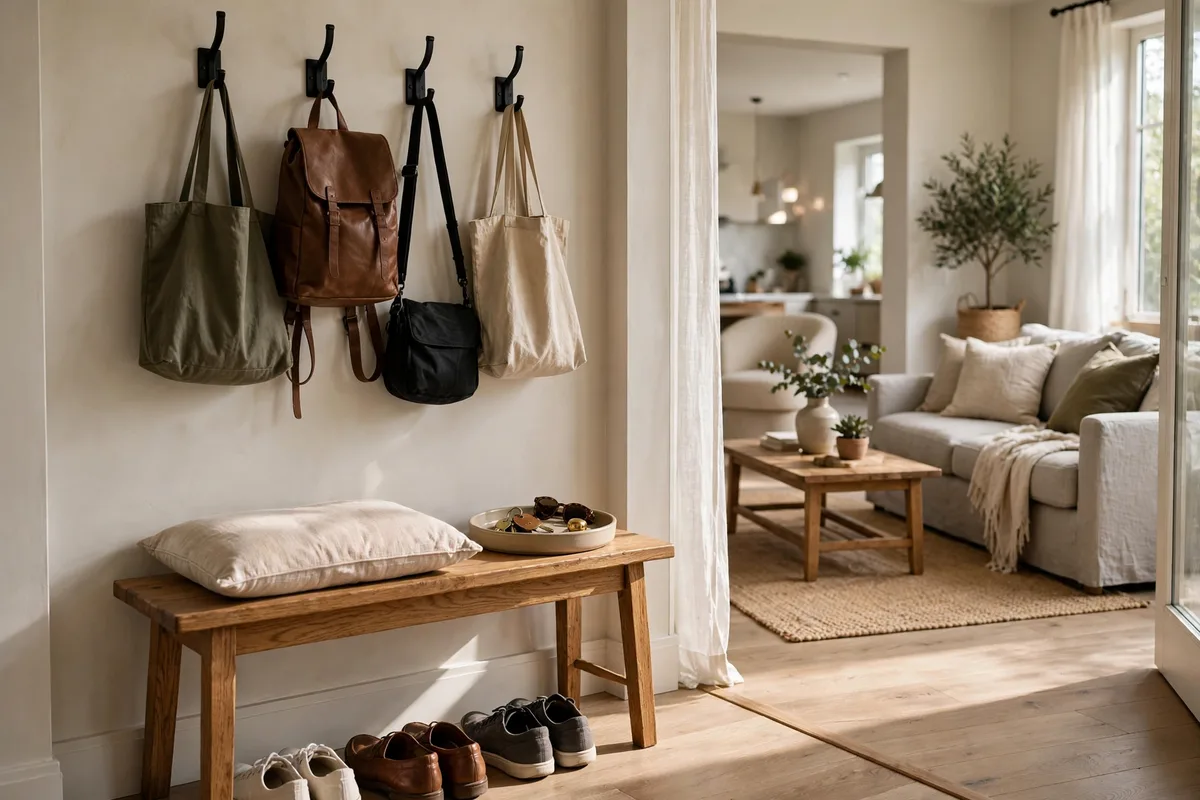
Open plans usually have no hallway, which means the front door opens straight into your living zones — and everything carried through that door lands on the nearest flat surface. The cure is to give arrivals a proper home within the first few steps: a small drop-zone made of a bench, a row of hooks, and one tray. It is a zone like any other, just a hardworking miniature one.
Worked example: beside the door, place a narrow bench, three or four hooks above it, and a shallow tray on the bench for keys and mail. Shoes slide underneath, bags hang instead of migrating to the sofa, and the dining table — previously the default landing strip — stays clear. The zone takes less floor than an armchair and removes the biggest source of visual clutter in the room.
Setting up a drop-zone that stays tidy
- Keep it within two or three steps of the door; a drop-zone you have to walk to will not be used.
- One tray, one hook per person, one basket for overflow — limits are what stop the zone expanding.
- Add a small washable mat under the bench so wet shoes never reach the zone rugs.
- Empty the tray weekly. A drop-zone is a transfer station, not storage.
8. Match Rug Patterns by Scale, Not by Color
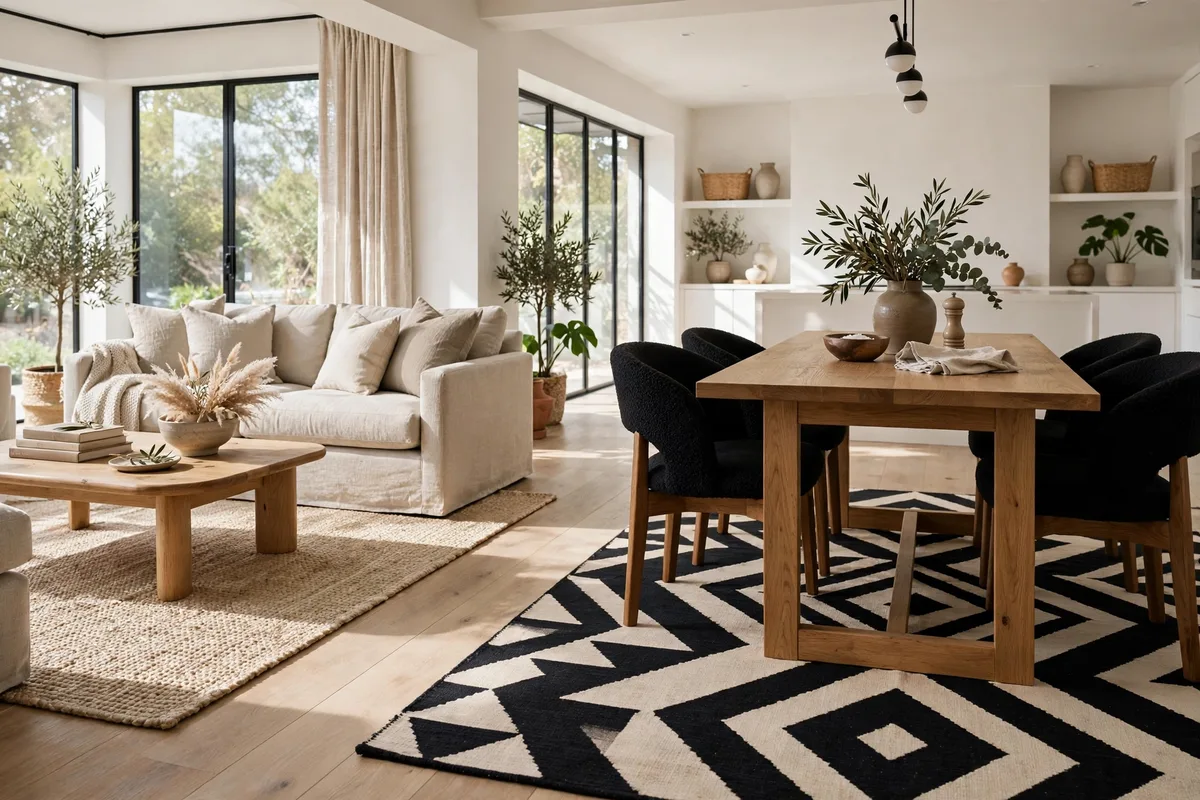
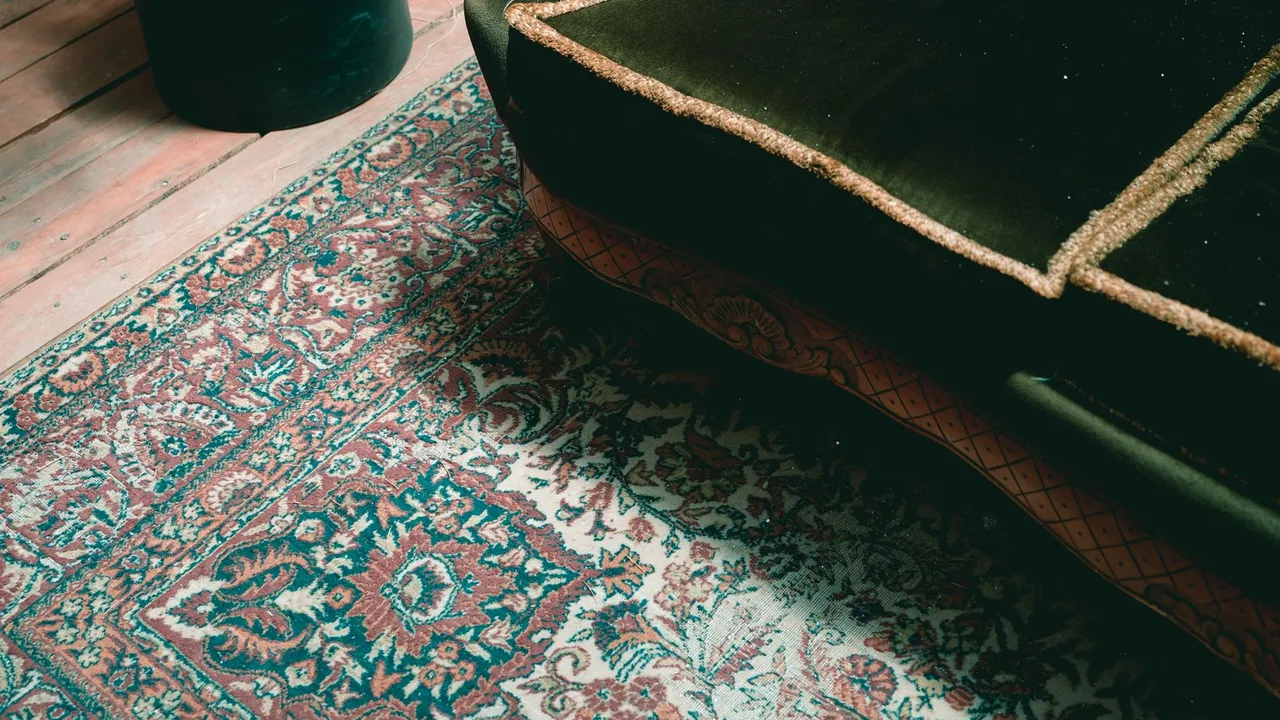
When two rugs share one open plan, most people try to coordinate them by color and end up with two busy patterns in similar shades shouting over each other. There is an easier coordination rule: match by pattern scale. Pair one large-scale pattern with one small-scale pattern (or a plain texture), and the rugs will sit comfortably together even if their colors are only cousins, not twins.
Worked example: the dining rug has bold, oversized diamonds you can read across the room. For the lounge, choose a fine, small-scale pattern or a plain looped texture in a related tone. From the doorway the eye reads one confident pattern and one quiet ground. Reverse it — two large-scale geometrics side by side — and the floor becomes the loudest thing in the house.
The scale-matching method
- Stand back and squint: the rug whose pattern you can still read is your large-scale piece. You only get one.
- Let the second rug be small-scale, striped, or plain-textured — it supports, it does not star.
- Keep both rugs in the same warmth family (both warm or both cool) so the scale contrast feels intentional.
- If both rugs are already large-scale, calm one down with a plain throw or a big coffee table footprint over its busiest area.
9. Keep Sightlines Low So Zones Still Feel Open
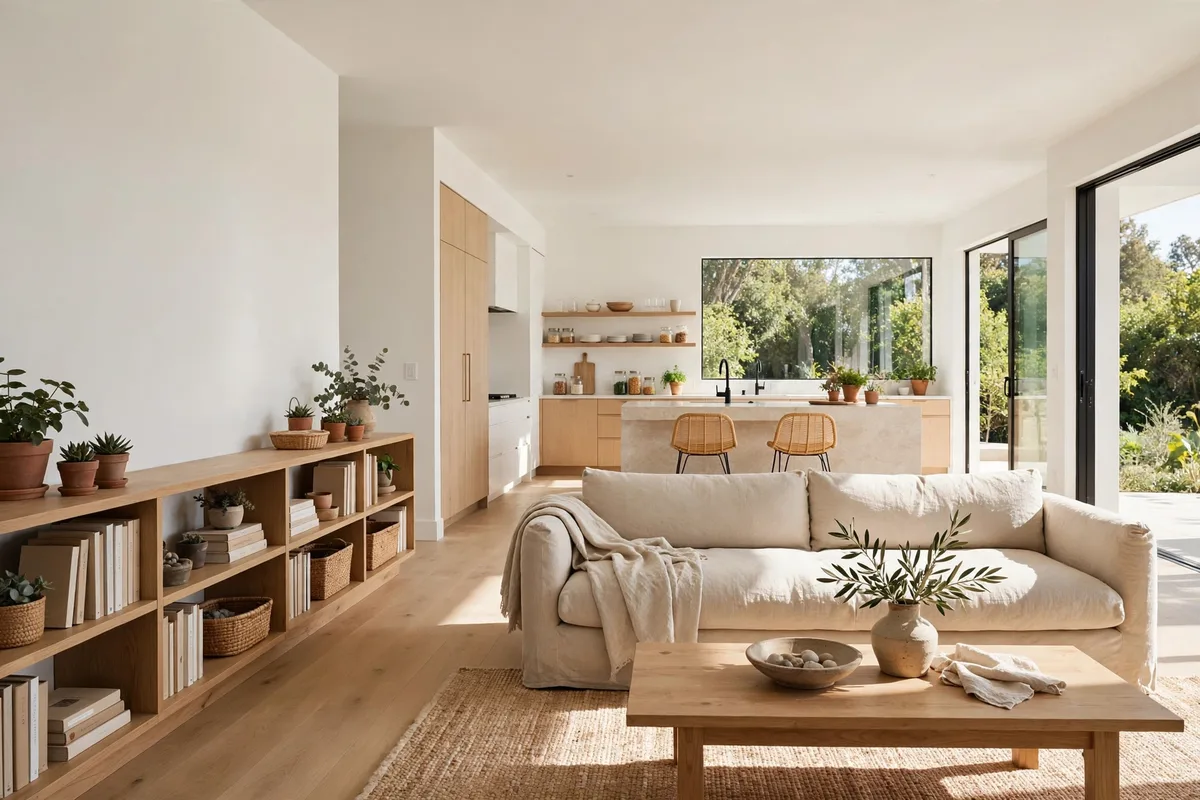
Zoning tempts people to build upward — taller shelves, bigger plants, higher-backed chairs — until the open plan has been quietly re-walled at eye level. The small-move version of zoning keeps everything below the sightline. When you can see over your dividers and across the whole plan from any seat, zones feel defined by suggestion rather than by barrier, and the room keeps the spaciousness you bought it for.
Worked example: sit in your lounge chair and look toward the kitchen. If your view crosses a low bookcase, a sofa back at shoulder height, and a bench — all below standing eye level — the zones read clearly but the room breathes. Swap in a tall shelving unit and high-backed chairs and the same plan becomes a corridor. The test: from each main seat, you should see at least one window and the far wall with nothing tall crossing your eyeline.
The low-sightline checklist
- Divider tops at or below shoulder height when seated are ideal; waist height is even better.
- Save tall pieces for the perimeter walls, where they block nothing.
- Choose low backs on chairs that sit at zone edges, especially swivel and accent chairs.
- Keep pendant shades and hanging plants out of the main cross-room view lines between seats.
10. Use a Tray or Landing Strip to Stop Clutter Migrating
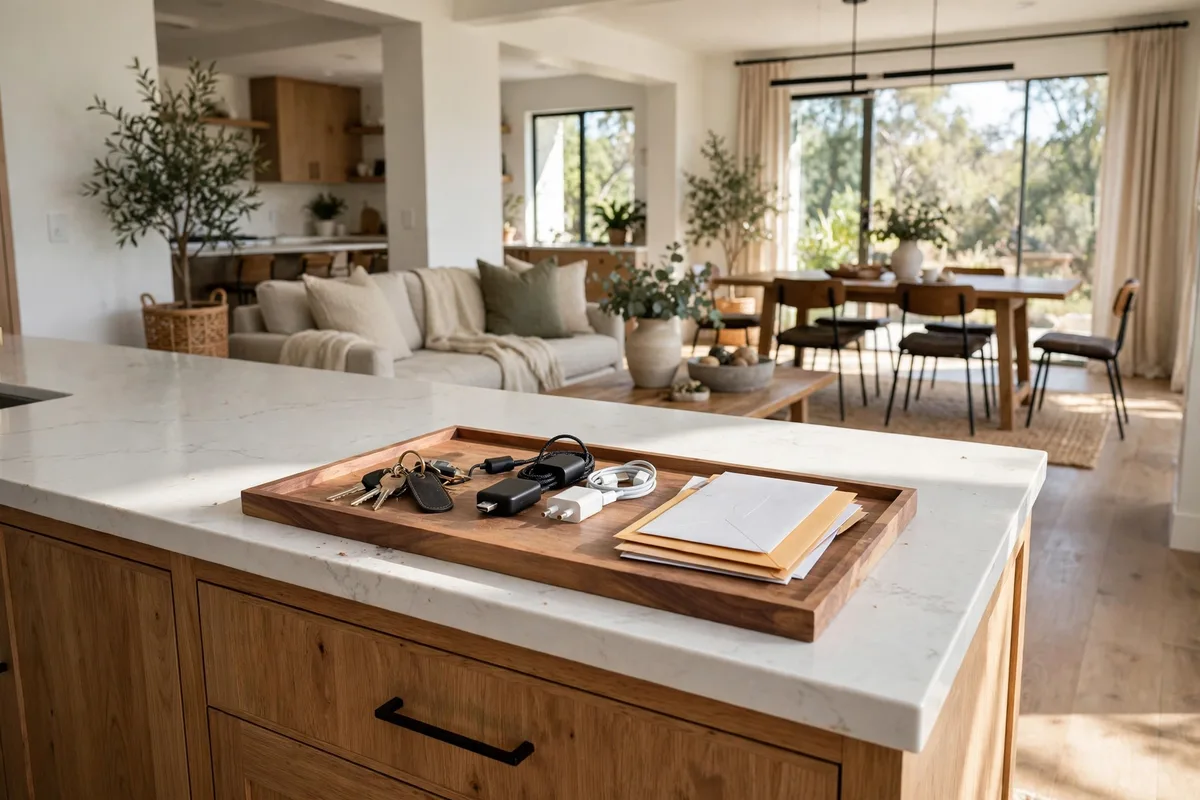
Clutter in an open plan does not stay where it lands — it migrates. Mail starts on the kitchen counter, moves to the dining table, and ends on the coffee table, because no surface has been officially assigned as the stopping point. The fix is embarrassingly small: give every zone one tray or landing strip, and make a household rule that loose items may only rest on a tray. A tray turns scattered objects into a single, deliberate-looking group and gives migrating clutter a legal home in each zone.
Worked example: a wooden tray on the kitchen island holds keys, chargers, and post. A smaller tray on the coffee table holds remotes. A shallow dish on the dining sideboard catches what arrives during meals. At the nightly reset, anything off a tray goes back to one — two minutes, because there are only three places to check.
Running the tray system
- One tray per zone, sized to its job — small for remotes, larger for post and chargers.
- Style each tray with one permanent object (a candle, a small plant) so it looks intentional even when empty of clutter.
- Put lids or boxes on the tray for the ugly essentials: cables, medication, spare batteries.
- Do a two-minute tray reset each evening; the system fails only when items are allowed to live off-tray overnight.
Frequently Asked Questions About Open-Plan Living Zones
How many accent colors should an open-plan room have?
One main accent is enough, repeated three times across the zones. A second accent needs the same treatment — two or three appearances — or it reads as a mistake. Neutrals and wood tones are background, not accents.
What is the best first small move if my open plan feels messy?
Start with the tray system (Tip 10) and a drop-zone by the door (Tip 7). Open-plan mess is usually migrating clutter, not bad layout, and those two moves give every loose item a legal home in an afternoon.
How long should a runner be between two zones?
Long enough to connect them: start at or just under one zone’s edge and end a short distance before the next zone, with bare floor on both long sides. Too short, and it floats alone and reads as a mat.
Can a swivel chair work in a small open-plan room?
Yes — one swivel chair does the work of two fixed chairs facing different ways. Choose a compact, low-backed model, keep its turning circle clear, and place it on the corner where the lounge meets the next zone.
What if my wood tones already span three or four shades?
Do not replace everything. Make the two dominant tones — usually the floor and the largest piece — your official shades, then relocate, paint, or cover the outliers one at a time.
How low should dining pendants hang in a rental where I cannot rewire?
If you cannot change the drop, change the effect: a taller centerpiece makes a high pendant feel less lost, and a plug-in swag kit (where your lease allows hooks) can bring light closer to the table. Never let the shade block faces at seated eye level.
How do I finish the back of a bookcase without damaging it?
Use removable fixes: fabric or a panel hung from clips or a tension rod, a large framed print hooked over the back, or removable wallpaper on a cut-to-size board rather than the unit itself.
Two rugs came with the house and both have big patterns. What now?
Keep the bolder rug as the single large-scale star and calm the other — layer a plain flatweave under it so only a border shows, or move it to a bedroom where it has no competitor.
How do I zone an open plan when the entry door opens straight into the lounge?
Claim the first few steps for a drop-zone: a narrow bench, hooks, and a tray against the nearest wall, with a washable mat defining its footprint. That miniature zone absorbs everything arrivals carry in; the lounge starts beyond it.
How often should I re-check these small moves?
Every few months, do a ten-minute audit: count accent repeats, photograph wood tones from the doorway, confirm pendants still center over the table, and empty every tray once.
Conclusion
Open-plan living is won or lost in the details nobody photographs. Big features set the stage, but small, countable moves finish the room: one accent three times, a runner stitching the gap, a swivel chair refusing to pick a side, two wood shades, pendants at diner height, a bookcase finished on both sides, a drop-zone at the door, rug patterns matched by scale, low sightlines, and a tray in every zone.
Pick the two tips that describe your room’s most annoying habit and do those first, this week, with what you already own. Small moves compound: each one makes the next zone clearer, until the whole plan reads as intentional — not because you rebuilt it, but because you finished it.