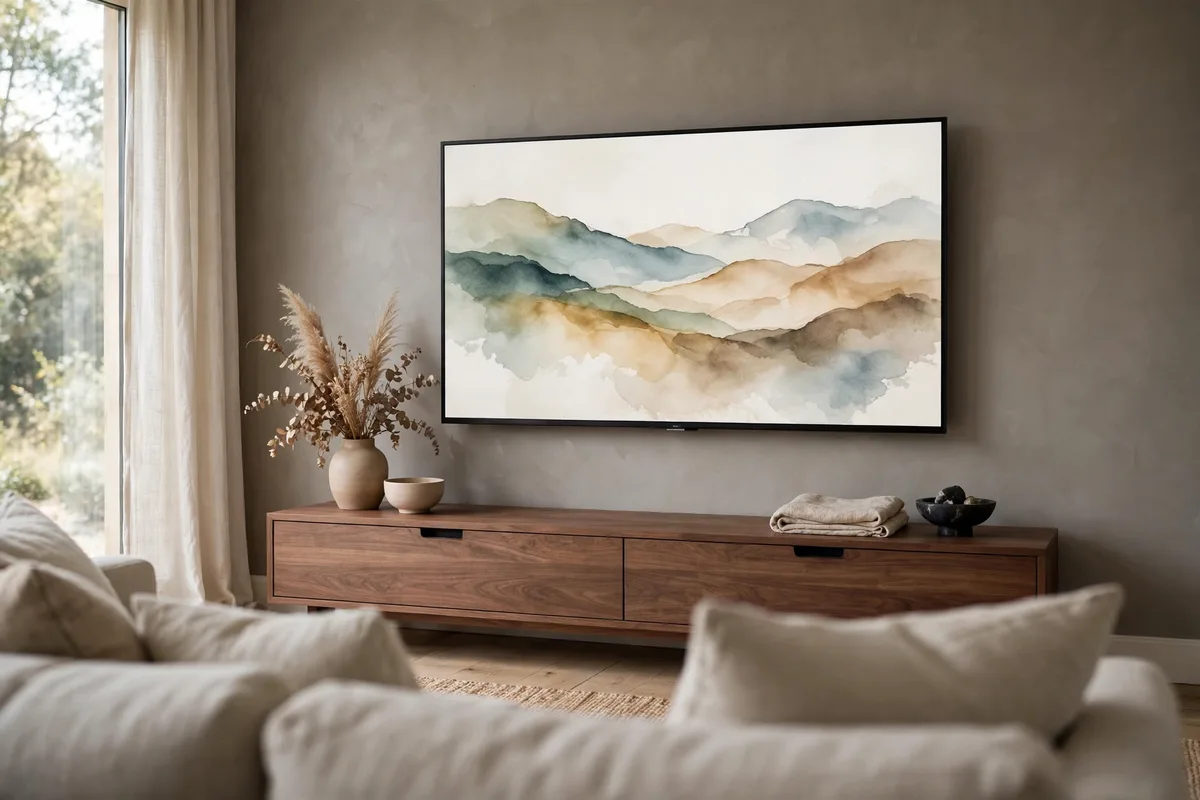
A TV wall can look perfect in a photograph and still be annoying to live with: the screen a fraction too high, the soundbar muffled inside its cubby, one cable a centimetre too short, the picture a mirror every sunny afternoon. None of those are styling problems. They are small, fixable technique problems — and they are what this article is about.
These tips go a level deeper than choosing a look. Each one is a single practical job with a clear method: checking the wall before you drill, setting tilt by angle, leaving cable slack, placing a soundbar properly, and fixing glare at the window instead of in the picture settings. If you are still choosing the overall design, our TV wall design examples guide walks through worked examples, and our roundup of TV wall design ideas covers the finished looks to pair with the fixes below.
These tv wall design tips are organised by job — but you arrived by symptom, so start there:
a screen mounted a fraction too high → Set the Tilt and Viewing Angle, Not Just the Height
dialogue muffled inside its cubby → Place the Soundbar for Sound First and It Will Look Right Too
a cable a centimetre too short → Leave a Labelled Service Loop So You Can Reach Your Own Cables
a glow that looks like a gaming setup → Set Bias Lighting by Temperature and Brightness, Not by Vibes
reflections off the wall itself → Use Paint Sheen and Panel Depth to Stop the Wall Reflecting Back at You
a picture that mirrors every sunny afternoon → Fix Glare at Its Source, in This Order, Before Touching the Picture Settings
In this guide: Check the Studs, the VESA Pattern and the Load Before You Drill Anything · Set the Tilt and Viewing Angle, Not Just the Height · Leave a Labelled Service Loop So You Can Reach Your Own Cables · Set Bias Lighting by Temperature and Brightness, Not by Vibes · Use Paint Sheen and Panel Depth to Stop the Wall Reflecting Back at You · Place the Soundbar for Sound First and It Will Look Right Too · Style the Console Top in Three Working Zones, Not One Display · Build the Gallery Around the TV So It Supports the Picture Instead of Competing With It · Fix Glare at Its Source, in This Order, Before Touching the Picture Settings · Use No-Drill Renter Fixes That Still Look Finished, Not Temporary · Frequently Asked Questions About TV Wall Design Tips · Conclusion
1. Check the Studs, the VESA Pattern and the Load Before You Drill Anything
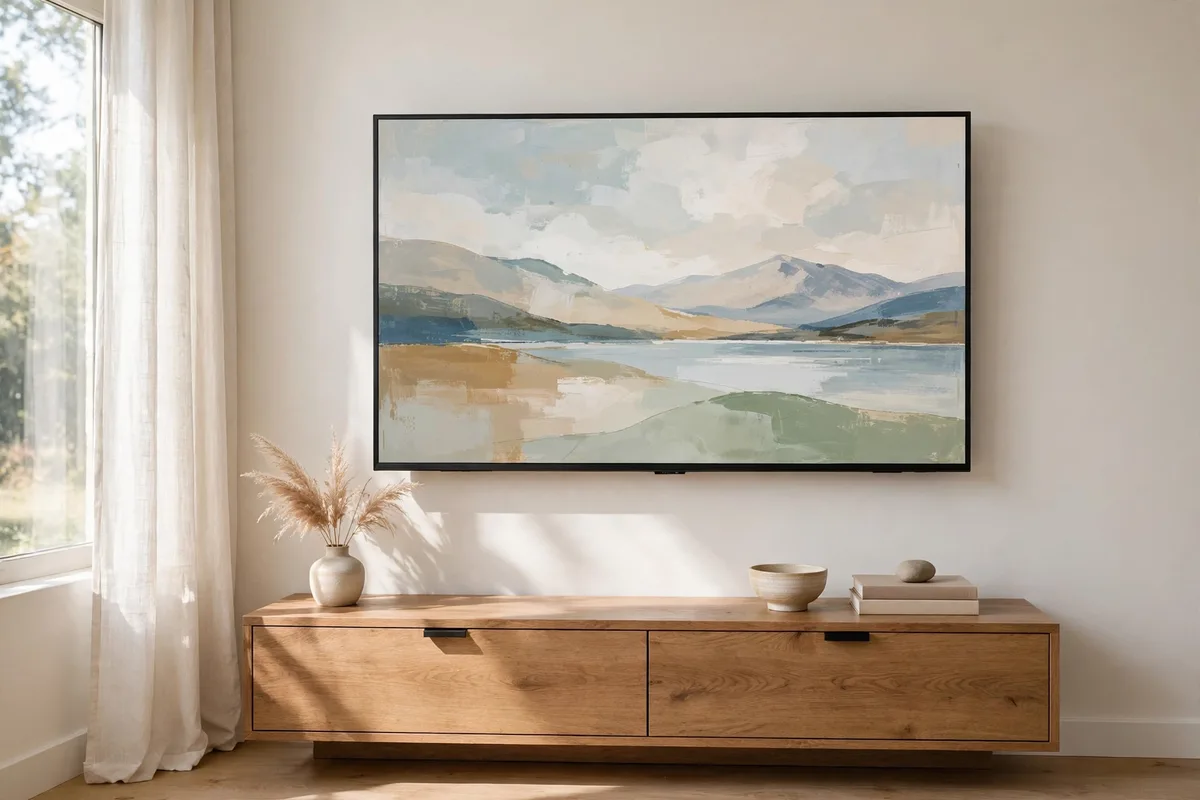
Most mounting advice starts with height. Start one step earlier, with what is inside the wall. A mount is only as strong as what it is bolted into — a stud holds for a decade; bare drywall slowly pulls loose.
The three checks that take ten minutes
- Find two studs. Run a stud finder across the mounting zone, mark each stud’s edges, then its centre — that centre line is where the lag bolts land. Studs often sit about 16 inches apart; if yours are wider, choose a mount with a wall plate wide enough to reach both.
- Match the VESA pattern. The four threaded holes on the back of the TV form a pattern measured in millimetres, such as 200 x 200 or 400 x 400. Your mount must list that exact pattern — check before ordering, not while the TV is face-down on the sofa.
- Leave a safety margin. Add up the TV, mount and any soundbar bracket, then choose hardware rated roughly a quarter to a third above that total. It is cheap insurance.
For masonry, swap the lag bolts for rated sleeve anchors and clear the dust from each hole so they grip. If you cannot hit a stud, a plywood backer board screwed across two studs spreads the load far better than drywall anchors alone. Pre-drill, drive the first bolt, re-check level, then drive the rest.
2. Set the Tilt and Viewing Angle, Not Just the Height

The real target is a comfortable viewing angle: your gaze should meet the screen close to square-on, with the centre of the picture no more than about 15 degrees above your seated eye line.
How to set it in practice
- Tape first, drill second. Outline the screen in painter’s tape at the planned height, sit in every seat you use, and live with it for an evening. Reclined seats forgive a higher screen; upright seating does not.
- Tilt only to correct. A downward tilt of around 5 to 10 degrees suits a screen that must sit higher than ideal, for example above a mantel. At correct seated height, a fixed flat mount is most comfortable and cleanest looking.
- Match distance to size. Too close and you scan the picture instead of watching it; too far and a large screen shrinks. Use the table as a starting range — films reward the closer end, everyday viewing is kinder from further back.
| Screen size | Mixed everyday viewing | Movie-leaning viewing |
|---|---|---|
| 43 inches | 5.5 to 7.5 feet | 4.5 to 5.5 feet |
| 55 inches | 7 to 9.5 feet | 5.5 to 7 feet |
| 65 inches | 8 to 11 feet | 6.5 to 8 feet |
| 75 inches | 9.5 to 12.5 feet | 7.5 to 9.5 feet |
If your room forces a choice, moving the sofa a foot is free and reversible; buying a bigger screen to compensate is neither. Set the distance first, then let it confirm the screen size.
Placement as its own system — seven patterns, a gap table, alignment lines — is our layout guide for tv wall design styles.
3. Leave a Labelled Service Loop So You Can Reach Your Own Cables
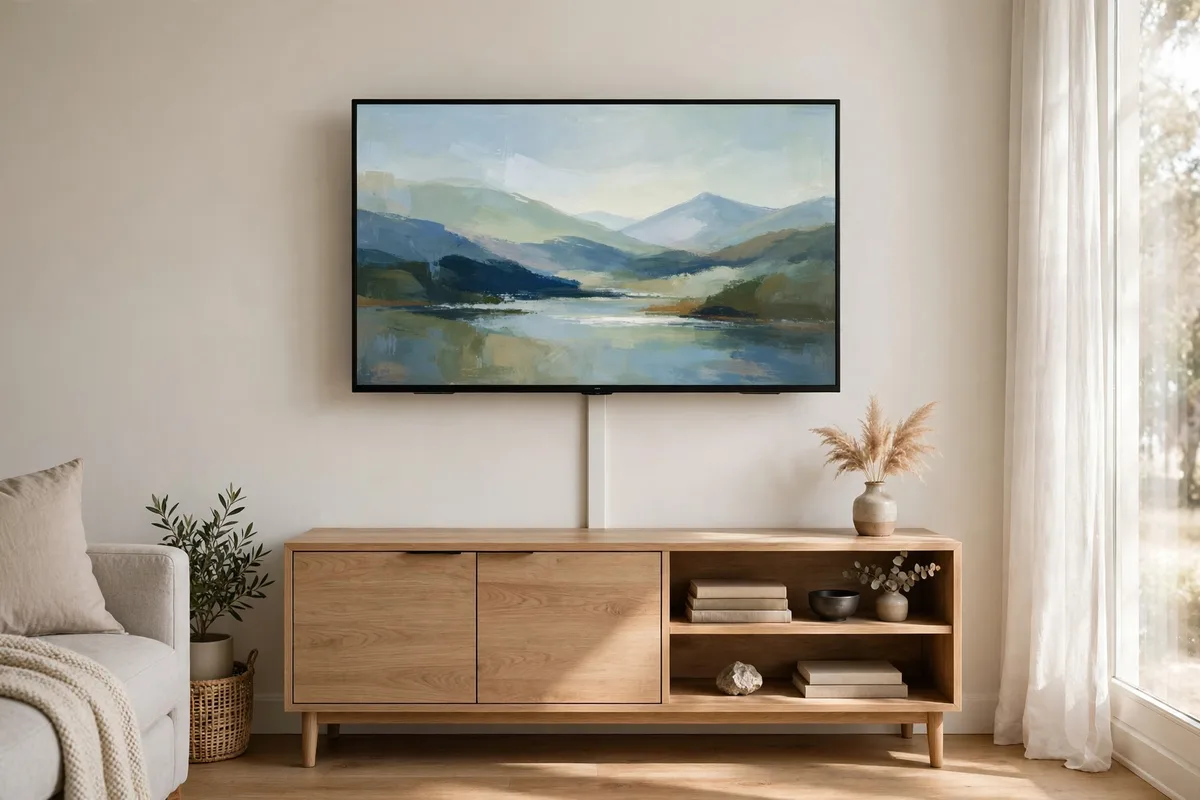
Hiding cables is only half the job. Tidy setups are planned for the day something changes — a new console, a failed HDMI lead. Pulled drum-tight, that day means taking the TV off the wall.
The slack-and-label method
- Leave a gentle service loop. Coil spare cable into a loose loop behind the TV or inside the console, secured with a hook-and-loop tie. On a full-motion mount, extend the arm fully before tidying, and make sure no cable pulls tight or bends sharply at full stretch — then add a little more slack.
- Label both ends. A small tag at each end of every lead — TV end and device end — turns a future fault-find from an hour of unplugging into two minutes.
- Run one spare. While the wall is open, add one extra HDMI cable and, if the router is nearby, an ethernet lead. The cost is one cable; the saving is a second teardown.
- Respect the one safety rule. A standard power cord must never run inside a wall — it is not rated for it. Use an in-wall power relocation kit with rated cable, or add a recessed outlet. In-wall signal cables should be rated too.
Finish by gathering everything to one accessible power strip inside the console, with ventilation space around it.
4. Set Bias Lighting by Temperature and Brightness, Not by Vibes
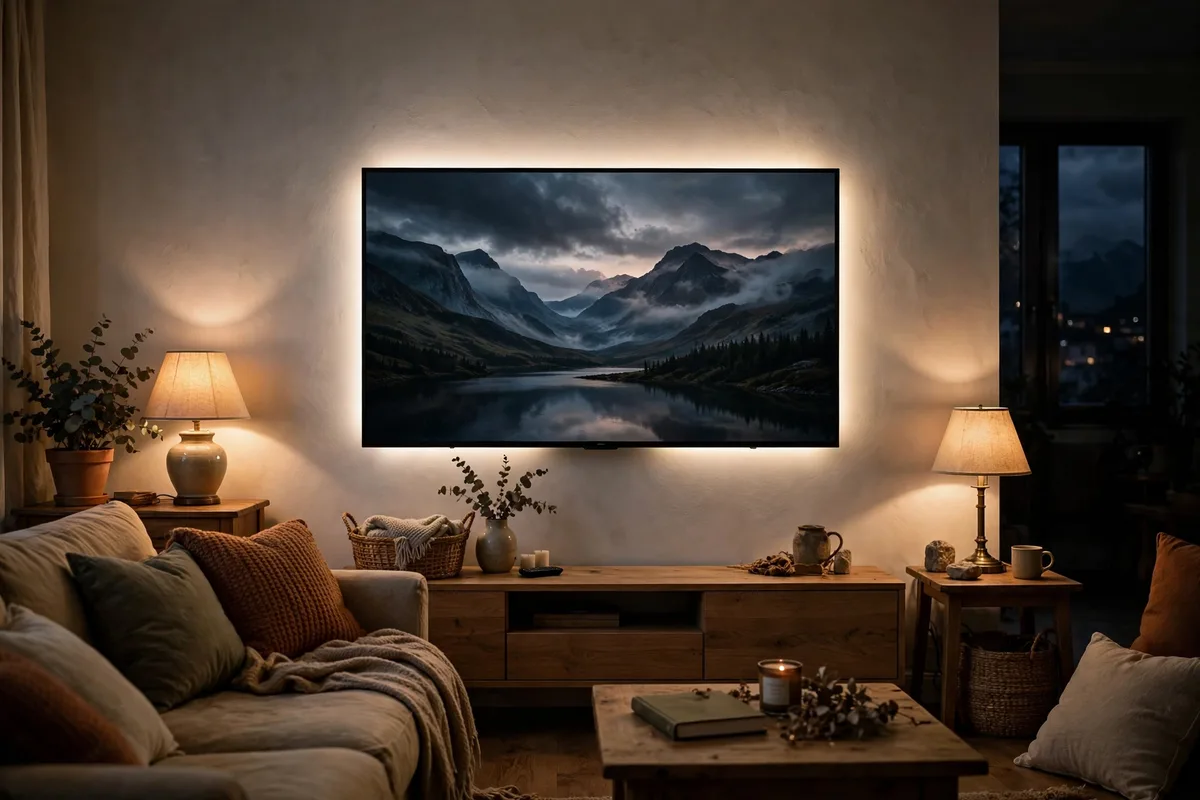
Bias lighting is the cheapest upgrade on this list, but most people install it on full brightness in its default colour — then wonder why it looks like a gaming setup. Two settings decide whether it helps the picture or fights it.
Getting the two settings right
- Temperature: neutral for accuracy, warm for mood. Neutral white close to the daylight reference screens are calibrated around keeps colours honest and eases the contrast between a bright picture and a dark wall. Warm white (2700 to 3000K) feels cosier and matches lamp light, but can make the picture look slightly cool by comparison. A saturated colour almost never works for everyday viewing — it tints everything your eyes use as a reference.
- Brightness: a halo, not an outline. The glow should be clearly dimmer than the picture — a soft wash you notice when you look for it. If the strip draws your eye during a dark scene, it is too bright. A dimmable strip on a smart plug or a USB port that switches with the TV makes this a one-time setting.
- Placement: inset from the edges. Fix the strip a couple of inches inside the screen’s back edges so light spreads evenly instead of leaking a hard line past the bezel. Larger screens want all four sides; on smaller ones, top and sides are enough.
Test it with a dark film scene, lights off: your eyes should relax, blacks look deeper, and you never notice the strip itself.
5. Use Paint Sheen and Panel Depth to Stop the Wall Reflecting Back at You
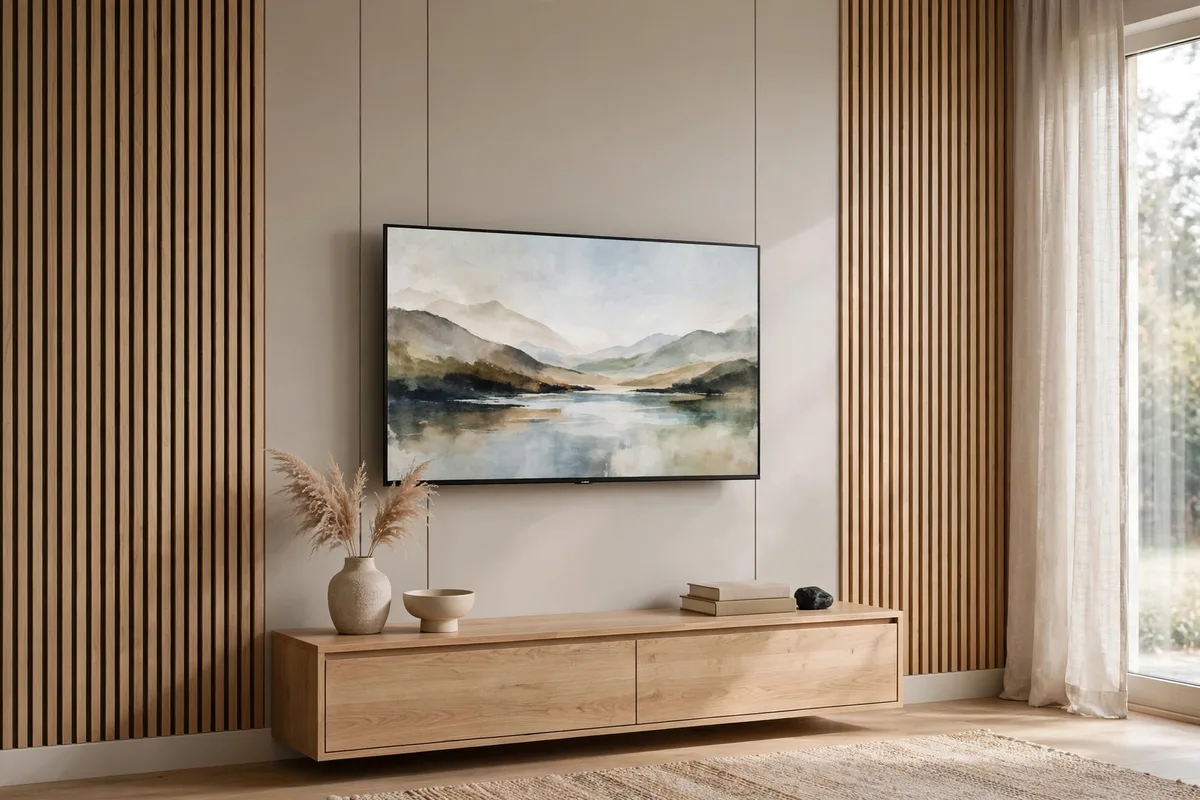
Colour gets the credit, but sheen does the work. Satin or gloss beside the screen behaves like a weak mirror, throwing reflections into your peripheral vision all evening. The fix costs nothing — it is a choice on the same tin of paint.
Sheen and depth, in order of impact
- Choose matte or eggshell. Flat finishes scatter light instead of reflecting it in one direction — exactly what you want on the surface your eyes rest on for hours. Eggshell is the family-room compromise: nearly as calm, but wipeable.
- Give panels a little depth. Slatted, fluted or framed panels on battens sit proud of the wall, breaking it into soft shadow lines instead of one flat reflective plane. That depth also hides a useful channel: cables can run behind a panel section and emerge exactly where the console sits.
- Keep texture calm near the screen. Fine, regular textures — narrow slats, shallow fluting, limewash — read as one surface from the sofa. High-contrast patterns close to the bezel compete with the picture, so save bold stone for a panel extending well beyond the screen.
A bonus: broken, softer surfaces also take the edge off an echoing room, so dialogue stays clear at lower volume.
6. Place the Soundbar for Sound First and It Will Look Right Too

The soundbar is the most mis-placed object on the TV wall. Pushed back on the console or tucked inside a cabinet, its dialogue sounds like it comes from inside a drawer — because acoustically, it does.
The placement rules that matter
- Centre it on the screen, near seated ear height. Voices should appear to come from the picture. Centre the bar on the TV’s centre line and keep it as close to your seated ear height as the furniture allows — usually the console top or a bracket just below the TV.
- Bring the front edge forward. Speakers fire forwards, and many bars also fire upwards or sideways. Set the bar flush with, or slightly proud of, the console’s front edge — a recessed bar has its sound clipped by the surface in front of it.
- Leave a small, even gap below the screen. A few inches between bar and TV keeps the two reading as one composition, stops the bar blocking the remote sensor, and leaves room to reach the connections.
- Never enclose it. Inside a closed cabinet a soundbar loses clarity and volume. If it must sit in an open cubby, pull it to the front edge and leave clear space above it — up-firing speakers need an unobstructed path to the ceiling.
Wall-mounting the bar on its own bracket — or one attached to the TV mount, so the two move together — solves most of these rules at once.
7. Style the Console Top in Three Working Zones, Not One Display
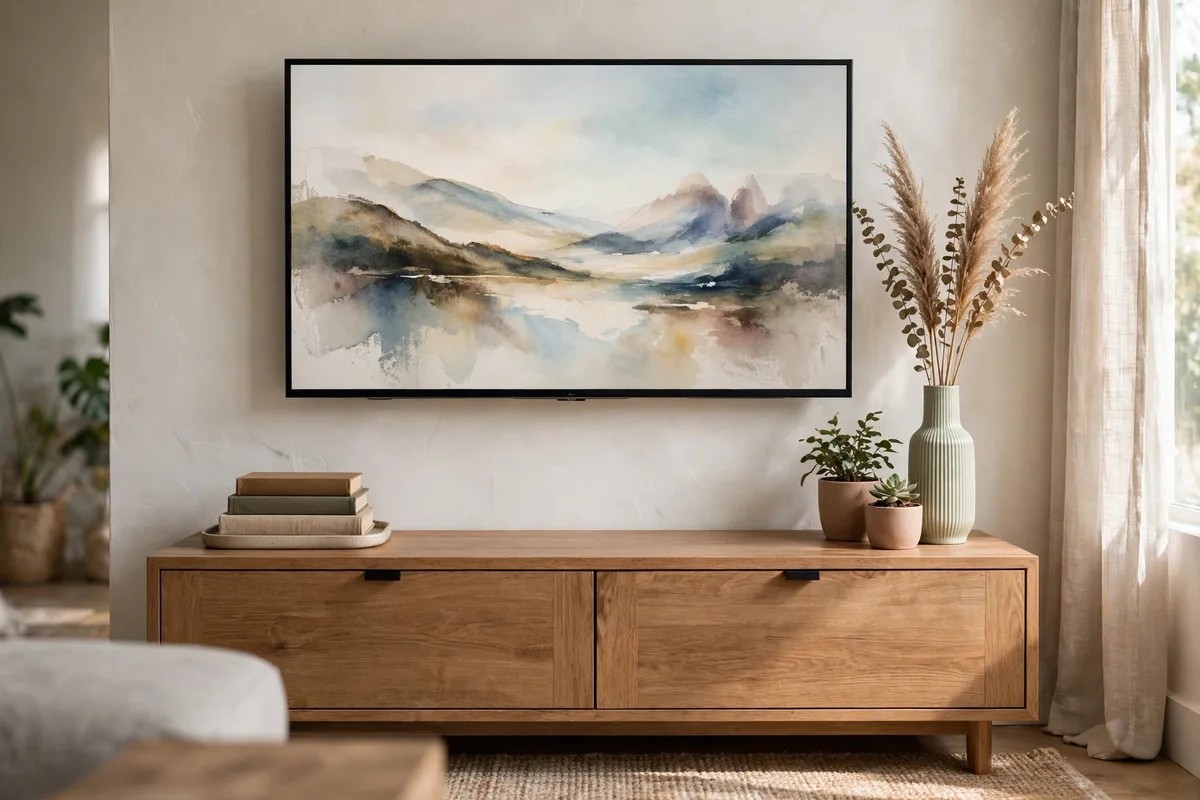
The console top is not one display shelf — it is a worktop with three jobs. Styling only works once each job has its space, so divide it into zones before placing a single object.
| Zone | What belongs there | The rule |
|---|---|---|
| Centre — the sound and sensor zone | Soundbar, and clear air in front of the TV’s sensor | Nothing tall or reflective in front of the screen’s lower edge |
| One end — the daily-use zone | Remotes in a small tray, coasters, the one book actually being read | Corral daily items in one container so they read as one object |
| Other end — the styling zone | One taller piece, one low stack, one small object | Style here only; keep height at the far end |
Two checks before you call it finished
- Heat and air: Devices inside the cabinet need airflow. Leave space around them and never stack a hot device directly under another one just to make the styling above look neat.
- The sit-down test: From your seat, look at the console, not the TV. Anything that catches your eye twice — a shiny object reflecting a lamp, a bright spine at screen height — moves down, back or out. Styling should be noticed when the TV is off and invisible when it is on.
8. Build the Gallery Around the TV So It Supports the Picture Instead of Competing With It
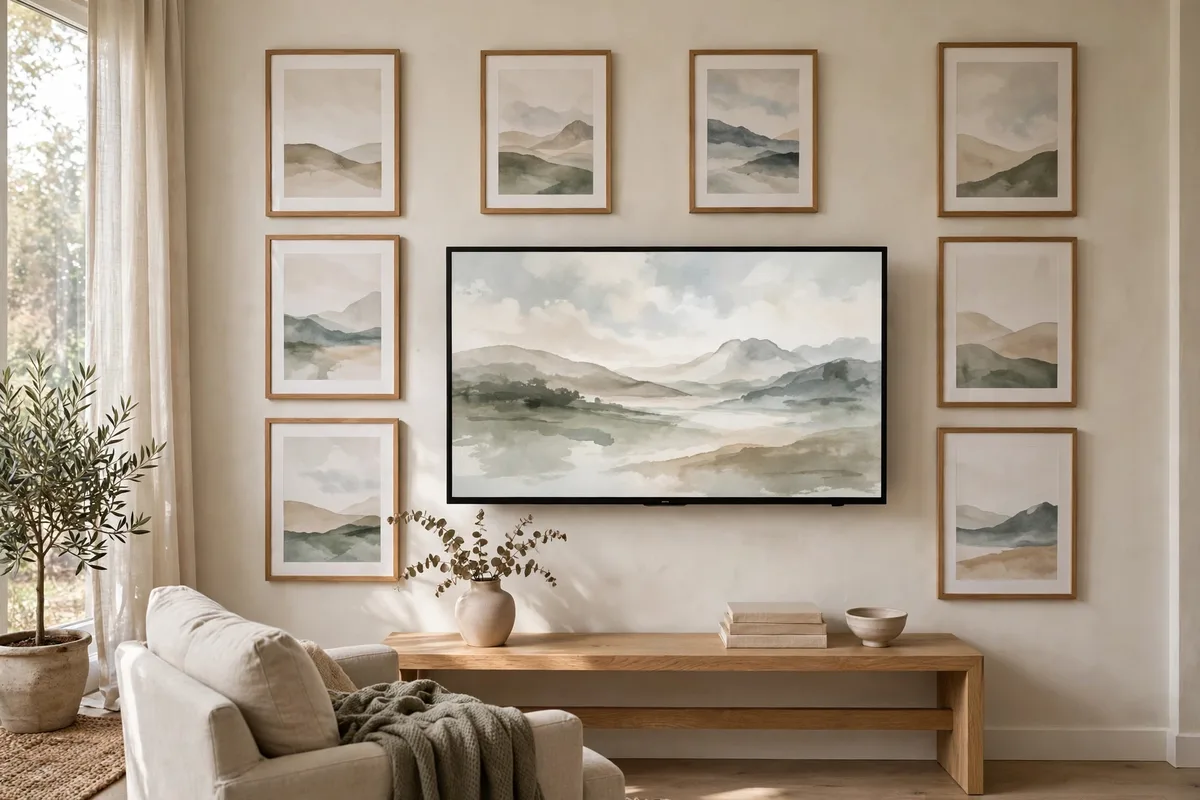
Galleries around TVs fail predictably: glass glare doubling window reflections, bright mounts shouting next to a black screen, frames so close to the bezel that the picture feels crowded. The technique is restraint.
The four gallery fixes
- Choose low-glare framing. Matte or non-reflective glazing stops each picture becoming a small mirror. If a finished frame still catches the window, it is the wrong frame for that spot, however much you liked it in the shop.
- Keep the palette quieter than the screen. Muted, lower-contrast artwork in a consistent mount colour lets the TV stay the brightest rectangle on the wall. Save the one high-contrast piece for the far edge, where it balances the screen instead of arguing with it.
- Hold a clear margin around the bezel. Leave a consistent gap of a few inches between the screen and the nearest frames, and keep it empty. That margin makes the TV read as the largest piece in the gallery, not a frame squeezed in.
- Use art mode honestly, if you have it. Art-display mode works best with matte, still images in tones similar to the real art beside it. Bright, saturated slideshows give the disguise away instantly.
Lay the arrangement on the floor first, photograph it, and live with the photograph for a day. The second arrangement is almost always calmer than the first.
9. Fix Glare at Its Source, in This Order, Before Touching the Picture Settings
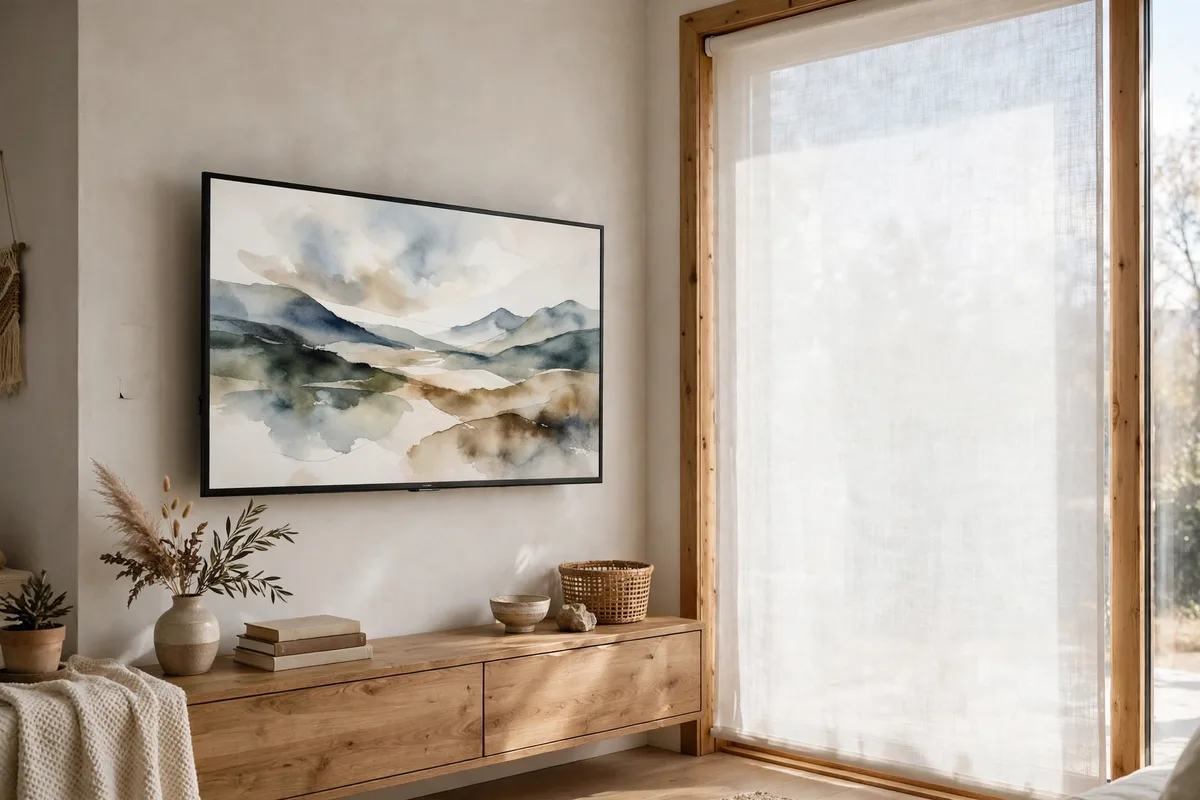
When a screen turns into a mirror every afternoon, most people reach for the brightness setting. That treats the symptom and washes out the picture for the rest of the day. Glare is cheapest to fix at its source.
The source-first order
- Step one — test before you commit. Tape a cardboard cutout where the screen will go and check it at the worst time of day, usually mid-afternoon. Ten minutes of testing beats re-mounting.
- Step two — treat the window. A sheer or light-filtering blind you close during viewing hours removes most daytime glare while keeping the room pleasant. Diffusion is the goal, not darkness.
- Step three — change the angle, not the brightness. A screen perpendicular to the main windows reflects far less than one facing them. If the wall is fixed, a modest tilt or slight swivel away from the window often moves the reflection below your eye line.
- Step four — calm the surface. Here the matte paint and low-glare choices from the earlier tips pay off, stopping secondary reflections even when some daylight remains.
Only then should picture settings change, and only slightly: a modest daytime brightness lift, saved as a separate preset if your TV allows it, so the evening picture stays untouched.
10. Use No-Drill Renter Fixes That Still Look Finished, Not Temporary
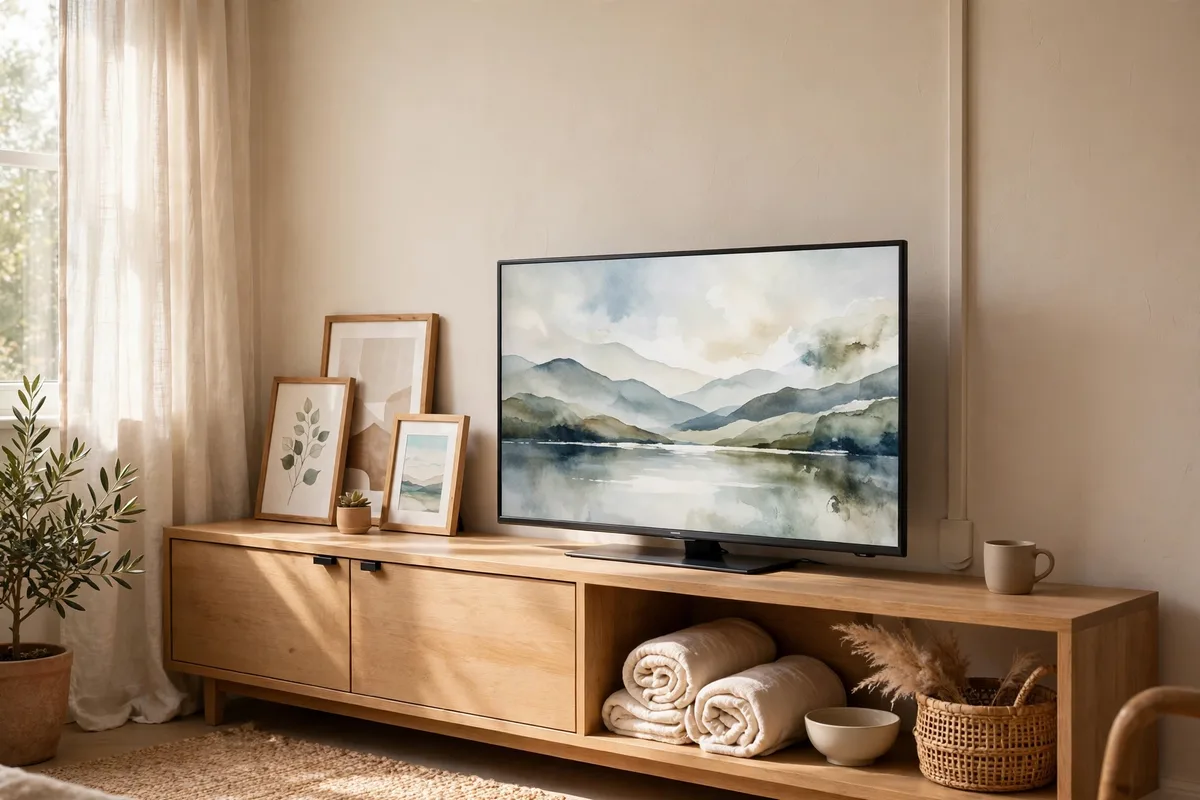
Renting rules out in-wall cables and often mounting — but not a TV wall that looks deliberate. Choose fixes that read as furniture and trim, not workarounds, and spend on pieces you will take with you.
A no-drill setup that holds together
- Let a low, wide console do the mounting’s job. A console wider than the screen anchors the wall just as a mount does, with the TV on solid feet or a central pedestal stand — plus an anti-tip strap fixed to the console, not the wall. The TV’s feet must sit fully on the top, with margin.
- Run the raceway like trim. A paintable channel in one straight vertical line from behind the TV down behind the console, painted to match the wall, reads as part of the room. The mistakes are diagonal runs, unpainted plastic on a coloured wall, and stopping short so the last inches of cable show.
- Stick the light, lean the art. Bias strips are adhesive by design and leave with you. For a gallery effect without holes, lean two or three framed pieces on the console, and use removable strips only for genuinely light frames, well clear of the screen’s margin.
- Know the limit of peel-and-stick panels. Test one panel in an inconspicuous spot first. And where your lease allows even one painted wall, paint remains the cheapest, cleanest renter upgrade of all.
Photograph everything before you start. A renter wall done this way comes apart in an afternoon — what makes it worth doing properly while you live there.
Frequently Asked Questions About TV Wall Design Tips
My TV is mounted too high. Do I have to re-mount it?
Not always. First tilt the screen down toward your seated eye line, and check whether a deeper recline closes the angle. If the centre sits well above eye line and films tire your neck, re-mounting lower is the honest fix — usually a one-hour job.
How much tilt is too much?
Roughly 5 to 10 degrees downward corrects a higher mounting position. Beyond that, the picture can distort from side seats and reflections shift rather than disappear. If you need more, the height is the real problem.
Can I run my TV’s power cord inside the wall if I tape it well?
No. A standard power cord is not rated for use inside a wall cavity, and taping does not change that. Use a listed in-wall power relocation kit with rated cable, or have a recessed outlet installed behind the screen.
Should bias lighting be warm or white?
Neutral white is the reference choice for picture accuracy — it does not shift on-screen colours. Warm white feels cosier and blends with lamp light. Either way, keep it dimmable and low: a soft halo, not a bright outline. Save coloured light for parties, not films.
Can I put my soundbar inside the TV console to hide it?
You can, but you will hear it: an enclosed cabinet muffles dialogue and blocks side- and up-firing speakers. If the bar must live in the console, use an open-front section, pull it flush with the cabinet front, and leave clear space above it.
How far below the TV should the soundbar sit?
Keep it small and even — a few inches is enough to reach connections and keep the remote sensor clear. Larger gaps make dialogue feel detached from the picture. On a console, its height decides the gap — another reason to keep it low.
What do I do if my cables are too short once the TV is on the wall?
Never stretch them tight — a taut cable strains the ports and works loose. Fit the next length up and coil the spare into a loose service loop. For full-motion mounts, measure with the arm fully extended and the screen turned both ways, then add slack.
Is matte paint really better behind a TV than eggshell?
Matte reflects the least light, so it is the calmest choice behind the screen, especially in bright rooms. Eggshell is a close second and easier to wipe clean. Avoid satin and gloss here; both throw reflections that compete with the picture.
How close is too close for a gallery frame next to the TV?
If a frame sits within a couple of inches of the bezel, the screen reads as crowded, not curated. Keep a consistent few inches of empty wall on every side, use low-glare glazing, and choose artwork quieter than the picture. When in doubt, remove one frame.
Can renters really get a built-in look without drilling?
Most of the way, yes. A wide, low console anchors the wall, a painted raceway disappears like trim, an adhesive bias strip adds the glow, and art leaning on the console gives the layered look without holes. Keep anything heavy on furniture, not on adhesive strips.
Conclusion
A good TV wall is finished when the screen sits at an angle your neck forgets, sound arrives from the picture instead of a cupboard, every cable can be reached and identified, and afternoon sunlight no longer ends the film. Work through the tips in order — hardware and angle first, then cables, light, sound, styling and glare.
Start with the one that annoys you most — usually the too-high screen or the visible cable drop. Both can be fixed in one afternoon.