
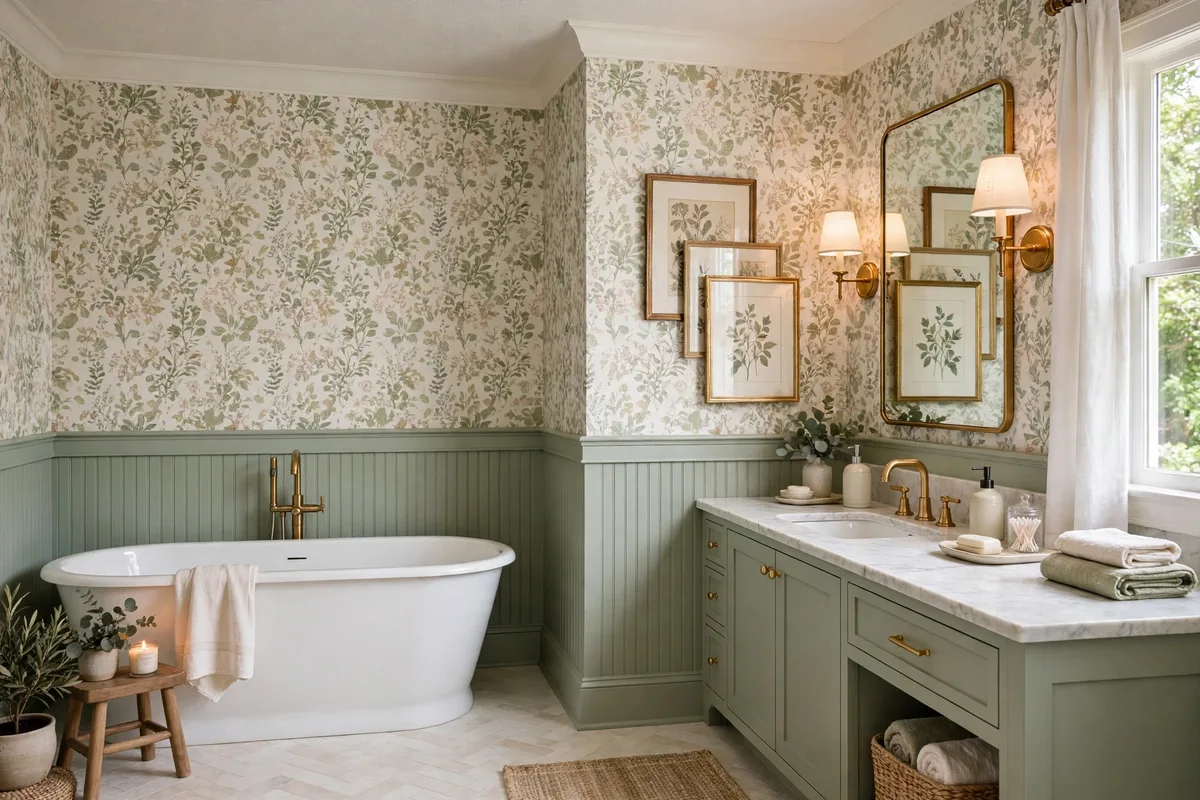
Most bathroom walls are decided by default: tile everything wet, paint everything else, hope for the best. The result is rooms that are either tiled like swimming pools or painted like bedrooms — and quietly failing in the splash zones either way. Bathroom walls are not one problem; they are three, stacked by moisture: the wet zone inside the shower, the splash zone around tub and basin, and the dry zone everywhere else. Match the treatment to the zone and a dozen better options open up — panelling, wallpaper, limewash, microcement — each exactly where it can survive.
Ten wall ideas, zoned. Zone first, then the treatments from the classic split to the seamless wet wall.
In this guide: The Wall Zones at a Glance · 1. Zone the Walls First: Wet, Splash, Dry · 2. Half-Tile, Half-Paint: The Classic Split · 3. Beadboard and Board-and-Batten: Painted Panelling · 4. Tall Wainscoting: Two-Thirds Up, Drama Included · 5. Wallpaper Above the Splash Line · 6. Limewash and Textured Finishes: Movement Without Pattern · 7. Paint, Specified Like It Matters: Sheen and Mildew Resistance · 8. Fluted and Slatted Panels: The Texture Wall · 9. Microcement and Waterproof Panels: The Seamless Wet Wall · 10. The Dry Wall Earns the Decoration: Art, Shelves, Mirrors · Frequently Asked Questions About Bathroom Walls · Conclusion
Two passes: This guide runs in two passes. Sections 1–9 are treatments — what can go on the wall, matched to its moisture zone. Section 10 is the decor pass: what the finished dry wall can carry. If you already have walls you like, skip straight to Section 10.
The Wall Zones at a Glance
| Zone | Where | What survives there |
|---|---|---|
| Wet | Inside shower / above tub | Tile, microcement, waterproof panels |
| Splash | Behind basin, beside tub, lower walls | Tile wainscot, sealed panelling, semi-gloss paint |
| Dry | Upper walls, walls away from water | Wallpaper, limewash, art, shelving |
| The split line | ~42–54 in high | Where wainscot/tile caps and paint or paper begins |
1. Zone the Walls First: Wet, Splash, Dry
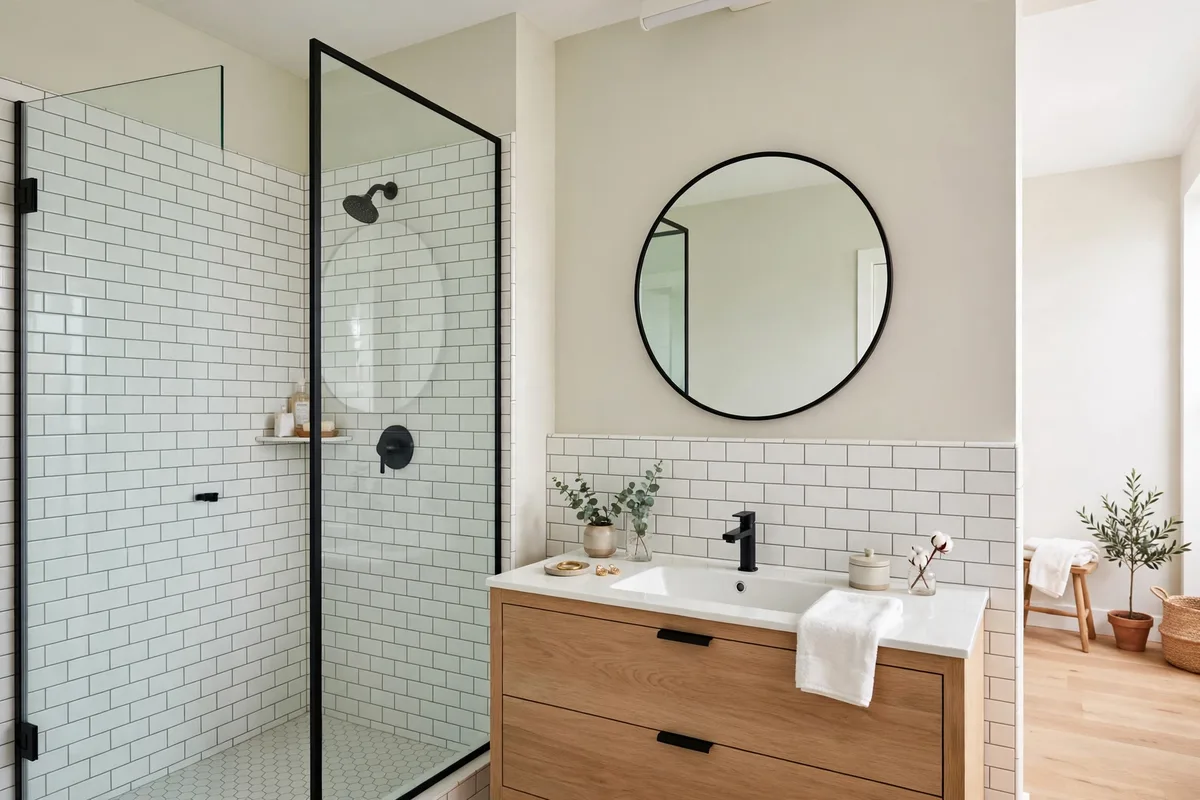
Before choosing anything pretty, draw the map. Stand in the room and mark where water lands directly (the wet zone), where it splashes and steams daily (the splash zone — roughly the lower four feet around tub and basin, plus the wall behind the toilet’s flush plume), and where only humidity visits (the dry zone). Every failure in bathroom walls is a zone error: wallpaper in the splash zone, flat paint in the steam zone, money spent tiling a dry wall that wanted art.
The map also sets the budget’s logic. Spend waterproofing money only where water goes; the dry zone — often half the wall area — can take the cheaper, warmer, more changeable treatments. Renovations go wrong in both directions: under-built wet zones that rot, and over-built dry zones that feel like a public pool.
The Treatments Compared
| Treatment | Wet zone? | Splash zone? | Dry zone? | Install level | Reversibility |
|---|---|---|---|---|---|
| Tile | Yes | Yes | Yes | Professional or confident DIY | Permanent |
| Paint in the correct sheen | No | Yes, mildew-resistant | Yes | DIY, a weekend | Repaints easily |
| Beadboard and board-and-batten | No | Yes, sealed | Yes | DIY carpentry | Reversible, with making-good |
| Tall wainscoting | No | Yes, sealed | Yes | DIY carpentry | Reversible, with making-good |
| Wallpaper above the splash line | No | Above the line only | Yes | DIY | Designed to be regretted cheaply — it strips off |
| Limewash and textured finishes | No | Yes, cautiously | Yes | DIY-able, technique-sensitive | Paints over |
| Fluted and slatted panels | No | Yes | Yes | DIY panels | Reversible |
| Microcement | Yes, as a sealed system | Yes | Yes | Specialist — only as good as its applicator | Permanent |
| Waterproof panels | Yes | Yes | Yes | Fast DIY, can go over sound existing tile | Semi-permanent; the joints are the weak point |
2. Half-Tile, Half-Paint: The Classic Split
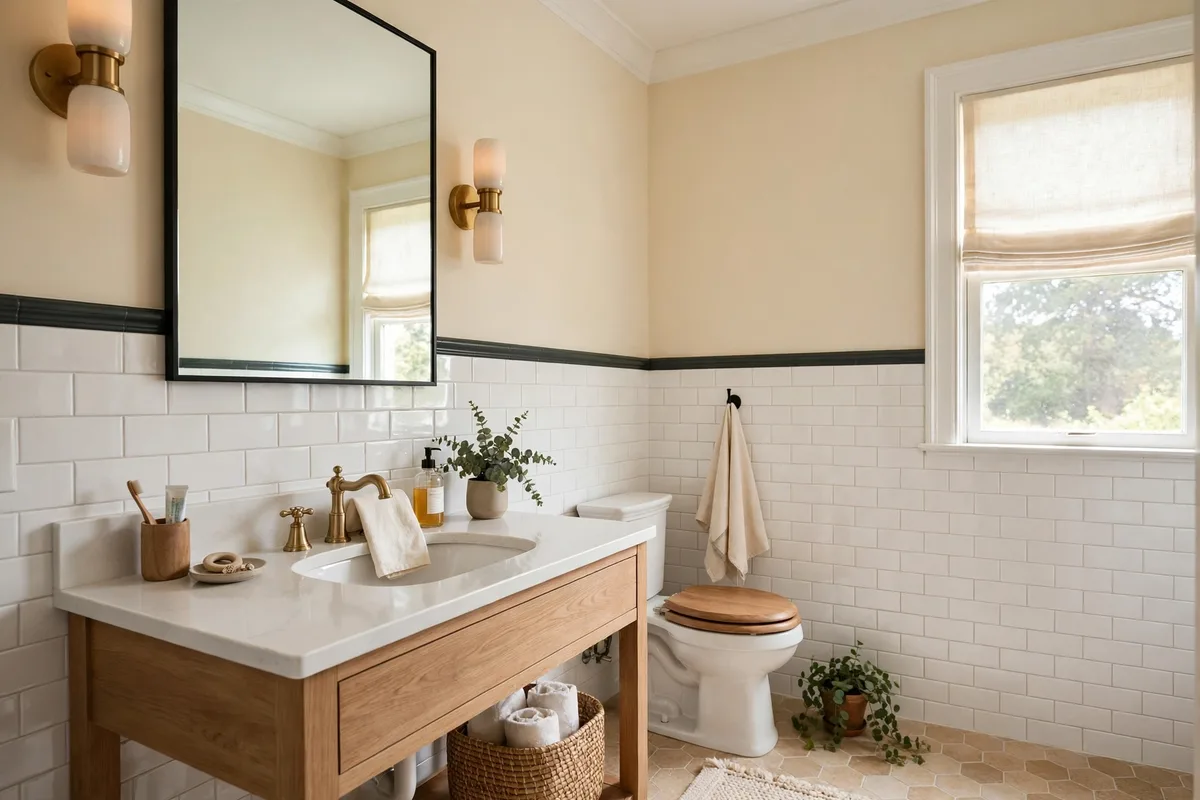
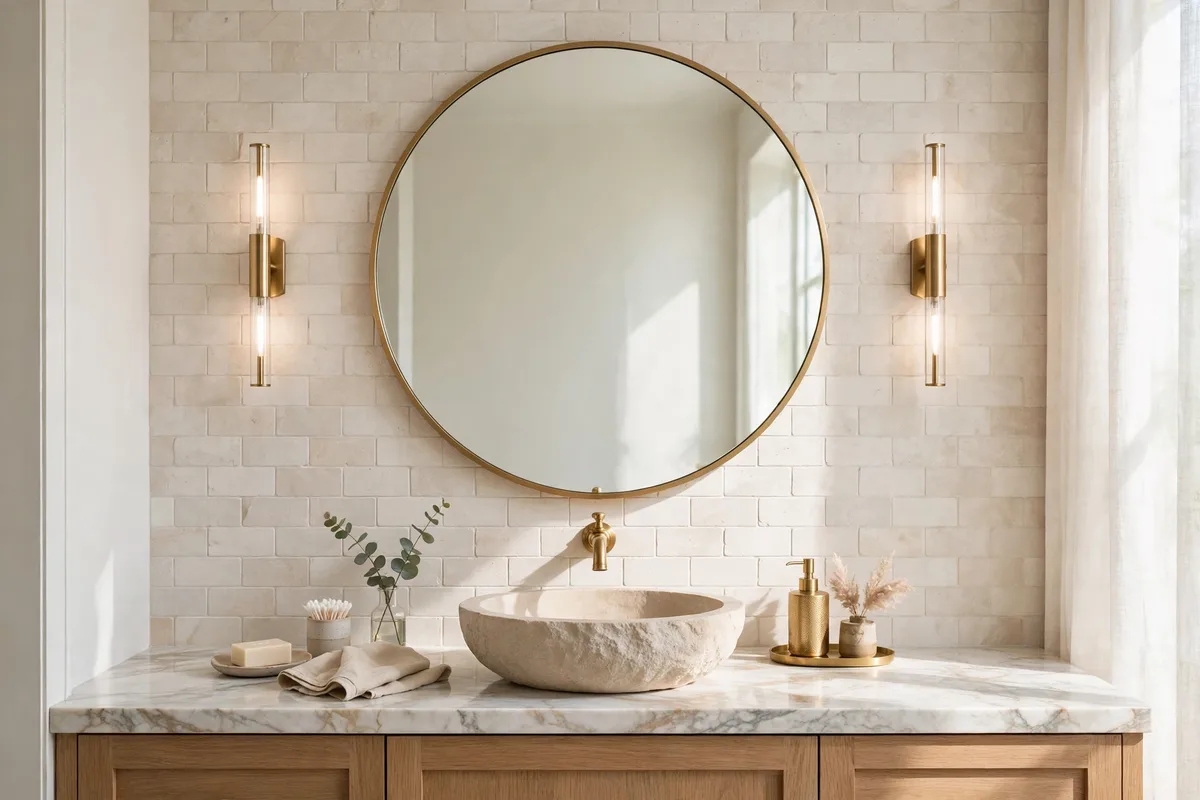
The oldest solution is still the benchmark: tile the splash zone, paint the dry zone, cap the junction with a trim tile or a chair rail. It puts the indestructible surface exactly where water, toothpaste and small hands land, and keeps the upper wall soft, coloured and cheap to change. Cap height follows the water: around 42–48 inches covers basin splash; run higher behind a tub or where children conduct their experiments.
The tile choice for a half wall rewards restraint — it is a background surface at thigh height, not the feature. The formats and finishes in our best bathroom tile ideas sort the options; the pairing logic (one lead, one accent) from our shower combinations applies at the cap line too: busy tile below demands calm paint above, never both competing.
3. Beadboard and Board-and-Batten: Painted Panelling
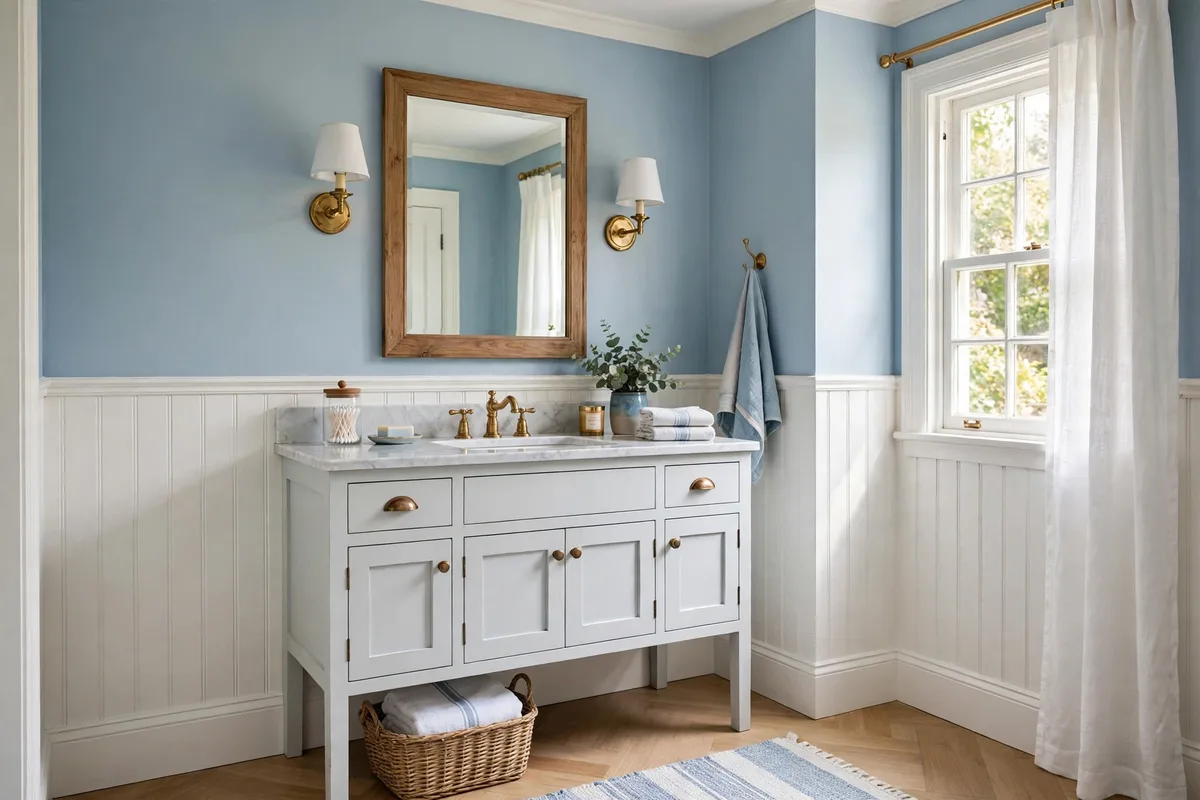
Panelling is the splash zone’s warm alternative to tile. The Spruce’s bathroom wainscoting roundup runs the styles from classic beadboard (instant cottage texture) through board and batten (clean vertical rhythm) to raised panels — all of them sharing one construction rule for bathrooms: moisture-resistant material (PVC or properly sealed moisture-rated MDF or wood), sealed edges, and a paint finish that can be scrubbed (§7).
Panelling’s hidden talent is forgiveness: it covers wavy, patched, imperfect walls that would humiliate flat paint and cost a fortune to skim. In older homes that alone justifies it. Keep it out of the wet zone proper — inside a shower, panelling is a science experiment — but in the splash zone, sealed and painted, it outlasts most paint jobs.
4. Tall Wainscoting: Two-Thirds Up, Drama Included
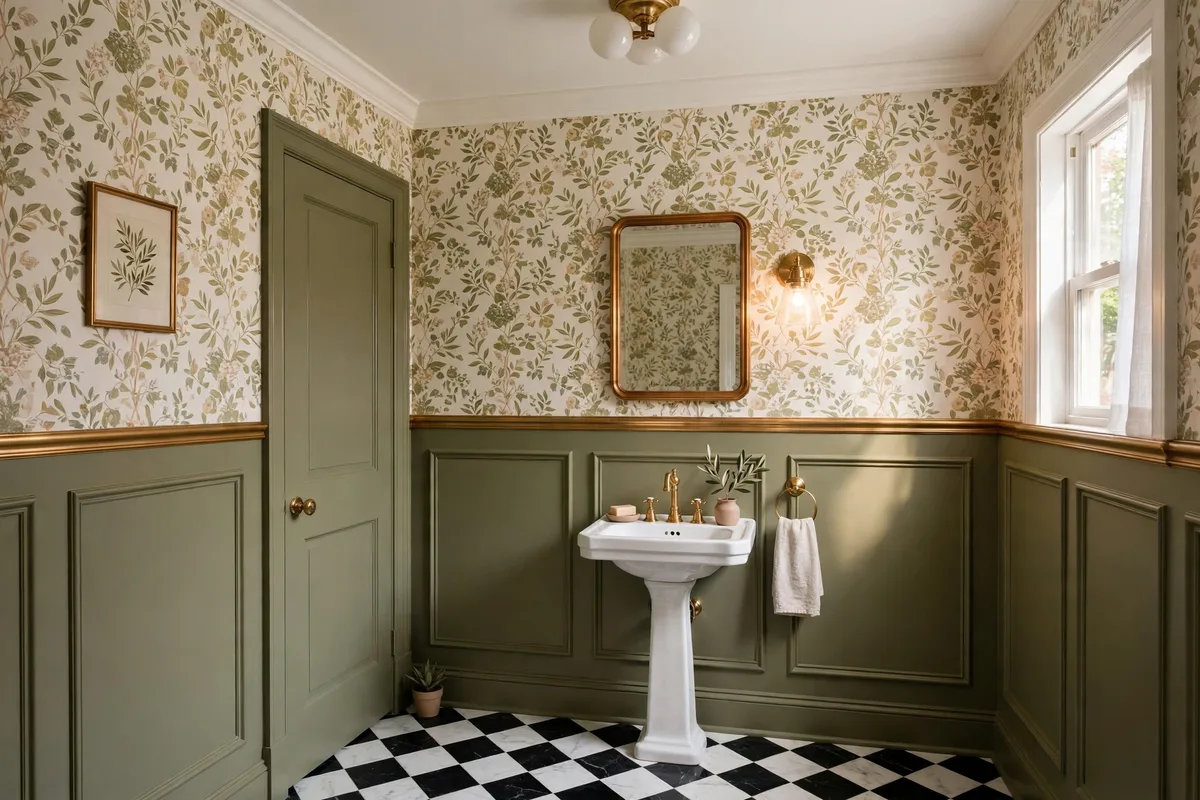
Standard wainscot stops at chair-rail height; the tall version climbs to two-thirds of the wall and changes the room’s entire posture. The Spruce’s examples pair extra-tall panelling with wallpaper above the cap — the panelling becomes the room’s architecture and colour mass, the paper a frieze. It is the strongest look available to small powder rooms, which need personality at eye level and have no wet zone to speak of.
Proportion is the craft: tall wainscot plus a low ceiling can compress, so in short rooms keep the panelling’s colour light or match the upper wall (the same-colour trick that makes a room read larger). In a tall room, go the other way — deep olive, ink, charcoal below, pale above — and let the split do the decorating.
5. Wallpaper Above the Splash Line
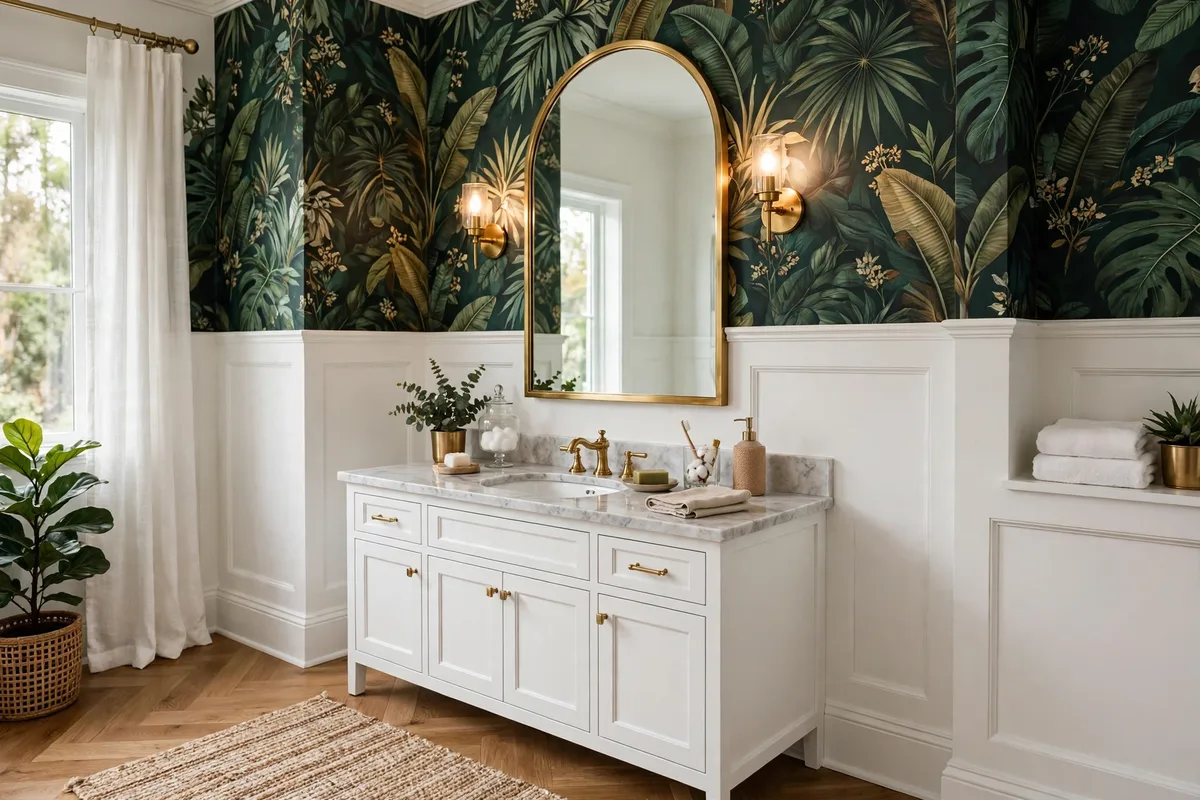
Wallpaper is the dry zone’s superpower: pattern, scale and colour that paint cannot match, at a fraction of tile’s cost and commitment. The placement rule is the zone map (§1) — above the splash line, above the wainscot cap, never inside the shower or behind the basin’s splash radius. Modern vinyl and vinyl-coated papers are scrubbable and shrug off bathroom humidity; traditional papers belong in powder rooms with a fan, not in steamy family baths.
Scale discipline: small rooms take either a large-scale pattern (counter-intuitively spacious) or a small, quiet one — the mid-scale busy print is the one that closes walls in. And note the exit strategy: wallpaper is the one treatment here designed to be regretted cheaply. In five years it peels off; the tile under your regrets does not.
6. Limewash and Textured Finishes: Movement Without Pattern
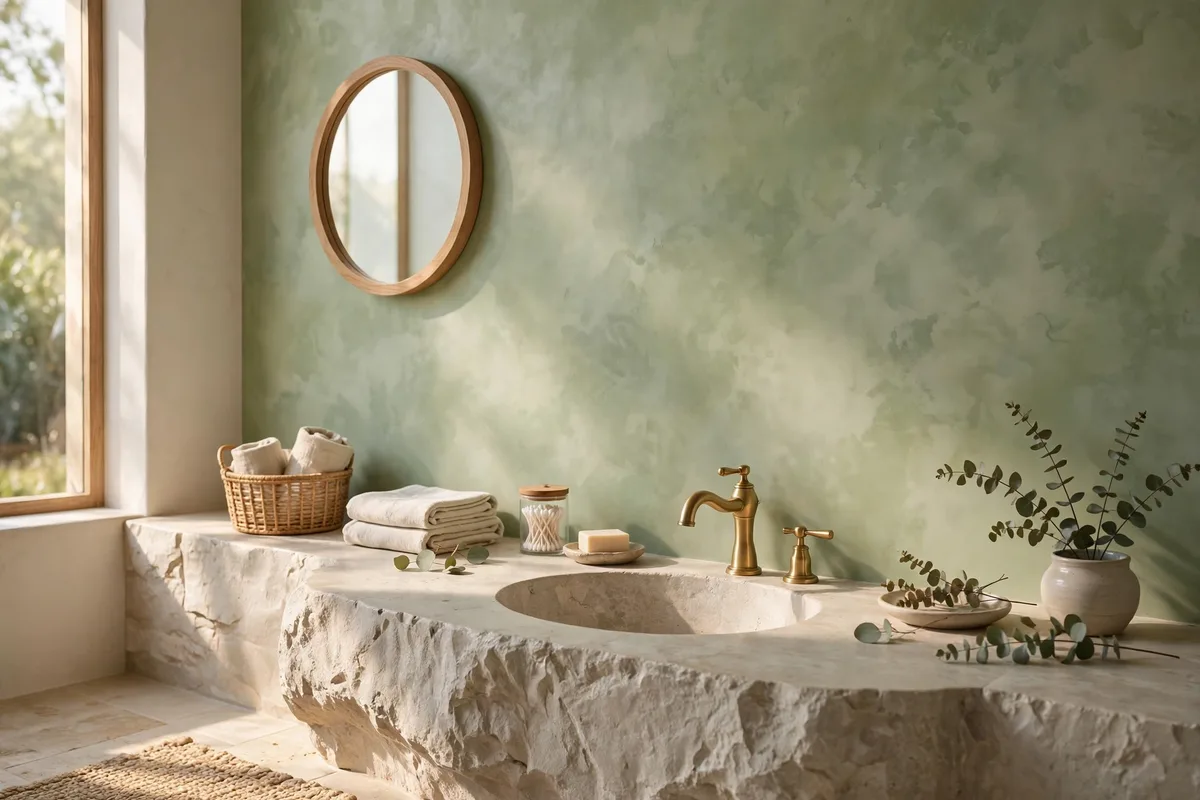
Between flat paint and wallpaper sits the textured middle: limewash, clay paint and Venetian-style plasters, whose cloudy, tonal movement gives a wall life without a single motif. They suit the spa direction particularly — a limewash in sage or warm stone is a palette and a texture in one coat, and its matte mineral surface drinks light the way spa rooms want. The colours to run it in are exactly §2–§5 of our spa-style bathroom palette ideas.
Honesty about zones: classic limewash is a dry-to-splash treatment, not a wet-zone one — inside a shower it needs a proper sealer and realistic expectations, and most installers will steer you to microcement (§9) instead. On dry walls it is also the most forgiving finish for imperfect plaster, since movement hides what flatness would expose.
The plaster family’s wet-rated branch: Classic limewash stops at the splash line, but the plaster family does have a wet-zone member: tadelakt and modern waterproof plaster systems, built up and sealed to work inside showers themselves. Treat them exactly as Section 9 treats microcement — a specialist system whose waterproofing is only as good as its applicator, and not a first DIY project.
7. Paint, Specified Like It Matters: Sheen and Mildew Resistance
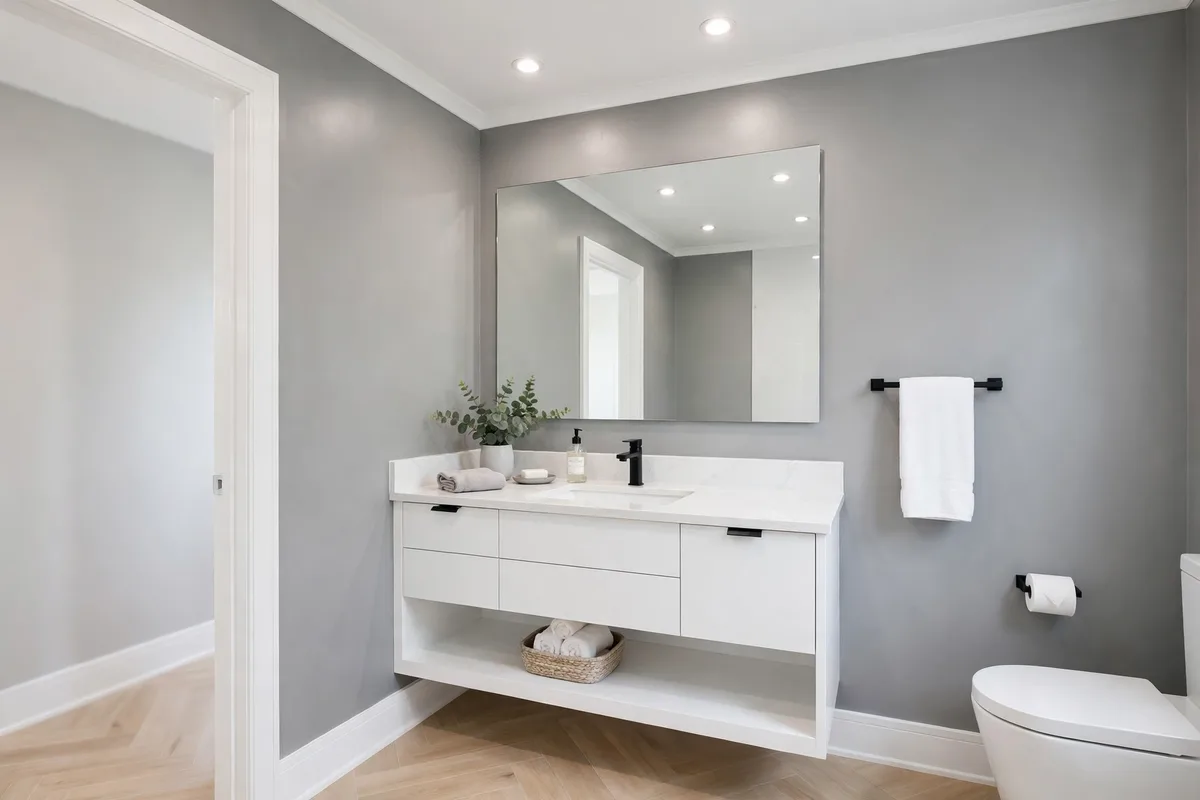
When the wall treatment is paint — and some zone of almost every bathroom is — the specification is the idea. Smith and Company’s sheen guide gives the working rule: satin or semi-gloss for bathroom walls, because a tighter, higher-resin film lets moisture bead and wipe off instead of soaking in; flat and eggshell are too porous for steamy rooms and invite peeling and mildew. Add a mildew-resistant “kitchen and bath” formula in any bathroom whose fan is more decorative than functional.
Two refinements separate a pro spec from a hopeful one. Ceilings stay flat or eggshell (a glossy ceiling under vanity light looks permanently wet), and trim goes one sheen above the walls — semi-gloss against satin — so the woodwork reads crisp and survives the cleaning the walls get monthly and trim gets weekly. Sample in the actual sheen, too: the same colour reads richer as gloss rises.
8. Fluted and Slatted Panels: The Texture Wall
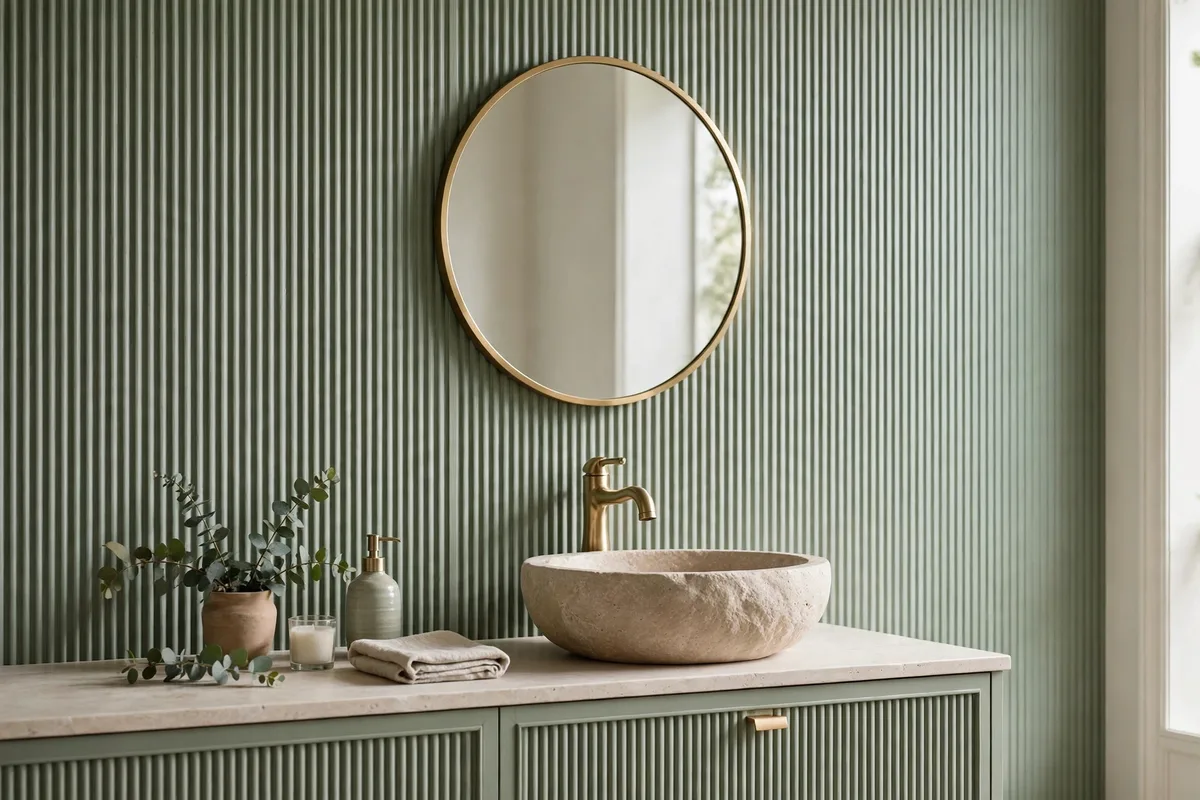
Fluted panels — MDF or composite boards with fine vertical grooves, painted to match or contrast — are the current answer to the vanity wall: architecture-grade texture, paintable, and installable in a day over a sound wall. Run them behind the vanity or as the splash-zone wainscot, paint them the wall colour for shadow-play subtlety or a shade deeper for rhythm. Vertical grooves also borrow height, a small-room dividend.
Material honesty again: choose moisture-rated boards, seal cut edges, and keep raw MDF out of direct splash — behind a basin it wants a stone or tile upstand between it and the water. Slatted wood-look panels follow the same rules with a warmer register; both are dry-and-splash treatments wearing wet-zone clothes, so dress them in the right zones.
9. Microcement and Waterproof Panels: The Seamless Wet Wall
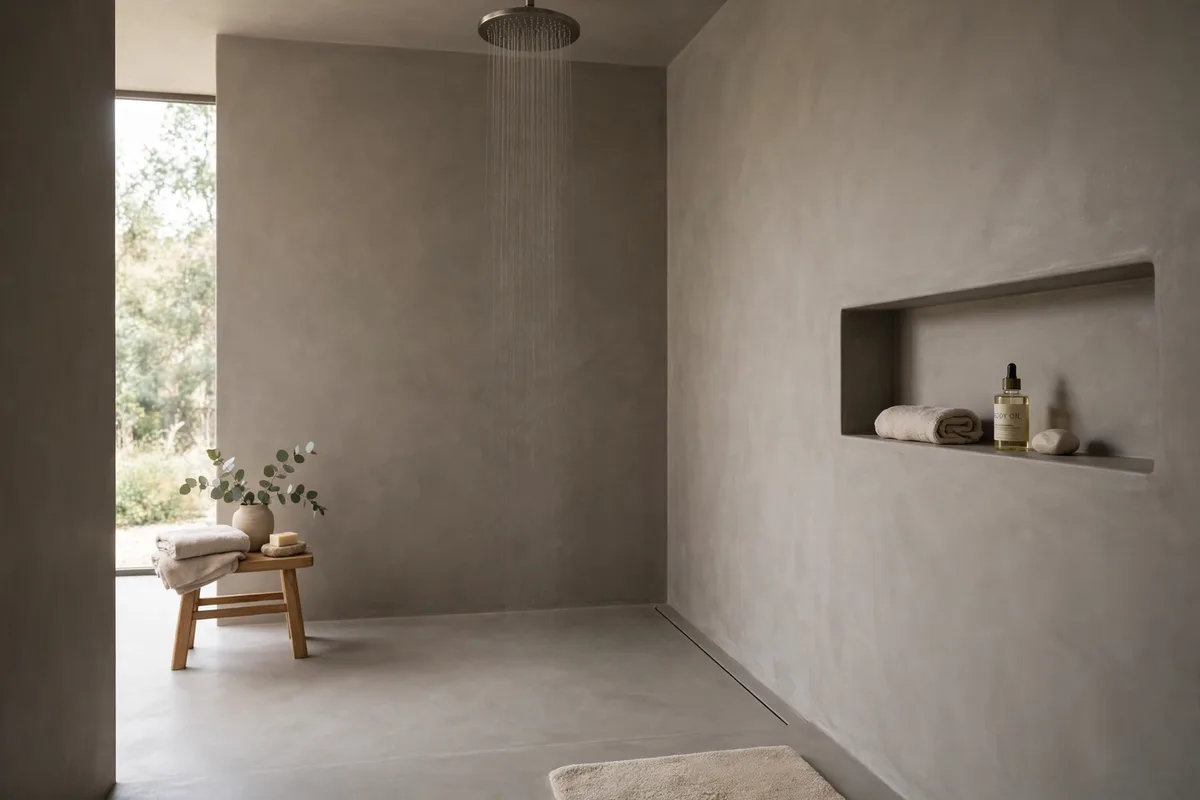
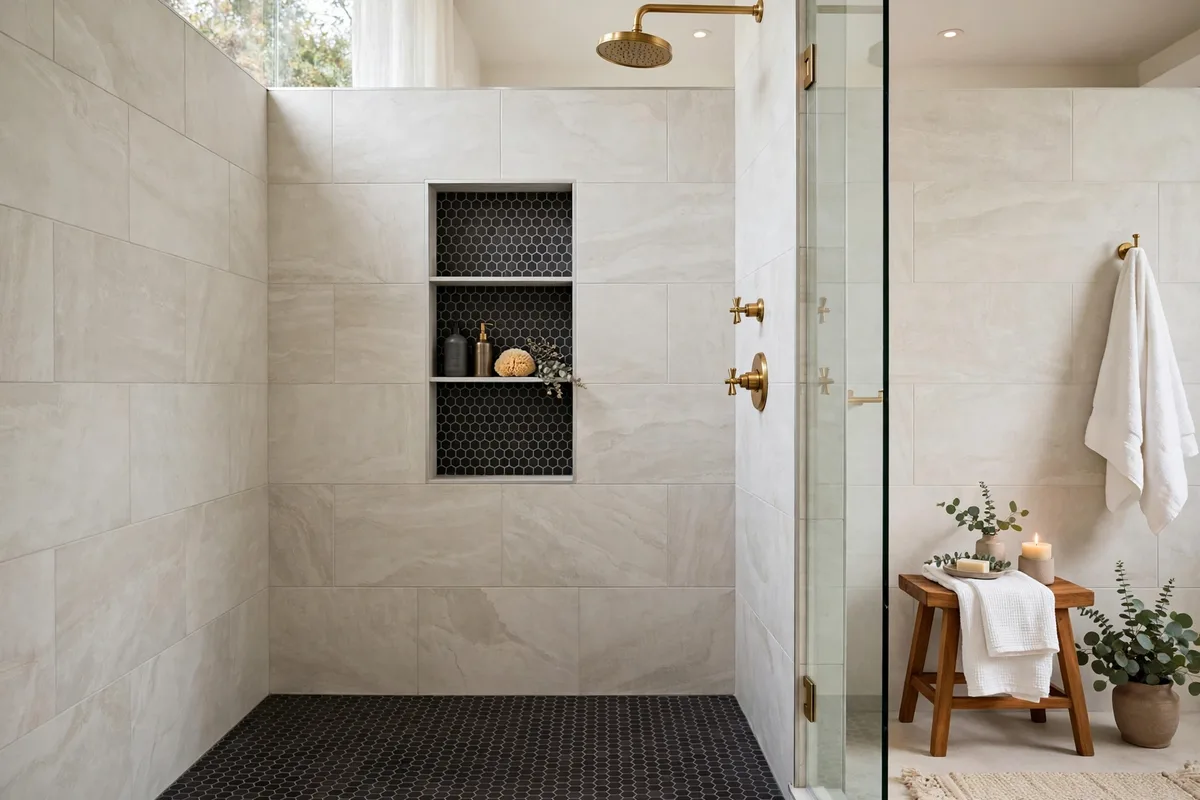
Inside the wet zone, tile has one serious rival: microcement and its panel cousins, which deliver a continuous, grout-free surface over walls (and floors) in warm mineral tones. No grout lines means no grout maintenance and the calmest possible field — the seamless look our shower tile combinations ideas achieves by pairing, microcement achieves by subtraction. Large-format waterproof wall panels (stone- and marble-effect) offer the same seamlessness as a faster, more DIY-tractable install.
The caveats are professional ones: microcement is a system (primer, coats, sealer) whose waterproofing is only as good as its applicator, and panels live or die by their joint sealing. Neither is the place to learn on the only bathroom. But where tile feels busy and the budget allows a specialist, the seamless wet wall is the most spa-true surface there is.
The panels’ real case: Large-format waterproof panels win on logistics as much as looks: no grout to maintain, whole walls covered in a fraction of tiling time, and rated panels can go straight over sound existing tile — which is why they are the remode- and-rent route through this section. Their one discipline is the joints: sealed well, the system is waterproof; sealed badly, nothing behind them matters.
10. The Dry Wall Earns the Decoration: Art, Shelves, Mirrors
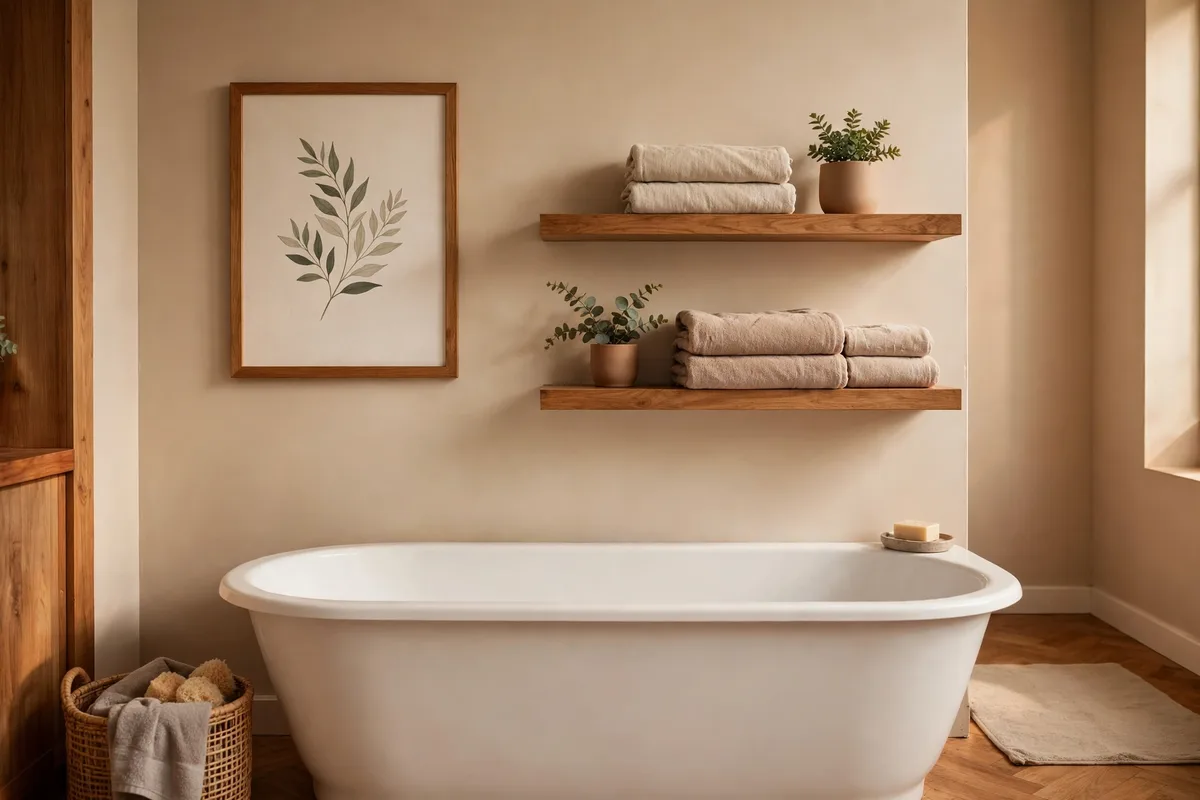
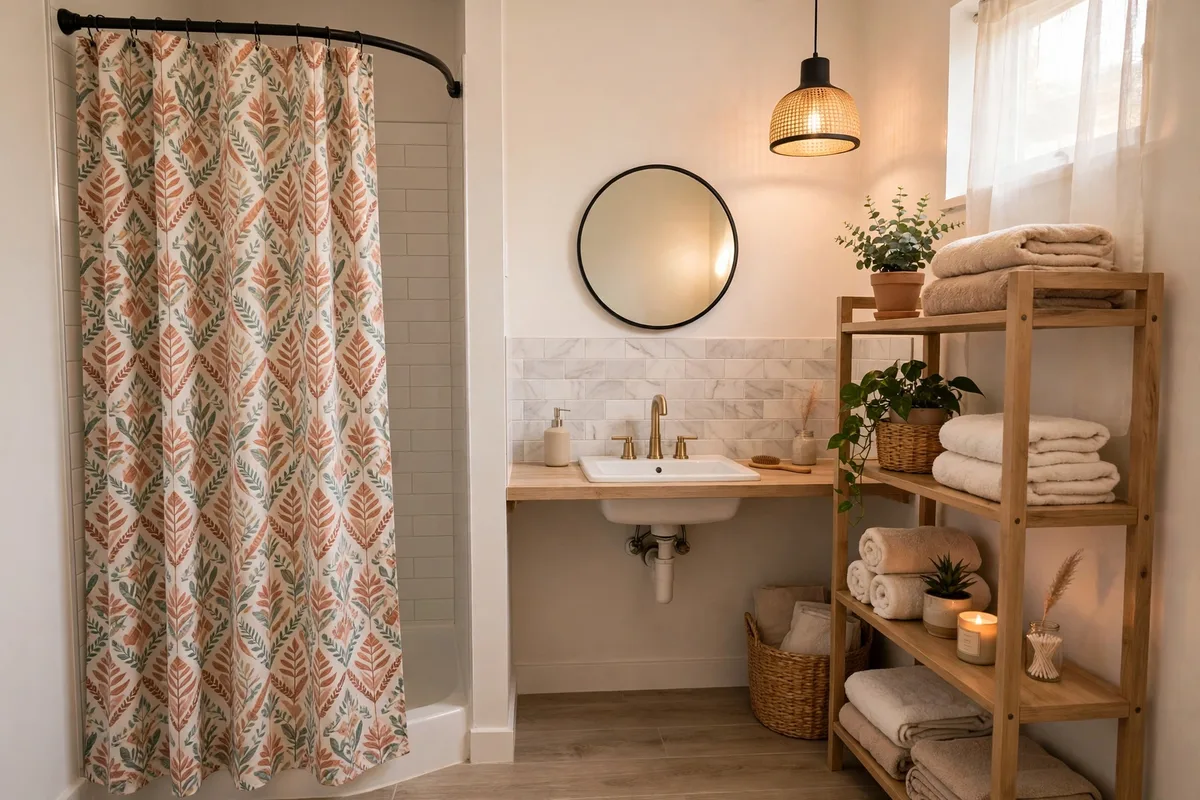
The zone map’s reward: the dry wall is the one place a bathroom can behave like a room — framed art (behind glass, sealed backs, nothing irreplaceable), floating shelves with towels and plants, a second mirror, even a small gallery. Bathrooms starved of decoration feel institutional; one dressed dry wall fixes the whole room’s register. It is also the cheapest idea in this article, which is not a coincidence: dry walls are where money stops being spent on survival.
Place it opposite the mirror where possible, so the reflection doubles it — the aiming rule from our small bathroom visual space ideas. Humidity housekeeping: ventilate after showers, and rotate paper art that is not sealed. The wall you freed from tile in §1 pays you back here, in character, every day.
If You Rent: The Reversible Route
Everything reversible on this page, in order: peel-and-stick or vinyl wallpaper above the splash line (Section 5), a correct-sheen repaint (Section 7), waterproof panels over sound existing surfaces where the landlord agrees (Section 9), and the whole decor pass — art, shelves and mirrors — on the dry wall (Section 10). One rule governs the route: nothing that breaches the wet zone’s waterproofing is reversible, so the shower’s own walls stay exactly as you found them.
What is being chosen most right now: In current retailer and magazine round-ups, the bathroom wall finishes that keep recurring are seamless wet walls (microcement and large panels), fluted and slatted texture on dry and vanity walls, tall wainscoting, and the half-tile split returning as a deliberate look rather than a default. All four already live in this guide’s sections — the zones decide which of them your wall can actually host.
Frequently Asked Questions About Bathroom Walls
What is the best wall covering for a bathroom?
By zone: tile, microcement or waterproof panels inside the shower; tile, sealed panelling or semi-gloss paint in the splash zone; paint, limewash or wallpaper (vinyl in steamy rooms) on dry walls. Any single answer for the whole room is a compromise — the zoned answer is the correct one.
Do bathroom walls need to be fully tiled?
No — only the wet zone does. Splash zones need a water-resistant, scrubbable surface (tile wainscot, sealed panelling, the right paint), and dry walls need none of it. Half-tile splits have been the standard solution for a century because they put the cost and durability exactly where the water is.
Can you put wallpaper in a bathroom?
Yes, in the dry zone: above a wainscot cap or splash line, away from direct water. Choose vinyl or vinyl-coated wallpaper for steamy bathrooms (it is scrubbable and humidity-tolerant); save delicate papers for powder rooms. Never inside a shower or directly behind a basin.
What paint finish is best for bathroom walls?
Satin or semi-gloss, ideally a mildew-resistant kitchen-and-bath formula. Their tighter film sheds moisture and wipes clean; flat and eggshell absorb condensation and fail early in steamy rooms. Ceilings are the exception — flat there avoids a permanently “wet” look.
How high should bathroom wainscoting be?
Standard: 36–48 inches, enough to cover basin and tub splash. Tall wainscoting (about two-thirds of the wall) is a deliberate style choice for powder rooms and tall rooms. The cap should sit above the splash height of the fixtures it protects — measure the water, not the fashion.
Is beadboard or panelling safe in a bathroom?
In the splash zone, yes — in moisture-resistant material (PVC, sealed moisture-rated MDF or wood), with edges sealed and a scrubbable paint finish. In the wet zone (inside a shower), no: use tile, microcement or rated panels there instead.
What can I use instead of tile in a shower?
Microcement (professionally applied and sealed), large-format waterproof wall panels, natural stone slabs, or solid-surface sheets. All eliminate grout lines; all depend on correct installation and joint sealing for their waterproofing. Tile remains the most forgiving and repairable option.
How do I make bathroom walls look less plain without renovating?
Work the dry wall: one framed print behind glass, floating shelves, a plant, and a repaint in the correct sheen transforms most bathrooms in a weekend. Add a peel-and-stick or painted wainscot in the splash zone if you want architecture. Zones make small moves safe.
Should bathroom walls and ceiling be the same colour?
In small or low bathrooms, usually yes — one continuous colour removes the ceiling line that presses the room down. Keep the ceiling flat in sheen even when the colour matches the walls. In tall rooms, a contrasting ceiling is a choice, not a mistake.
Can limewash go in a bathroom?
On dry and light-splash walls, yes — its mineral, cloudy finish suits bathrooms and hides imperfect plaster. Inside showers or heavy splash zones it needs sealing and realistic expectations; most professionals will recommend microcement for the wet zone instead.
What can I put on a bathroom wall besides tile?
Almost everything in this guide — matched to the zone. Dry walls take paint, panelling, wallpaper, limewash and decor freely. Splash zones take sealed panelling, wainscoting, mildew-resistant paint and wallpaper above the line. Inside the shower, the honest besides-tile list is short: microcement, waterproof panels and waterproof plaster systems, each only as good as its installation.
Conclusion
Bathroom walls stop being a dilemma the moment you zone them: waterproof the wet, protect the splash, and let the dry walls carry the colour, pattern and art the other zones cannot. Tile where water lands, panel or paint where it splashes, paper and limewash where it never reaches — and the room gains both durability and a personality no full-tile default ever gave it.

Pingback: 10 Renter-Friendly Bathroom Updates Ideas (No Drilling, No Damage)