

A carved pumpkin is wonderful for about four days. Then the edges soften, the face sags, and the porch starts to smell like a compost bin. A no-carve pumpkin skips all of that: because the skin is never cut, a decorated whole pumpkin can look good for weeks — long enough to carry a porch, mantel or table from the first weekend of October right through Halloween night.
No-carve also means no knives, which makes these projects safe to do with children, in a classroom, or at a kitchen table the night before a party. Below are 10 methods that actually work, ordered roughly from fastest to most decorative. If you want the traditional route as well, pair this guide with our creative pumpkin carving ideas and mix one carved lantern among the no-carve group — the contrast is what makes a display look styled rather than accidental. And if you are building the whole entry, these pumpkins slot straight into the layers in our front porch Halloween ideas.
In this guide: No-Carve Methods at a Glance · Painted Pumpkins in a Limited Palette · Decoupage Napkin Pumpkins · Pumpkin Planters Filled With Mums · Matte Black and Chalk Pumpkins · White and Gold Glam Pumpkins · Fabric-Wrapped Pumpkins · Sticker and Temporary-Tattoo Pumpkins · Stacked Pumpkin Topiary · Ribbon, Lace and Trim Pumpkins · Nature-Finished Pumpkins With Leaves and Twine · How to Make No-Carve Pumpkins Last · Frequently Asked Questions About No-Carve Pumpkins · Conclusion
No-Carve Methods at a Glance
| Method | Time | Kid-Friendly | Best Place |
|---|---|---|---|
| Paint | 30–60 min + drying | Yes, with washable paint | Porch, steps, mantel |
| Decoupage napkins | 30 min | Yes | Indoors, covered porch |
| Pumpkin planter | 20 min | Yes | Porch, patio, doorway |
| Stickers / temporary tattoos | 10 min | Very | Anywhere |
| Fabric wrap | 15 min | Yes | Indoors, table centrepiece |
| Stacked topiary | 20 min | With help | Porch corner, doorway |
| Matte black and chalk | 30–60 min + drying | Yes, with chalk | Indoors, coffee table |
| White and gold | 30–60 min + drying | With help | Mantel |
| Ribbon, lace and trim | A few minutes | With help | Side table |
| Nature finishes | A day or two (leaf pressing) | Yes | Bench, patio table, steps |
1. Painted Pumpkins in a Limited Palette
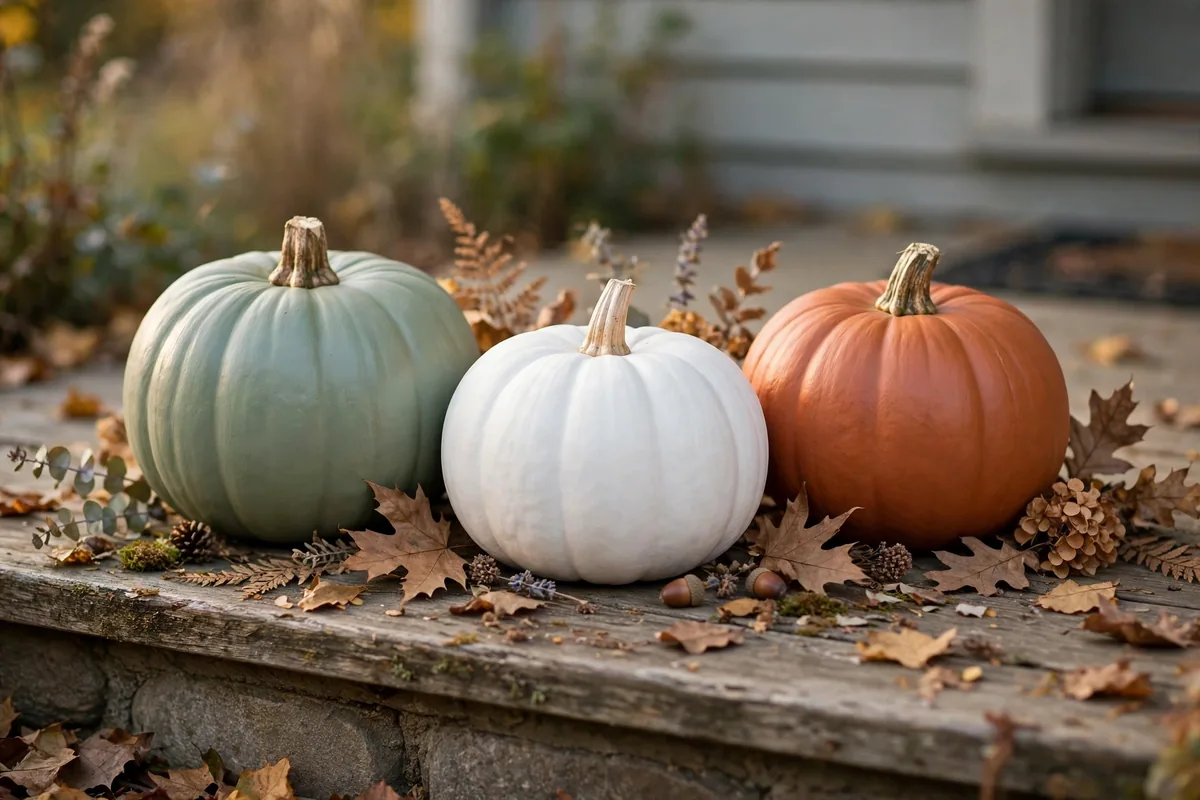
Paint is the most flexible no-carve method there is. Acrylic or chalk-style paint covers a pumpkin in two coats, and a limited palette — say matte white, sage and terracotta, or black and cream — makes mixed pumpkins look like a set. Leave the stems natural, or wrap them in twine for contrast.
Wipe pumpkins with a damp cloth and let them dry fully before painting, because paint peels off a dusty or damp skin. Paint outdoors or on newspaper, keep the pumpkin raised on a cup while the bottom edge dries, and expect the finish to last the whole season outdoors under cover, or indefinitely on faux pumpkins.
2. Decoupage Napkin Pumpkins
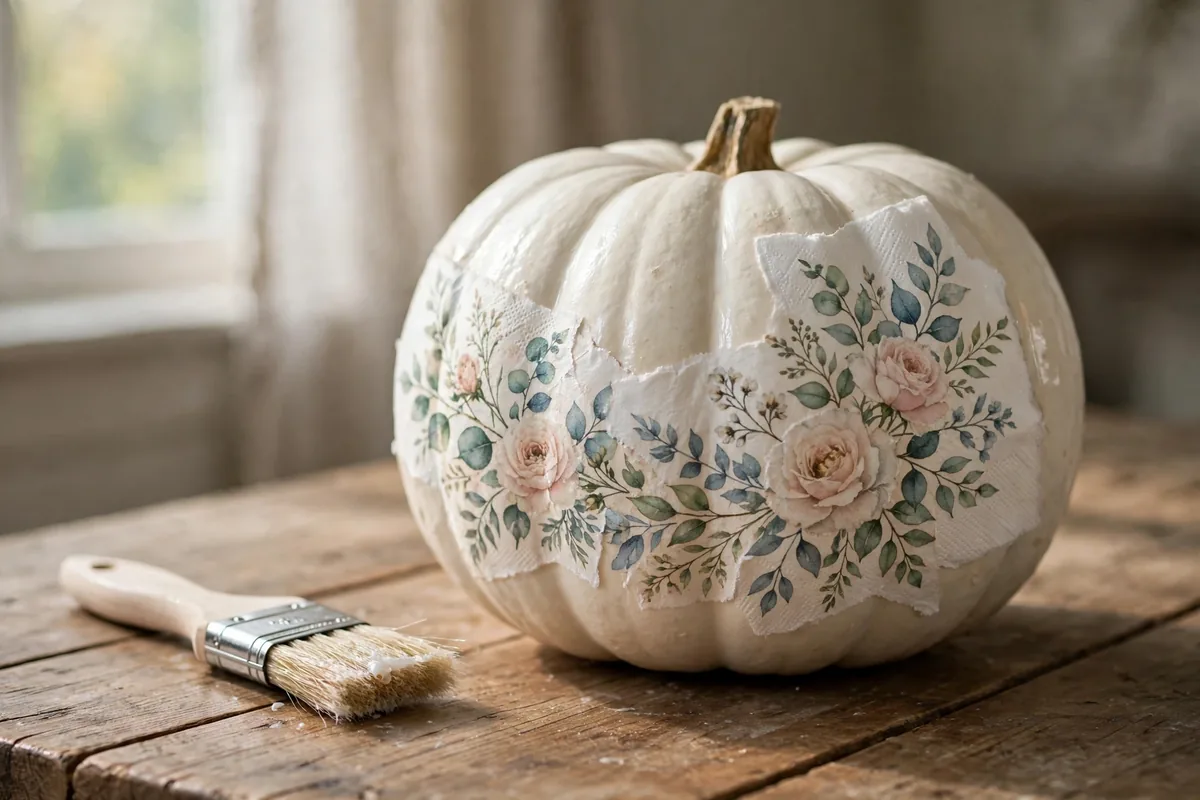
A printed paper napkin can give a plain pumpkin a pattern you could never paint by hand. Separate the napkin so only the top printed layer remains, tear it into palm-sized pieces, and brush them onto the pumpkin with decoupage glue, smoothing wrinkles as you go. Finish with a second thin coat of glue over the top.
White and pale pumpkins show napkin patterns best, and small pumpkins are far easier to cover smoothly than large ridged ones. This finish is not waterproof, so decoupage pumpkins belong indoors or on a covered porch — a pair on a mantel or hallway table looks genuinely expensive for the price of a packet of napkins.
3. Pumpkin Planters Filled With Mums
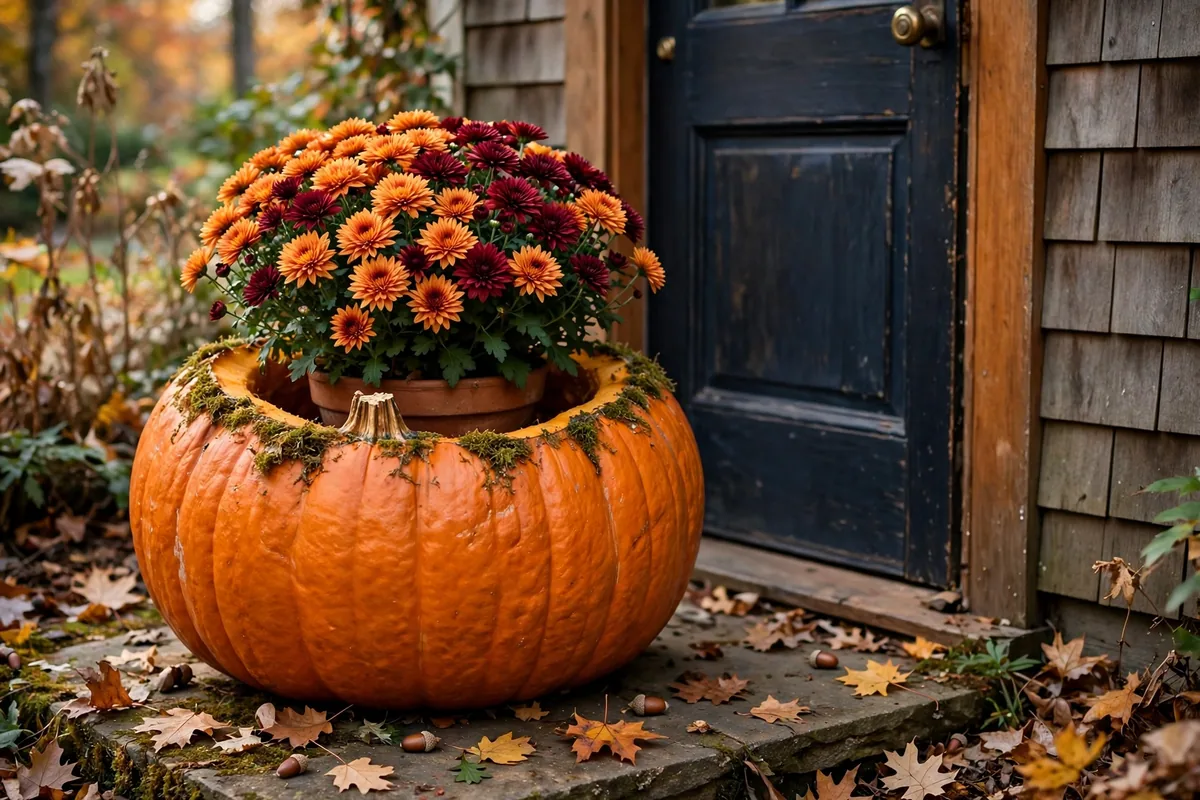
Strictly, this one involves a single cut — a circle in the top — but there is no carving, no scooping faces, and no knife work beyond that opening, which is why it belongs in every no-carve roundup. Cut the top, scoop the seeds, drop in a potted mum still in its nursery pot, and hide the rim with moss or trailing foliage.
The pumpkin is a decorative sleeve, not a pot: keep the plant in its own container so you can water it properly and lift it out. A pumpkin planter looks best in pairs flanking a door, and it is the fastest of all these ideas to assemble. Faux pumpkins make the same planter reusable every year.
4. Matte Black and Chalk Pumpkins
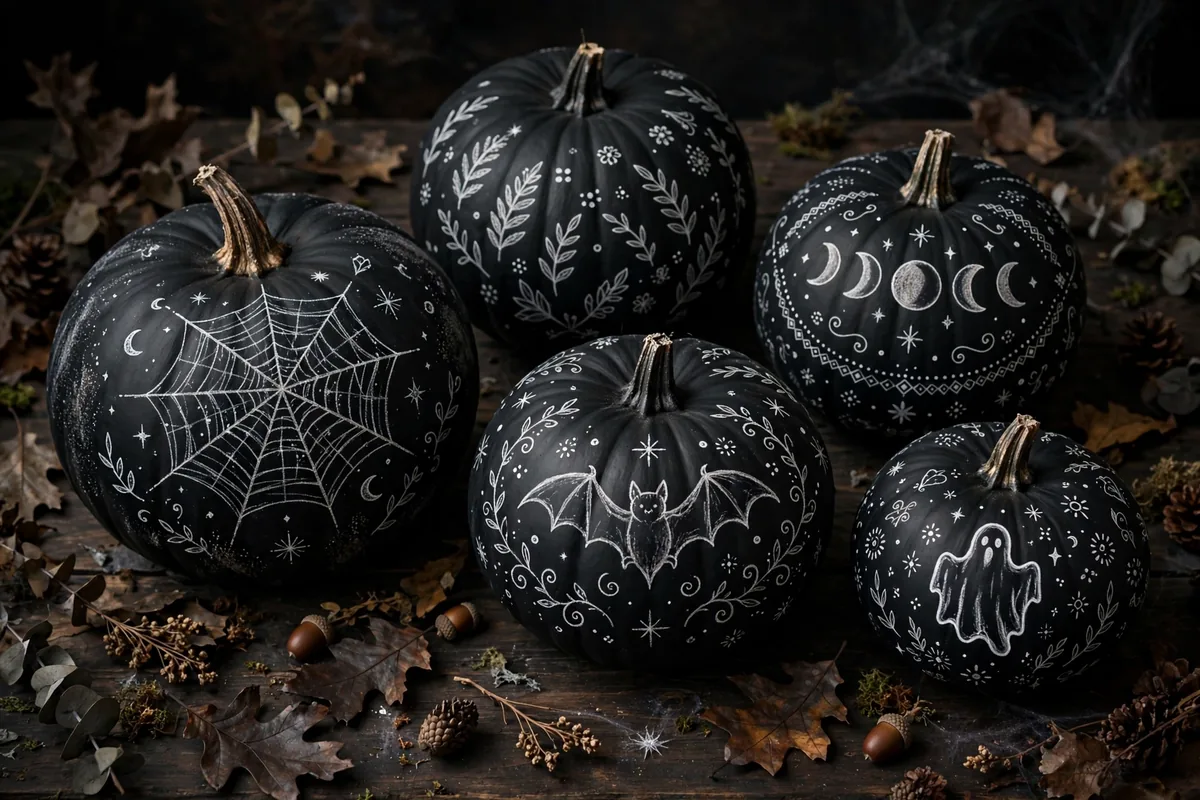
Two coats of matte black paint turn any pumpkin modern. Leave them plain for a minimal look, or draw on them with a white chalk marker — faces, stars, a house number, or a short greeting. Chalk marker wipes off a painted surface with a damp cloth, so mistakes do not matter.
Black pumpkins pair well with pale ones, so style them as a group: black at the back for depth, white and natural orange in front. Indoors, a black pumpkin trio is an easy centrepiece for the coffee table decor you already have — just swap the usual bowl for the pumpkins through October.
5. White and Gold Glam Pumpkins
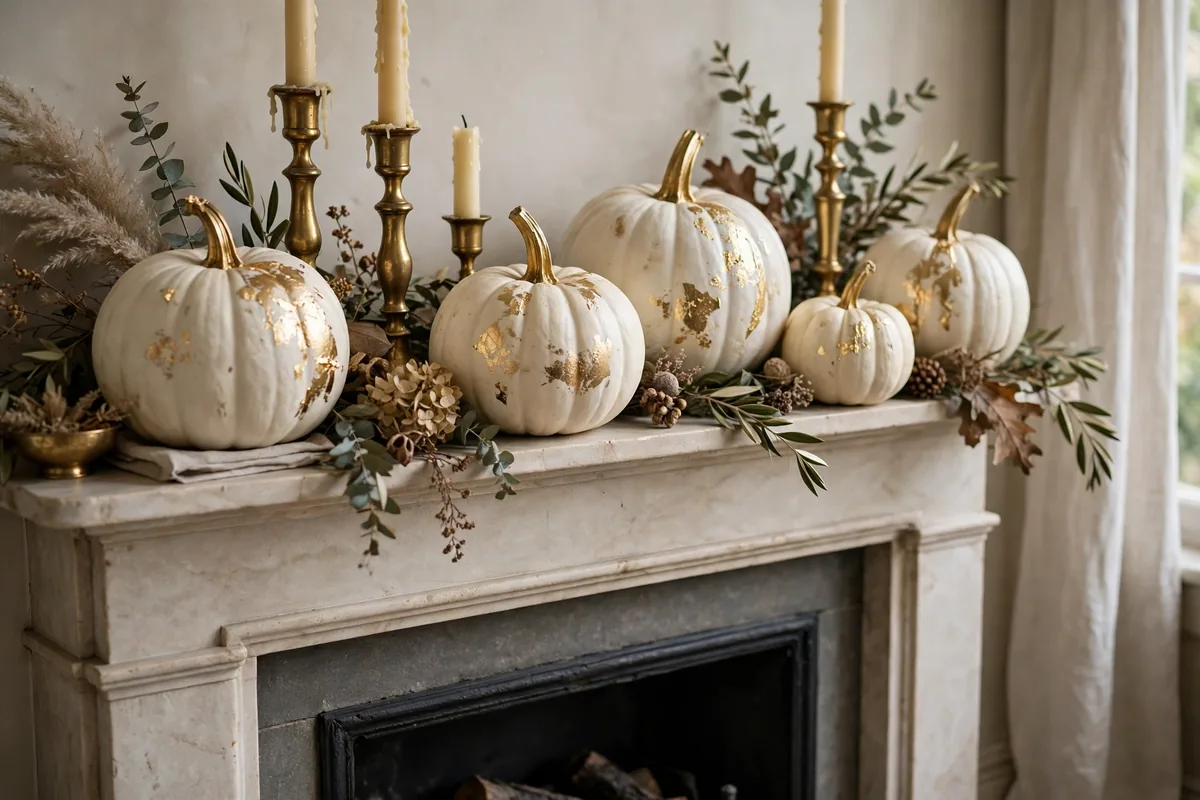
For a calmer, more elegant Halloween, start with white pumpkins — real “ghost” pumpkins or orange ones painted white — and add gold only at the stem, or as a dipped bottom edge, or as loose gold-leaf flecks pressed onto glue. Restraint is the whole trick: one gold detail per pumpkin reads as glamour, five read as craft-fair.
This palette suits a mantel better than a porch, where it can sit with brass candlesticks and a neutral garland. See how it layers into a full arrangement in our fireplace mantel styling ideas — the pumpkins simply become the seasonal layer on a scheme that already works.
6. Fabric-Wrapped Pumpkins
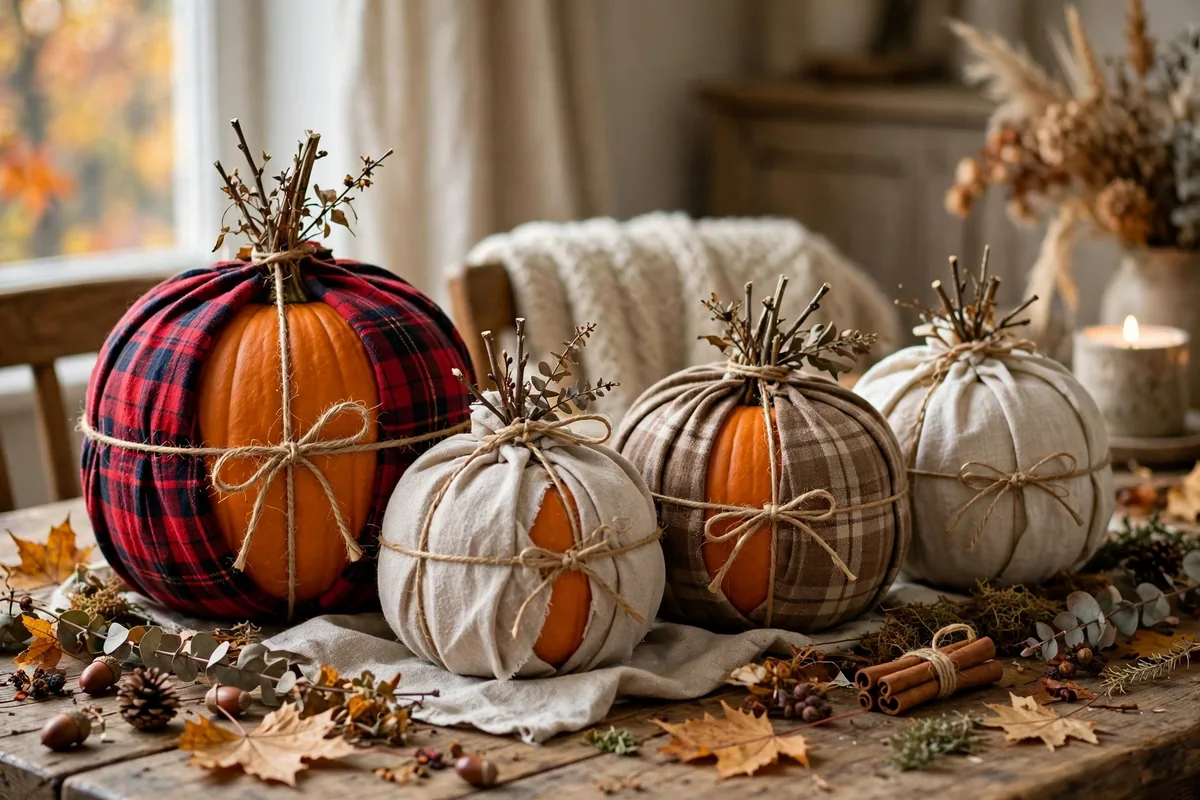
Pull a square of fabric — plaid flannel, linen, an old jumper — up around a pumpkin, gather it at the top, tie it with twine and tuck in a short stick or cinnamon sticks as a stem. There is no glue and no paint, so the fabric comes off undamaged afterwards and the pumpkin underneath is untouched.
Fabric pumpkins are soft, matte and quiet, which makes them ideal indoors where painted pumpkins can look shiny under artificial light. Group three sizes in fabrics from the same family — two plaids and a plain — along a dining table or sideboard.
7. Sticker and Temporary-Tattoo Pumpkins
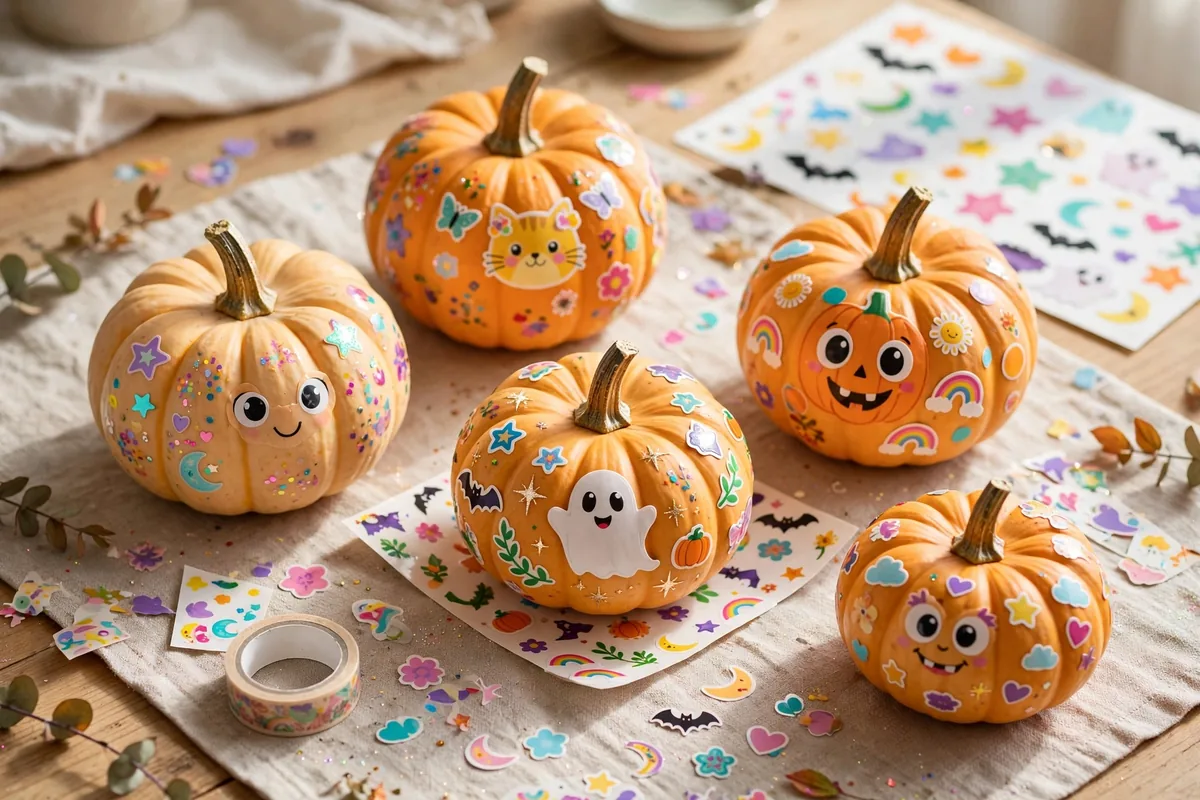
For the youngest decorators, stickers are the whole project: foam face stickers, letter stickers for names, and temporary tattoos applied with a damp sponge exactly as you would on skin. A toddler can finish a pumpkin in ten minutes and — more importantly — can redo it tomorrow.
Stickers hold best on a clean, dry, smooth pumpkin; deeply ridged ones fight you. Keep a few spare sticker sheets, because the rearranging is the fun. Smooth faux pumpkins work year after year and take tattoos especially well.
8. Stacked Pumpkin Topiary
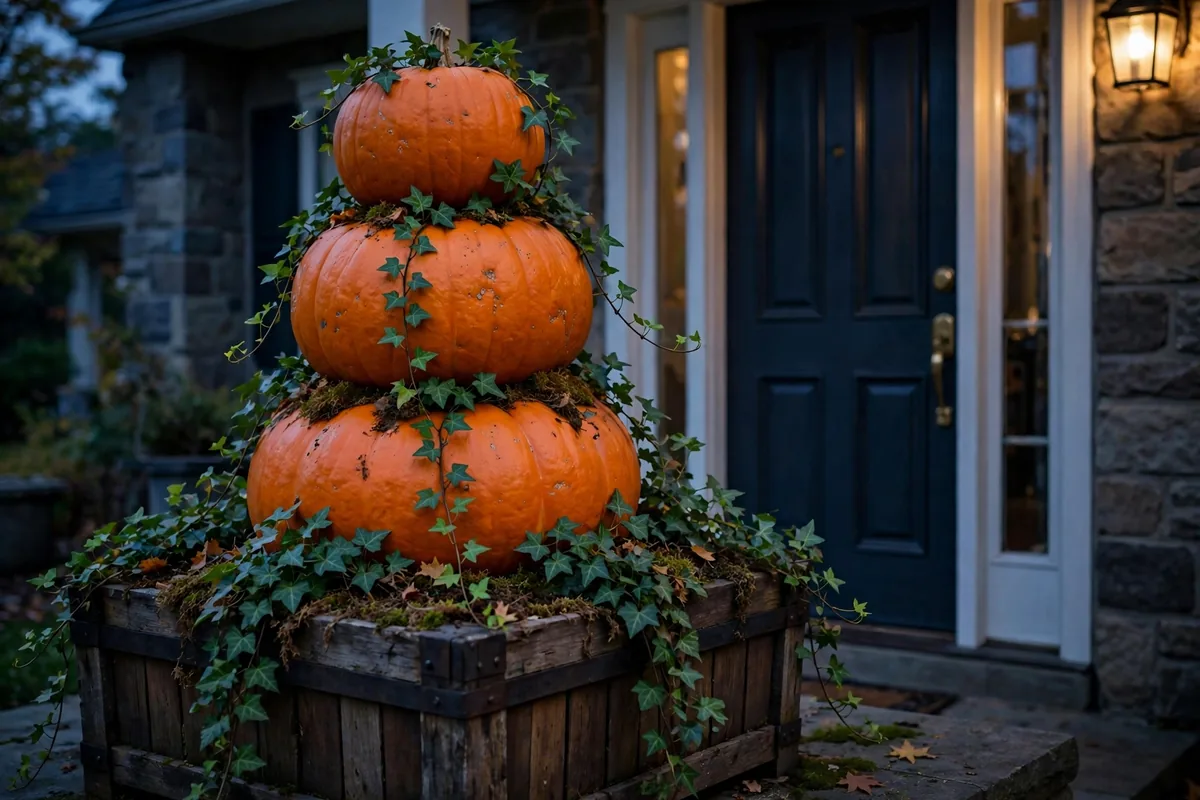
Stack three flat-ish pumpkins — largest at the bottom — inside a heavy planter, threading them onto a garden stake or dowel pushed into the planter’s soil for stability, and finish with trailing ivy or faux leaves tucked between the layers. From the street it reads as one tall, generous display instead of three small pumpkins.
Choose “stacking” varieties with flattened tops if you can find them, and always build the stack where it will stand: a finished topiary is awkward to carry. One topiary on each side of a door or garage is enough — this is a statement, not a filler.
9. Ribbon, Lace and Trim Pumpkins

Ribbon changes a pumpkin’s character in minutes. Run wide black lace or velvet ribbon vertically over the top and secure it underneath with a pin or a dab of hot glue, add a bow at the stem, or wrap the stem itself. Black lace over an orange pumpkin is an instant gothic look; cream lace over white is soft and vintage.
Because nothing is cut or painted, this is the most reversible idea in the list — ideal for good pumpkins you want to cook with or compost cleanly later, and for borrowed or rented-home decorating where everything must come off without a trace.
10. Nature-Finished Pumpkins With Leaves and Twine
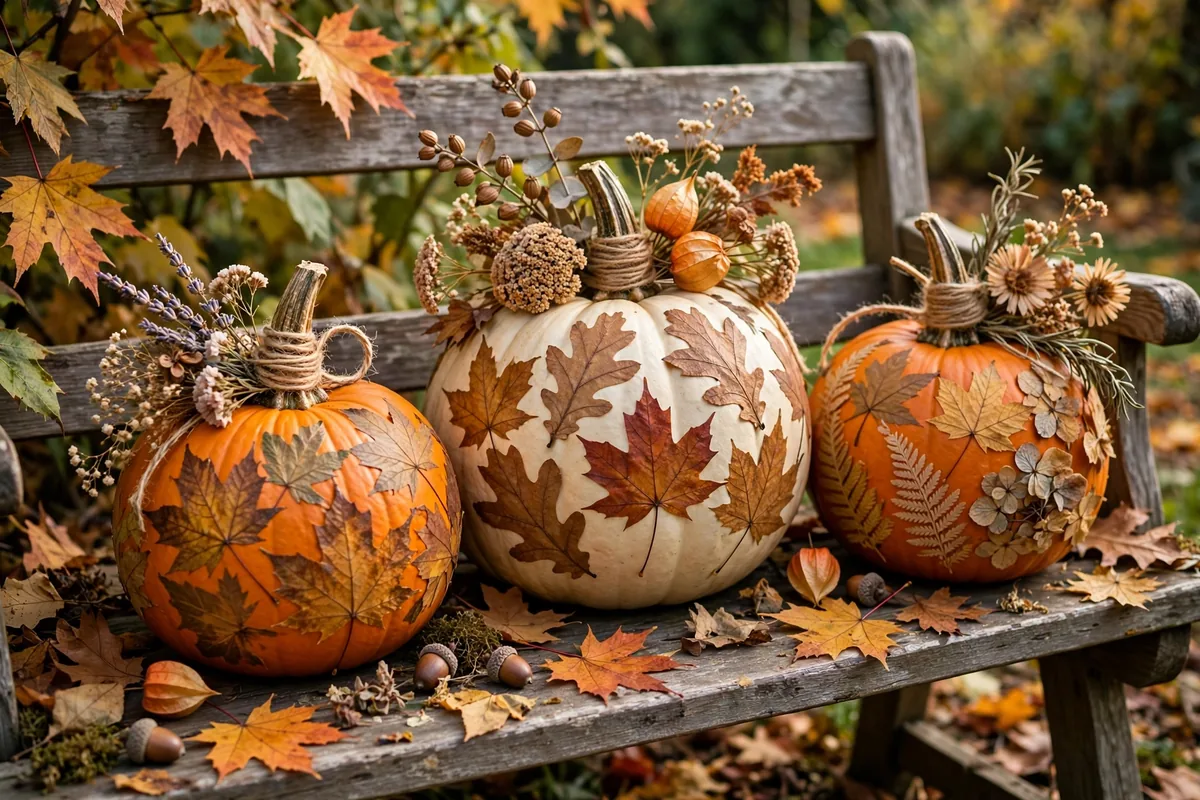
Glue pressed autumn leaves, dried flowers or seed heads directly onto a pumpkin with decoupage glue, or simply wrap the stem in twine and tuck dried grasses behind it. The decorations come from the garden, cost nothing, and compost with the pumpkin at the end of the season.
Pressed leaves need a day or two under a heavy book first so they lie flat. This natural finish suits a garden-facing display — a bench, a patio table, the edge of the steps — and connects the porch to the wider planting in our small patio ideas.
How to Make No-Carve Pumpkins Last
Start with a healthy pumpkin: firm all over, no soft spots, no cuts or bruises, with a sturdy stem. Wash it, dry it completely, and keep it off damp ground on a mat, board or step. The no-carve pumpkin ideas at HGTV make the same point from experience — because the skin is never broken, decorated pumpkins stay presentable far longer than carved ones, and faux pumpkins extend any of these methods indefinitely.
One safety note that applies to decorated pumpkins of every kind: if a pumpkin holds a light, use a flameless candle or glow stick. The NFPA’s Halloween fire safety guidance recommends battery-operated candles in pumpkins and keeping dried decorations away from heat sources — dried leaves, ribbon and fabric finishes make that advice doubly relevant here.
Frequently Asked Questions About No-Carve Pumpkins
How long do no-carve pumpkins last?
An uncut, decorated pumpkin kept dry commonly lasts several weeks outdoors — often the whole of October — and longer indoors. Once the skin is cut, as with a planter, expect one to two weeks. Faux pumpkins last indefinitely.
What paint works best on pumpkins?
Acrylic and chalk-style paints both adhere well and cover in two coats. Avoid oil-based paints on pumpkins you plan to compost. Washable tempera is the practical choice for children’s pumpkins, though it will run if it gets wet outdoors.
Are no-carve pumpkins safe for toddlers?
Yes — stickers, washable paint with supervision, and fabric wrapping involve no sharp tools at all. Watch small decorations like pins, beads and sticker backs with very young children, and do a finished pumpkin check before handing it over.
Can I put a real candle in a no-carve pumpkin?
An uncut pumpkin has no opening for a candle, and cutting one makes it a carved pumpkin with a carved pumpkin’s short life. Use a flameless candle beside the pumpkin, or inside a cut planter pumpkin, where it is visible and safe.
Do painted pumpkins still compost?
Acrylic-painted pumpkins are best not composted for vegetable gardens because of the paint film; peel off thick paint or dispose of them with household waste. Pumpkins decorated only with leaves, twine, fabric or stickers (removed first) compost normally.
Which pumpkins are best for decorating without carving?
Smooth, unblemished pumpkins with shallow ridges take paint, napkins and stickers best. White varieties suit decoupage and glam finishes; flat-topped stacking varieties suit topiaries; small sugar pumpkins are easiest for children to handle.
How do I stop paint peeling off a pumpkin?
Start clean and completely dry, apply two thin coats instead of one thick one, let the first coat dry fully, and keep painted pumpkins under cover outdoors. A clear matte sealer over the finished paint adds weather resistance.
Can I decorate a faux pumpkin the same ways?
Yes, every method here works on foam or plastic pumpkins, and decoupage and tattoos often look smoother on them. The bonus is permanence: a faux no-carve pumpkin is a one-time project you store and reuse each year.
What is the fastest no-carve pumpkin idea?
Stickers — about ten minutes including choosing the face. Ribbon-and-bow is nearly as fast. A pumpkin planter takes about twenty minutes once you have the plant, and most of that is choosing where it stands.
How should I style no-carve pumpkins together?
Mix methods but repeat one element — a colour, a ribbon, a finish — across the group so it reads as a set. Odd numbers, varied heights, and one carved or lit pumpkin among them for contrast give the most finished look.
Conclusion
No-carve pumpkins are not the compromise version of Halloween decorating; for most homes they are the better version — longer-lasting, safer for children, reusable in the case of faux pumpkins, and stylish enough for a mantel, not just the porch. Pick two methods, repeat one colour across them, and your pumpkins will still look fresh when the trick-or-treaters arrive.






Pingback: Fall Entryway Styling Ideas: Five Layers, Two Rules